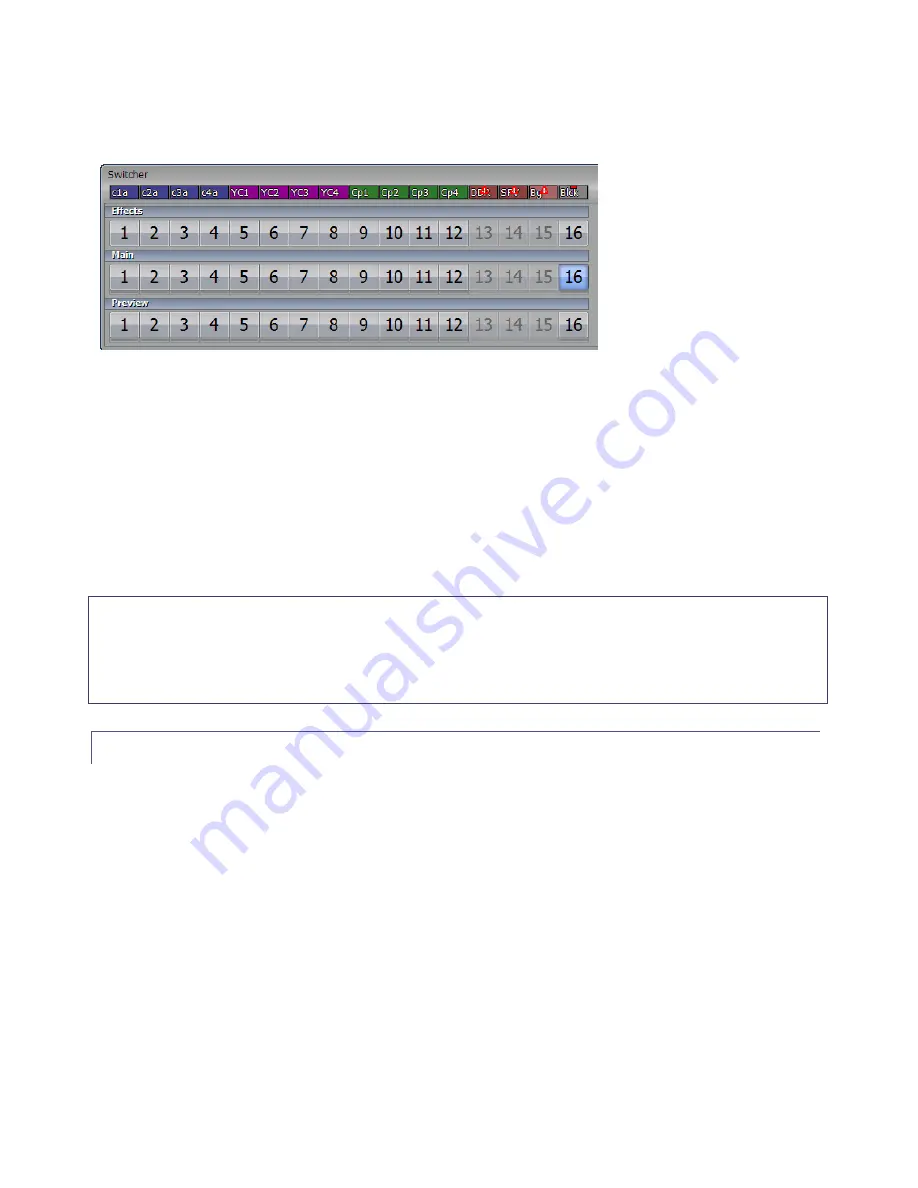
the order of video source selection buttons in the Switcher section on LC-11 will almost certainly
be different initially than your VT[5] display.
Figure 6 – VT[5] Switcher (default appearance)
The hardware buttons always control the first 11 Switcher buttons. To avoid confusion, you may
well decide to adjust the sources in the software Switcher to match the button order on the LC-
11. (You can even rename these onscreen if you like).
The operation of LC-11’s Switcher controls corresponds to the onscreen version. Press a button
on LC-11, and the matching button is selected on its virtual counterpart. The LC-11 button lights
up to confirm the change.
Hint: TriCaster and VT[5] return the favor, too. Selecting a button on its onscreen Switcher, even
using keyboard shortcuts, causes the corresponding button on the LC-11 to light up (if you’re a
quick typist, in extreme cases of pre-show boredom you can entertain your friends with a tiny but
heartfelt light show in this manner.)
3.2.2
AUTO AND TAKE
For both VT[5] and TriCaster, the software
Auto
and
Take
buttons are located near the
T-Bar
.
The same is true for LC-11’s physical T-Bar, where they are located left of the T-Bar, just beneath
the
Switcher
rows.
Functionality remains unchanged, of course.
Auto
swaps between the video source that is
selected on the
Live
(TriCaster) or
Main
(VT) row and the one from the
Preview
row, using the
current Transition.
Take
does the same thing, but performs the swap as a hard cut between the
sources.
LC-11’s
Auto
and
Take
buttons perform brief actions, so don’t light up when pressed. Of course
the buttons on the Switcher rows do update to correctly reflect the revised source selections.


