Disks
50
ReadyNAS OS 6 Desktop Storage Systems
6.
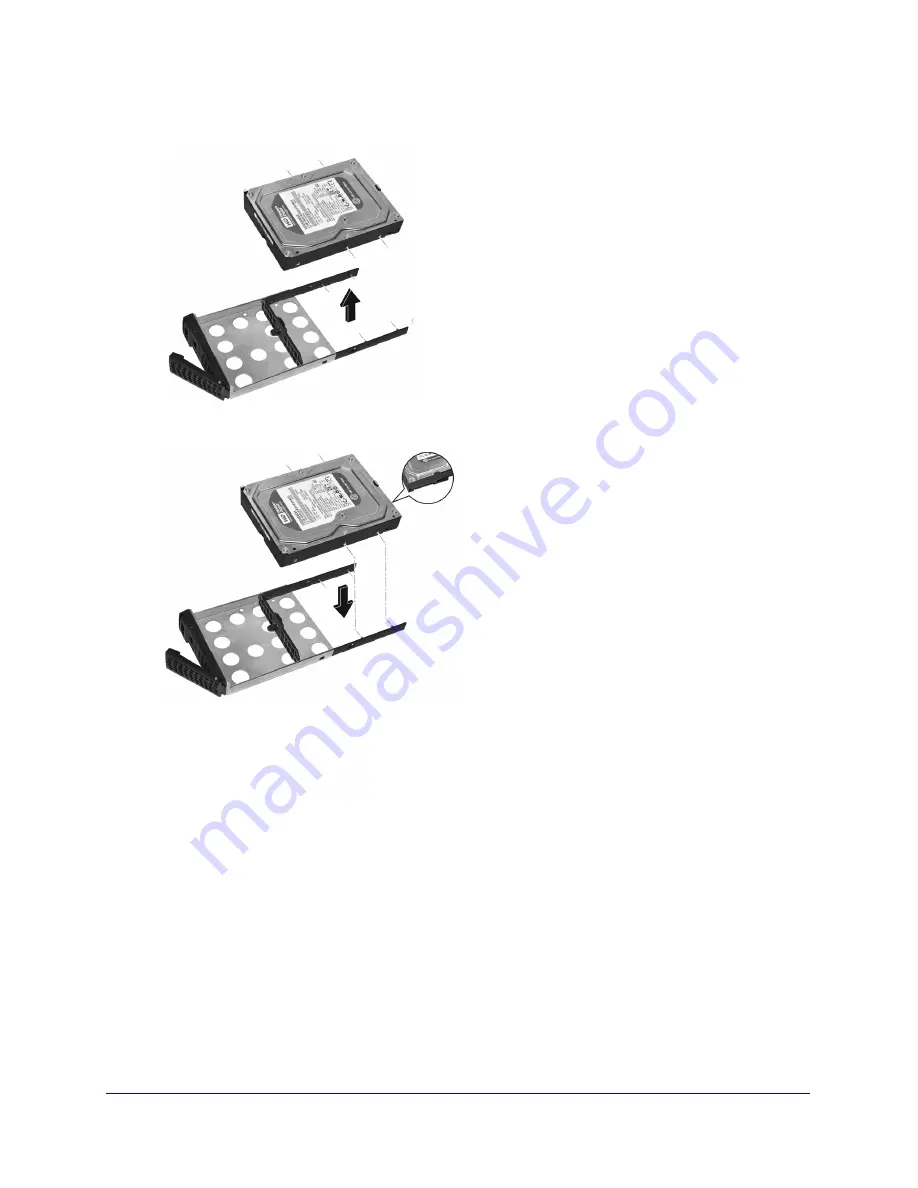
Remove the failed HDD from the mounting bracket.
7.
Attach the new HDD to the mounting bracket.
Make sure that the HDD mounting holes are aligned with the bracket’s mounting posts,
and that the HDD connectors face the interior of the disk bay.
8.
Push the mounting bracket with the hard disk drive back into the disk tray.
9.
Slide the disk tray back into the storage system and press the handle to secure the disk.
If the volume that contained the failed disk uses a protected RAID configuration, the
system automatically resynchronizes the volume using the new disk. Resynchronization
might take several hours, depending on the disk size. You can continue to use your
storage system, although access is slower until the volume resynchronization finishes.
For more information about RAID configurations, see the
ReadyNAS OS 6 Software
Manual
, which is available at
http://support.netgear.com/product/ReadyNAS-OS6.


