Disks
47
ReadyNAS OS 6 Desktop Storage Systems
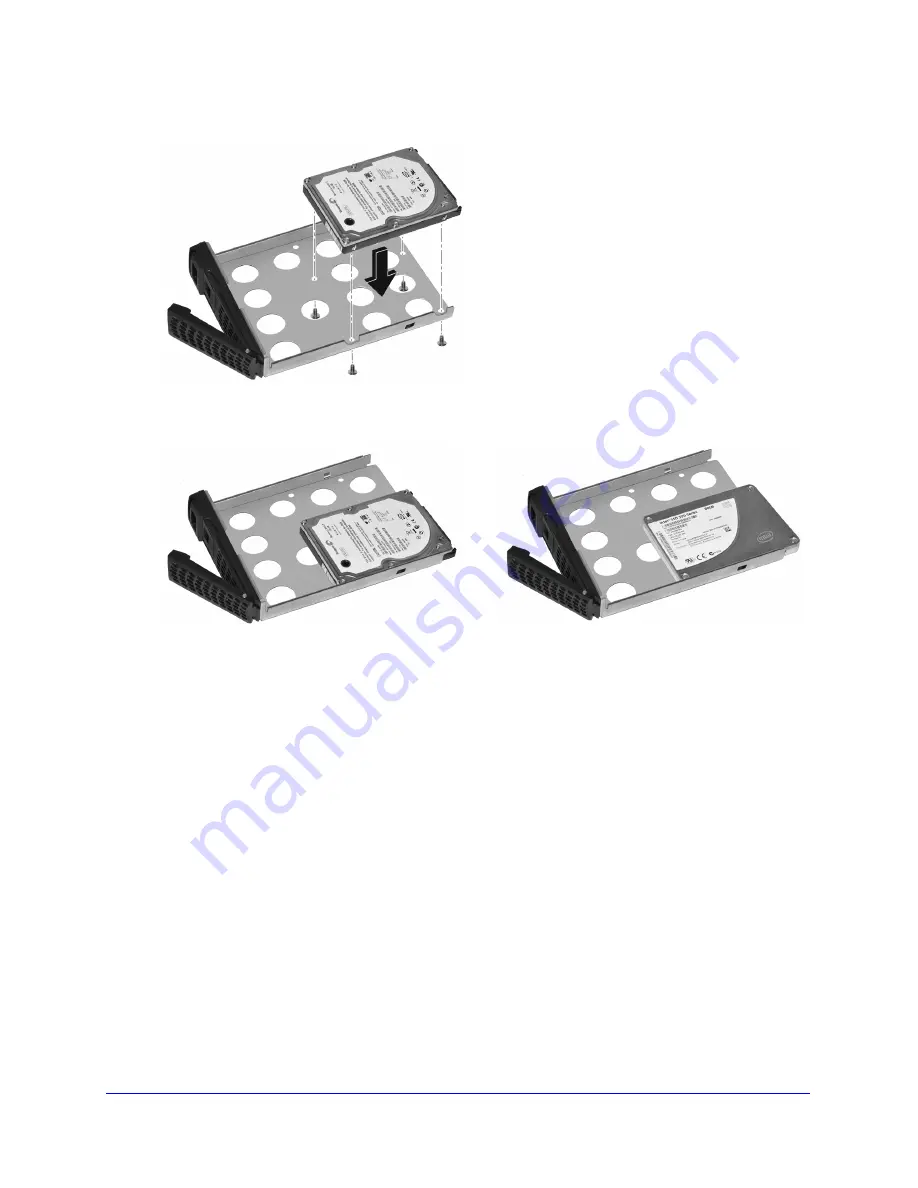
Make sure that the HDD or SSD connectors face the interior of the disk bay.
The following figures show fully assembled disk trays with a 2.5-inch HDD or 2.5 SSD:
Disk tray with 2.5-inch HDD.
Disk tray with 2.5-inch SSD.
8.
Slide the disk tray back into the storage system and press the handle to secure the disk.
9.
If necessary, turn on your system by pressing the
Power
button.
If the disk that you added was not previously formatted, the system uses the disk in one
of the following ways:
•
If you are adding the disk to a system that uses X-RAID2, the system automatically
determines whether the disk is used for protection or storage. The new disk is
incorporated in the background while you continue to use your system.
•
If you are adding the disk to a system that uses Flex-RAID, the disk becomes
available for use. You use the local admin page to manually configure the new disk.
For more information about X-RAID2, Flex-RAID, and using the local admin page, see
the
ReadyNAS OS 6 Software Manual
, which is available at
http://support.netgear.com/product/ReadyNAS-OS6.


