33
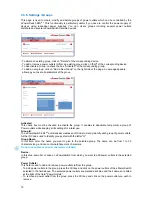
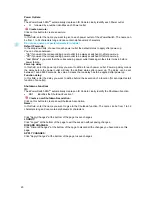
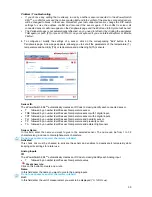
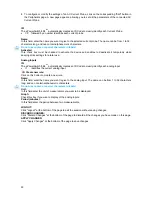
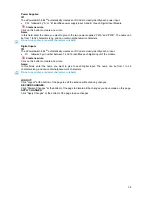
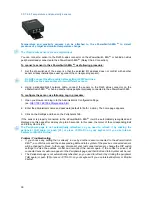
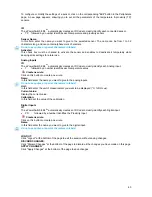
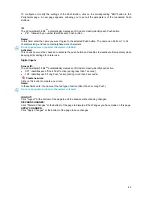
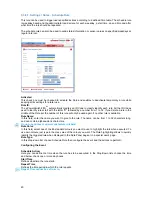
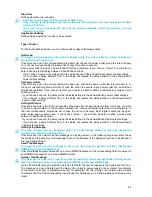
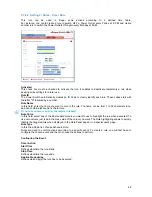
4. To configure or modify the settings of an AC Current Probe, click on the corresponding "Edit" button in
the Peripherals page. A new page appears, allowing you to set all the parameters of the connected AC
Current Probe.
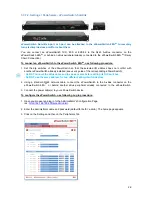
ID:
The ePowerSwitch 8M+
R2
automatically creates an ID Code to clearly identify each Current Probe.
•
CP followed by a number identifies each current probe
Name:
In this field, enter the name you want to give to the selected current probe. The name can be from 1 to 32
characters long, and can contain alphanumeric characters.
Do not use quotes or special characters in labels!
Activated
This check box must be checked to activate the device and enables to deactivate it temporarily while
keeping all its settings for a later use.
Analog Inputs
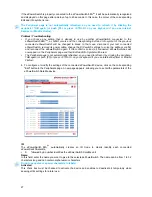
ID:
The ePowerSwitch 8M+
R2
automatically creates an ID Code to clearly identify each analog input.
•
I1
identifies the current analog input.
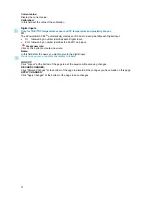
Create new rule:
Click on this button to create a new rule.
Name:
In this field, enter the name you want to give to the analog input. The name can be from 1 to 32 characters
long, and can contain alphanumeric characters.
Do not use quotes or special characters in labels!
Unit:
In this field enter the unit of measurement you want to be displayed.
Graph:
Check this box if you want a display of the analog inputs.
Period (minutes):
In this field enter the period between two measurements.
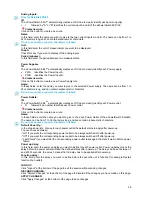
LOGOUT:
Click "Logout" at the bottom of the page to exit the session without saving changes.
DISCARD CHANGES:
Click "Discard Changes" at the bottom of the page to discard all the changes you have made on this page.
APPLY CHANGES:
Click "Apply Changes" at the bottom of the page to save changes.

