- 4 -
3. Before installation, operate instructions by hand:
3.1. Power on/off by hand
Short press Power button, the red indication lamp will be on. Enter the video mode, Long
press Power button again, the red indication lamp will be off.
Attention: the device will be turn off automatically after a warning of low battery when the
power is very low.
3.2 Charge by connecting the computer via USB data cable
vehicle DVR mainly use while charging, the full built-in battery could maintain about 3-
5minutes for standby, if use for long time, must connect the power cable for charging; and
use by connecting the mobile power at home.
D
:
Photograph/Video/Playback basic operation instruction:
Video Mode:
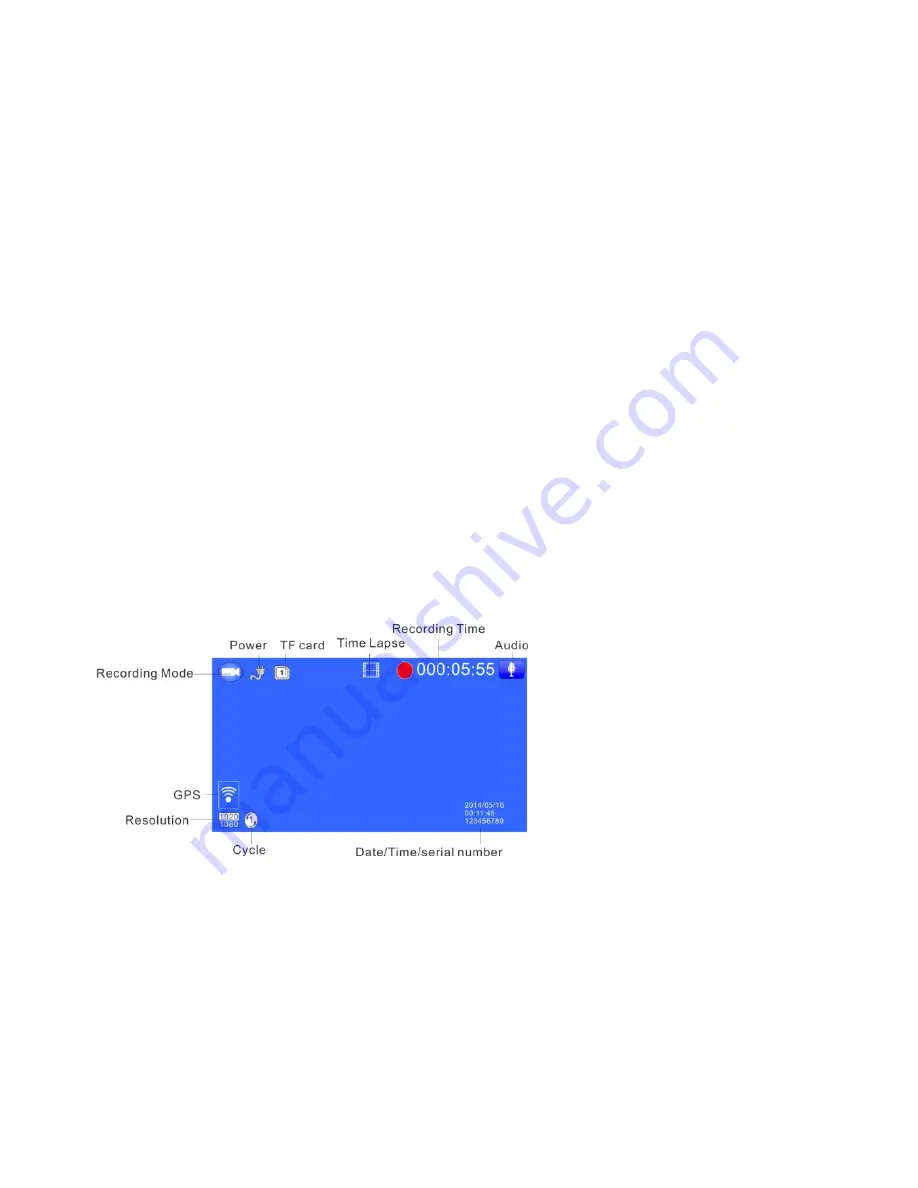
Short press mode button to switch to video mode, there is a video recording icon shown on
the top left corner of the LCD; short press OK button to start recording, the red video
indication light start to flash, that is the DVR is under recording, short press OK button
again to stop recording.
Video process:
Power on——enter video mode——short press REC button to record——
short press REC button again to stop recording.
Photo Mode:
Short press MODE button to switch to photo mode, there is a photo shooting icon shown
on the top left corner of the LCD, short press OK button to shooting, when photography is
finished, the LCD will be flash one time.
Attention
:
1. Under the video status, press MODE button to screen shot the current
video; first stop recording, then press MODE button one time to switch the photograph
mode; 2. This machine is limited only for 50 photos, and can’t take photos when over 50.
Photograph process:
Power on——enter video mode——press MODE button to switch


