3
Chapter 1
Get started
1. 4 Initial setup
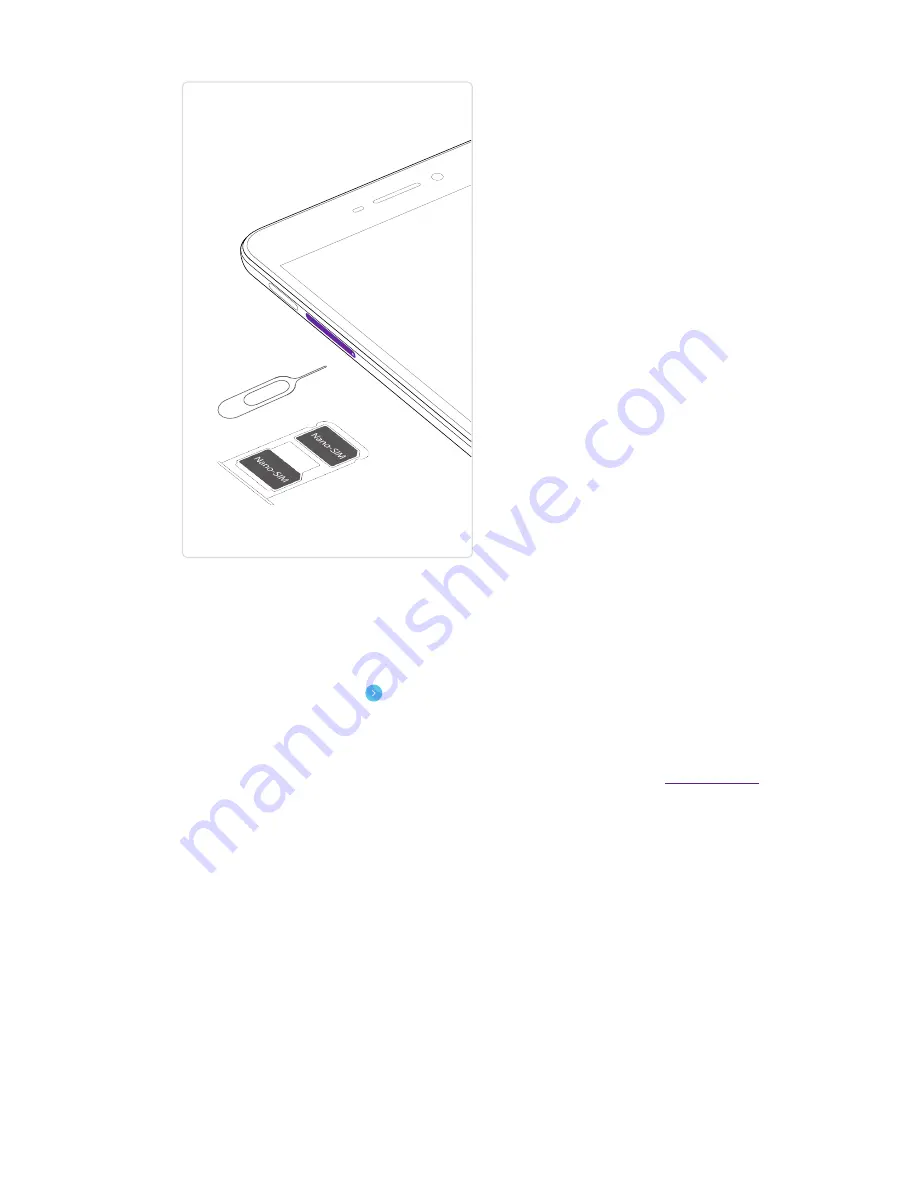
Press and hold the Power button to turn on your phone, and then follow the onscreen instructions to complete
the initial setup. It is recommended to insert your SIM card before you start the initial setup.
1. Select your language, and then tap .
2. Proceed to the
Set up SIM cards
screen. Follow the onscreen instruction to select a SIM for cellular data,
calls and text messages and then tap
NEXT
.
• If you have not inserted your SIM card before the initial setup, your phone will proceed to
Insert SIM
cards
in this step. Then you can insert your SIM card first. For more information, see
If
you do not want to insert your SIM card now, tap
SKIP
to move to the next step.
3. Proceed to the
Select WLAN network
screen. Your phone will automatically list available WLAN networks.
Select the network you want to connect to, and then enter the password to access the Internet. (This can
take up to 2 minutes.) Or you can tap
SKIP
->
SKIP
ANYWAY
and move to next step.
4. Proceed to the
Date & time
screen. Choose the desired time and then tap
NEXT
.
5. Proceed to the
Name
screen. Add your name to allow your phone to personalize some apps. Then tap
NEXT
.
6. Pcoceed to
Protect your phone
screen. Select a device protection feature and then follow the onscreen
instructions to complete. If you don’t want to set now, tap
No, thanks
and tap
SKIP
->
SKIP ANYWAY
.
7. Pcoceed to
Google services
screen. The services are turned on by default. Tap
NEXT
.
8. Proceed to Terms And conditions screen. Carefully read the terms and conditions and then tap
AGREE
.
9. Setup completed. Tap
START USING YOUR PHONE
.
Summary of Contents for X1 MAX
Page 1: ...1910100118 REV1 0 0...


