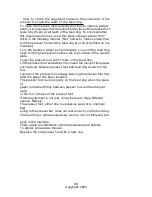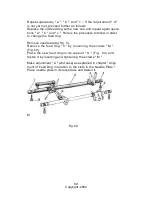
If necessary, adjust the feed dog as follows (Fig. 55):
loosen screw No. 1 that fastens the crank No. 2 to the feed lifting
shaft No. 3;
■
—- adjust crank No. 2 until feed dog teeth are in the right
position as described above;
tighten screw No. 1 firmly.
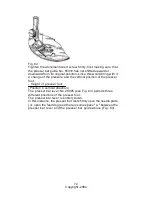
For making this adjustment, the gauge No. 10-1 can be used by
following this procedure (Fig. 56):
Remove the presser foot and the needle; place Gauge No.
10-1 on the needle plate in such a way that the thinner portion is
over
035150 GAN
Fig. 55
the teeth of the feed dog while the thicker portion rests on the
needle plate, as shown in Fig. 56. The two steps " a " and " b "
between the thinner and the thicker portion of the Gauge are of
different sizes (0,028" and 0,035" respectively). First place the
gauge on the needle plate in such a way that the thinner step " a
" is down over the feed dog teeth and turn the balance by hand
wheel by a full rotation. The feed dog must then come in touch
with the gauge (and move it).
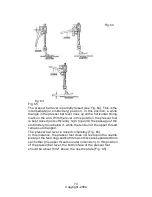
Turn over the gauge, so that larger step " b " is resting over the
feed dog. When turning the balance wheel, the teeth of the feed
dog must not contact the gauge (the gauge is not moved).
64
Copyright -2004
Summary of Contents for Supernova
Page 1: ...Instructions For Servicing The Necchi Supernova Sewing Machine 1 Copyright 2004...
Page 15: ...15 Copyright 2004...
Page 17: ...Fig 11 Fig 12 Fig 13 17 Copyright 2004...
Page 23: ...False needle Fig 18 False needle Fig 19 23 Copyright 2004...
Page 43: ...Fig 38 43 Copyright 2004...
Page 49: ...49 Copyright 2004...


