The needle positioning lever may be in any one of the three po
sitions.
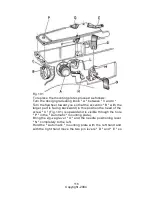
Bring the cam connecting lever No. D (A 26/3/25) in working po
sition, namely moves it entirely to the right toward the arm of the
machine (Fig. 86).
Move the design graduating knob to " 1 ".
Set the stitch length graduating knob at " 4 ".
Place two thicknesses of material under the presser foot and lower
the presser foot entirely.
The machine must remain in this position during the entire following
adjustment.
This adjustment is divided into two parts:
1st Part:
Run the machine without thread. The material under the presser foot
should move forward, but with a very slow, almost imperceptible
motion.
2nd Part:
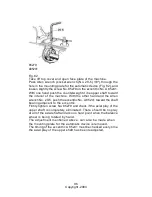
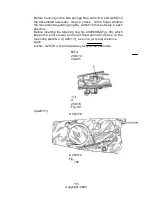
In addition to the use of Gauge 10-2 the “distance blade “should be
placed between Gauge 10-2 and the feed contact finger No. D (A
26/1/14) as indicated in Fig. 87.
To insert the distance blade, swing the feed contact finger No. D
(A 26/1/14) back from Gauge No. 10-2 by operating the cam con-
necting lever No. D (A 26/3/25). Then push the cam connecting lever
back again to its working position, flush with the machine arm.
D(A 26/1/14)
Fig.
87
101
Copyright -2004
Summary of Contents for Supernova
Page 1: ...Instructions For Servicing The Necchi Supernova Sewing Machine 1 Copyright 2004...
Page 15: ...15 Copyright 2004...
Page 17: ...Fig 11 Fig 12 Fig 13 17 Copyright 2004...
Page 23: ...False needle Fig 18 False needle Fig 19 23 Copyright 2004...
Page 43: ...Fig 38 43 Copyright 2004...
Page 49: ...49 Copyright 2004...

