E-33
Option Settings Menu
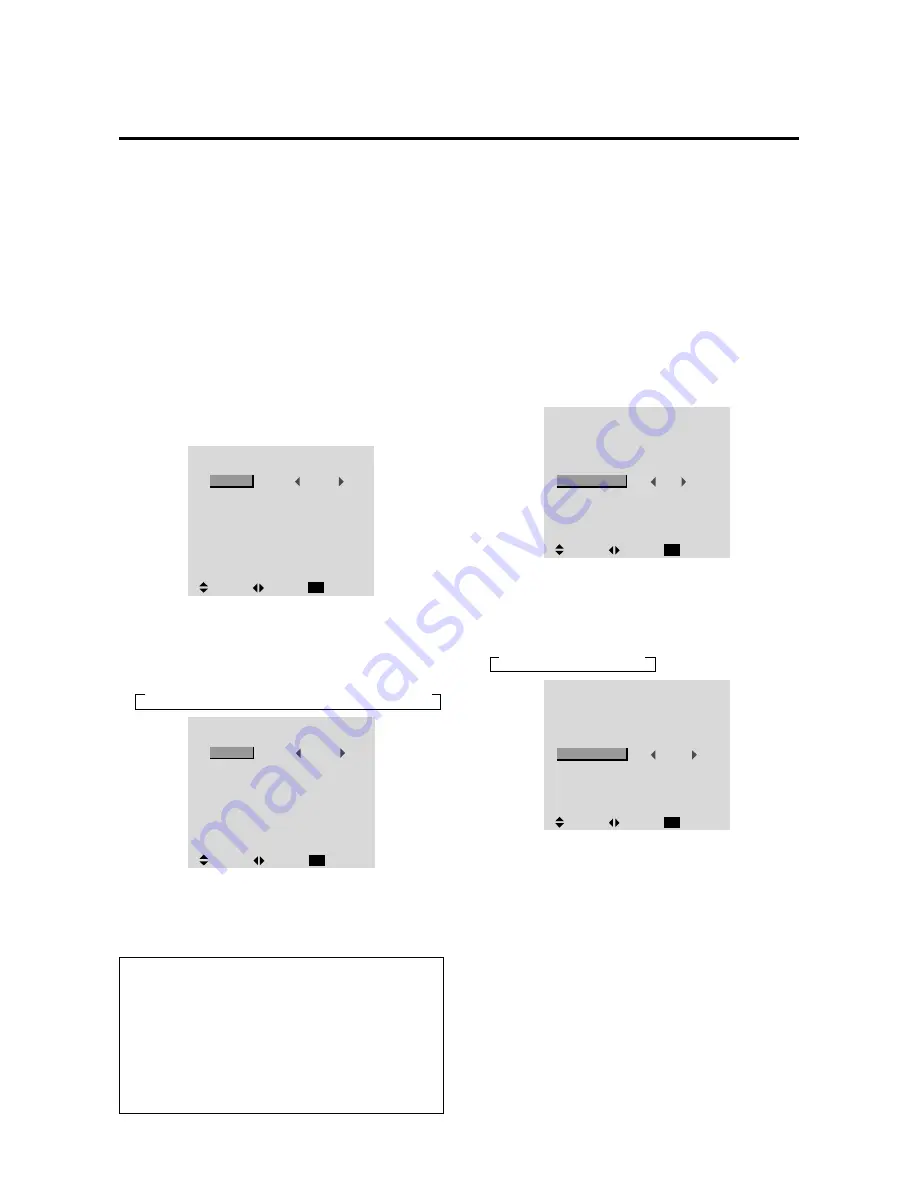
Setting the allocation of the audio connectors
Setting the AUDIO 1, 2, and 3 connectors to the desired
input.
Example: Setting “AUDIO 1” to “VIDEO 2”
Press the PROCEED button on the remote control unit to
display the MAIN MENU on the screen, then...
1. Use the
▲
and
▼
buttons to select “OPTION”, then
press the PROCEED button.
The “OPTION” screen appears.
2. Use the
▲
and
▼
buttons to select “AUDIO 1”.
O P T I O N
AUDIO INPUT
AUDIO1
AUDIO2
AUDIO3
BNC SELECT
RGB SELECT
HD SELECT
PICTURE SIZE
VIDEO1
RGB1
RGB
AUTO
1080B
ON
:
:
:
:
:
:
:
SEL.
ADJ.
RETURN
EXIT
HD/DVD1
3.
To set the AUDIO1 to “VIDEO2”...
Use the
䊴
and
䊳
buttons to select “VIDEO2”.
The mode switches as follows each time the
䊴
or
䊳
button is pressed:
→
VIDEO1
↔
VIDEO2
↔
VIDEO3
↔
HD/DVD1
↔
RGB/PC1
↔
RGB/PC2
↔
RGB/PC3
←
O P T I O N
AUDIO INPUT
AUDIO1
AUDIO2
AUDIO3
BNC SELECT
RGB SELECT
HD SELECT
PICTURE SIZE
RGB
AUTO
1080
B
ON
:
:
:
:
:
:
:
SEL.
ADJ.
RETURN
EXIT
VIDEO2
RGB1
HD/DVD1
4.
Once the setting is completed...
Press the EXIT button to return to the main menu.
To delete the main menu, press the EXIT button once
more.
Information
䡵
AUDIO INPUT
A single audio input cannot be selected as the audio
channel for more than one input terminal.
䡵
Restoring the factory default settings
Select “RESET” under the function menu. Note that
this also restores other settings to the factory defaults.
Setting the BNC connectors
Select whether to set the input of the 5 BNC connectors to
RGB or component.
Example: Set the BNC SELECT mode to “COMP.”
Press the PROCEED button on the remote control unit to
display the MAIN MENU on the screen, then...
1. Use the
▲
and
▼
buttons to select “OPTION”, then
press the PROCEED button.
The “OPTION” screen appears.
2. Use the
▲
and
▼
buttons to select “BNC SELECT”.
O P T I O N
AUDIO INPUT
AUDIO1
AUDIO2
AUDIO3
BNC SELECT
RGB SELECT
HD SELECT
PICTURE SIZE
RGB
AUTO
1080B
ON
:
:
:
:
:
:
:
SEL.
ADJ.
RETURN
EXIT
VIDEO1
RGB1
HD/DVD1
3.
To set the BNC SELECT mode to “COMP.”...
Use the
䊴
and
䊳
buttons to select “COMP.”.
The mode switches as follows each time the
䊴
or
䊳
button is pressed:
→
RGB
↔
COMP.
↔
SCART
←
O P T I O N
AUDIO INPUT
AUDIO1
AUDIO2
AUDIO3
BNC SELECT
RGB SELECT
HD SELECT
PICTURE SIZE
COMP.
AUTO
1080
B
ON
:
:
:
:
:
:
:
SEL.
ADJ.
RETURN
EXIT
VIDEO1
RGB1
HD/DVD1
4.
Once the setting is completed...
Press the EXIT button to return to the main menu.
To delete the main menu, press the EXIT button once
more.
Summary of Contents for PlasmaSync 50MP1
Page 1: ...USE THIS SERVICE MANUAL WHEN SERVICING Model PLA 50V1 ...
Page 10: ...PlasmaSync Plasma Monitor User s Manual NEC Technologies ...
Page 64: ...TROUBLESHOOTING 4 1 ...
Page 80: ...METHOD OF ADJUSTMENTS 5 1 ...
Page 98: ...CIRCUIT DESCRIPTION 6 1 ...
Page 113: ...METHOD OF DISASSEMBLY 7 1 ...
Page 134: ...PACKAGING 8 1 ...
Page 135: ......
Page 136: ......
Page 137: ......
Page 138: ......
Page 139: ......
Page 140: ......
Page 141: ......
Page 142: ......
Page 143: ......
Page 144: ......
Page 145: ......
Page 146: ......
Page 147: ...PART LIST 9 1 ...
Page 158: ...CONNECTION DIAGRAMS 10 1 ...
Page 160: ...BLOCK DIAGRAMS 11 1 ...
Page 163: ...SCHEMATIC DIAGRAMS 12 1 ...
Page 164: ......
Page 165: ......
Page 166: ......
Page 167: ......
Page 168: ......
Page 169: ......
Page 170: ......
Page 171: ......
Page 172: ......
Page 173: ......
Page 174: ......
Page 175: ......
Page 176: ......
Page 177: ......
Page 178: ......
Page 179: ......
Page 180: ......
Page 181: ......
Page 182: ......
Page 183: ......
Page 184: ......
Page 185: ......
Page 186: ......
Page 187: ......


