8-27
8. Using On-Screen Menu
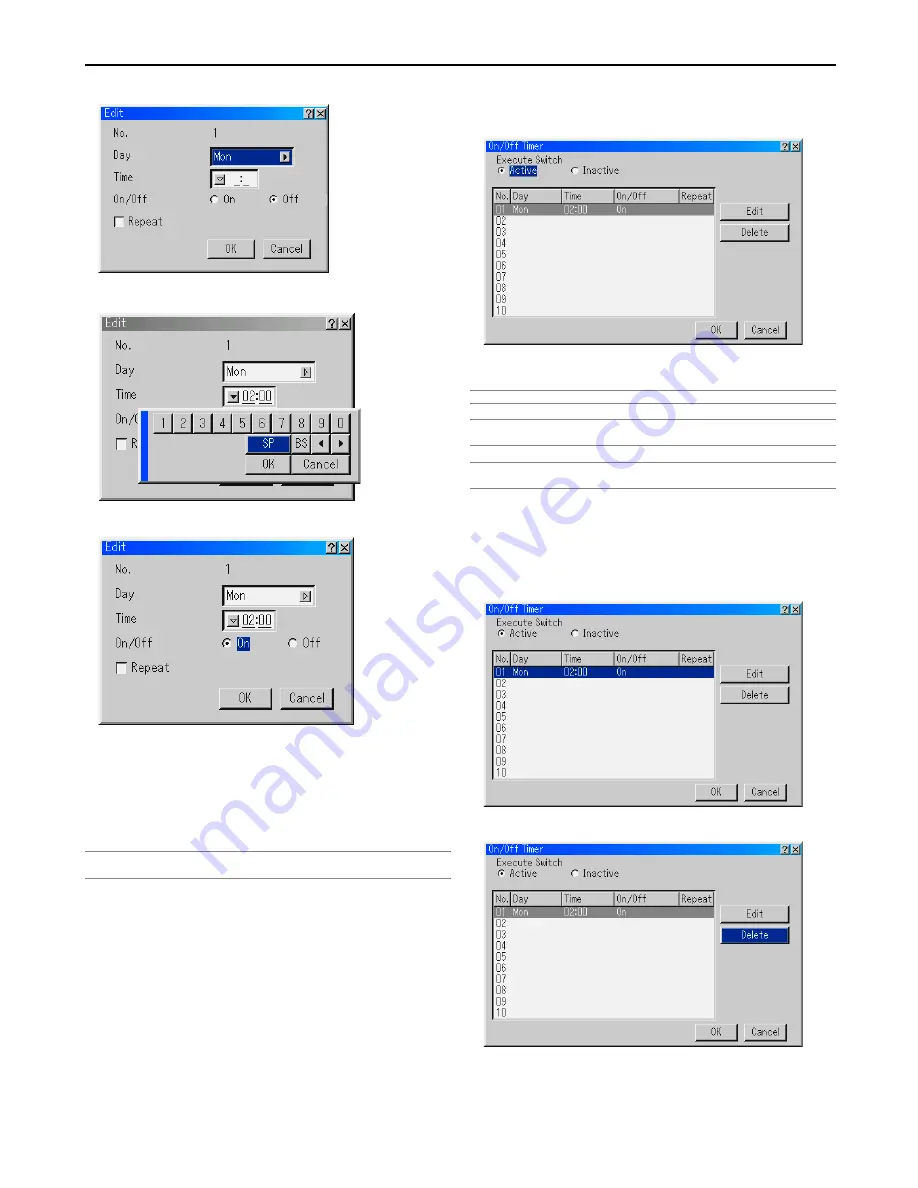
3. Select “Edit” and press the ENTER button to open the Edit window.
4. Set the Day, Time (24 hours format), On-Time and Off-Time using the
SELECT buttons and the Software keyboard (1 thru 10).
5. Select On Timer or Off Timer
6. Repeat the Timer
To repeat the On Timer or Off Timer program every week, place a check
mark in “Repeat”.
7. Select “OK” and press the ENTER button on the remote control to com-
plete the setting. To cancel this and return to its previous screen, select
“Cancel”.
NOTE: If there is no operation for 4 hours or more after the projector is turned on
with On-Timer function, the projector will enter the standby or idle mode.
Enabling the On or Off Timer
1. To execute the setting, select “Active” .
2. Select “OK” and press the ENTER button.
NOTE: When one program or more are specified, all the settings are active.
NOTE: The settings will be executed in numerical order. Finished settings will be
automatically deleted.
NOTE: The On/Off Timer will not work while the cooling fans are running or an error
message appears. Do not turn off the main power switch in this condition.
Disabling the On or Off Timer
To disable the setting, select “Inactive”. Select “OK” and press
the ENTER button.
Deleting the On or Off Timer settings
1. Select the setting you want to delete.
2. Select “Delete” and press the ENTER button.
3. Select “OK” and press the ENTER button to complete the deletion.
4. Select “Delete” again and press the ENTER button to return to the pre-
vious screen.


