background image

English−5

English

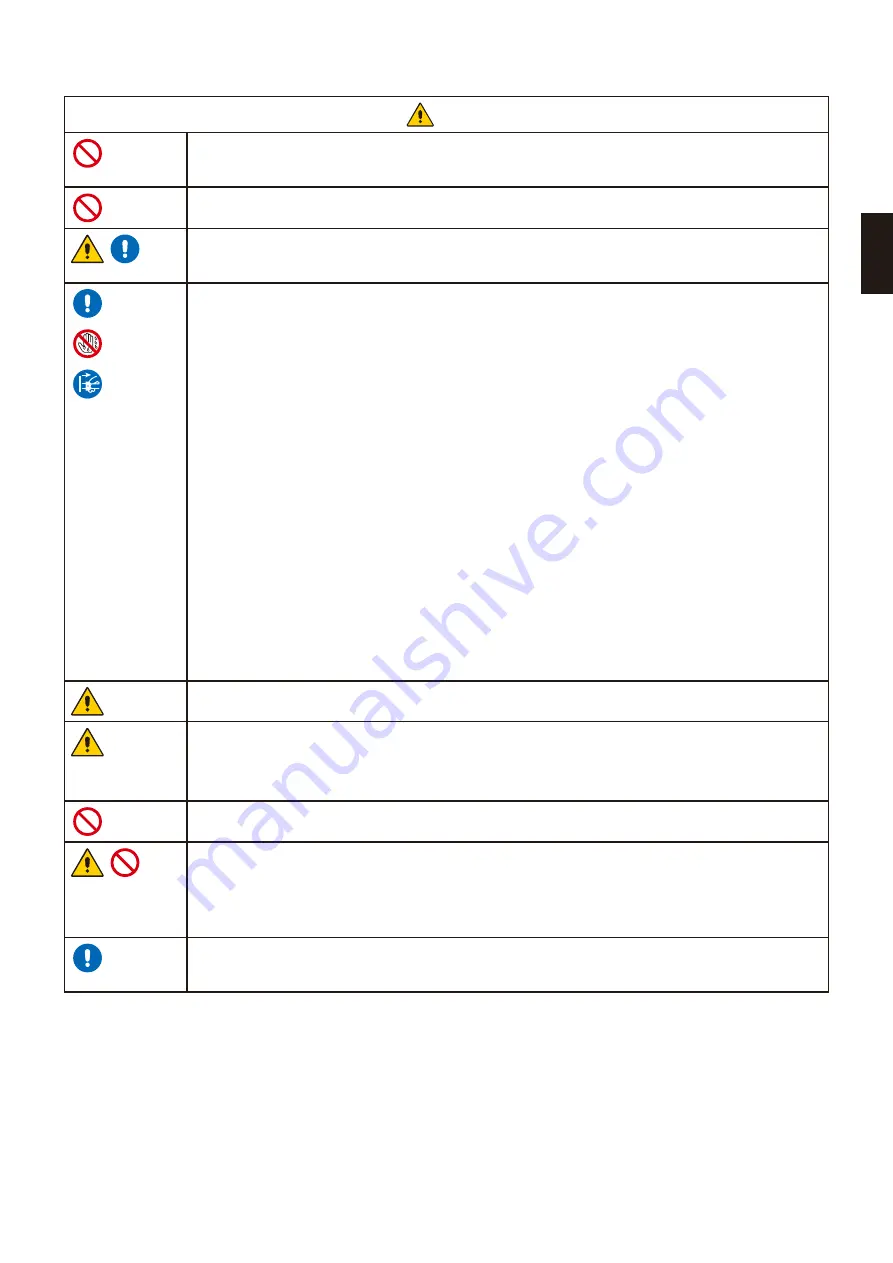
CAUTION

Do not climb on the monitor or the table where the monitor is installed. Do not install the monitor on a 

wheeled table if the wheels on the table have not been properly locked. The monitor may fall causing 

damage to the monitor or personal injury. 
Do not touch LCD panel surface while transporting, mounting and setting. Applying pressure on the LCD 

panel can cause serious damage to the monitor or personal injury.


If the monitor or glass breaks, do not come into contact with the liquid crystal that is inside the screen.  

If the liquid crystal comes into contact with your eyes or mouth, rinse thoroughly and immediately contact 

your doctor for help.
Handling the power cord
Handle the power cord with care. Damaging the cord could lead to fire or electric shock.
•  hen connecting the power cord to the monitor’s AC IN terminal, make sure the connector is fully and 

firmly inserted.

•  Do not connect or disconnect the power cord with wet hands.
•  hen connecting or disconnecting the power cord, pull the power cord out by holding onto its plug.
•  hen cleaning the monitor, for safety purposes, unplug the power cord from the power outlet 

beforehand. Regularly dust off the power cord by using a soft dry cloth.

•  Before moving the monitor, make sure the monitor power is off, then unplug the power cord from the 

power outlet and check that all cables connecting the monitor to other devices are disconnected.

•  hen you are not planning to use the monitor for an extended period of time, always unplug the 

power cord from the power outlet.

•  Please use the power cord provided with this display in accordance with the power cord table. If a 

power cord is not supplied with this equipment, please contact NEC. For all other cases, please use 

the power cord with the plug style that matches the power socket where the monitor is located. The 

compatible power cord corresponds to the AC voltage of the power outlet and has been approved by, 

and complies with, the safety standards in the country of purchase. 

This equipment is designed to be used in the condition of the power cord connected to the earth. 

If the power cord is not connected to the earth, it may cause electric shock. Please make sure the 

power cord is earthed properly.

Handle with care during installation and adjustment to prevent personal injury and damage to the monitor.

The monitor must be mounted to a flexible arm or stand that supports the weight of the monitor to prevent 

damage and personal injury that could result from the monitor tipping over or falling.
•  Please tighten all screws when installing the monitor to a flexible arm or stand. A loose screw may 

cause the monitor to fall, causing damage to the monitor or personal injury.

Do not connect headphones to the monitor while you are wearing them. Depending on the volume level, 

it may damage your ears and cause loss of hearing.


Clean the monitor’s LCD screen surface with a lint-free, non-abrasive cloth. 
Avoid using any cleaning solutions! DO NOT clean with benzene thinner, alkaline detergent, alcoholic 

system detergent, glass cleaner, wax, polish cleaner, soap powder, or insecticide. Rubber or vinyl should 

not be in contact with the cabinet for an extended period of time. These types of fluids and materials can 

cause the paint to deteriorate, crack or peel.
To ensure the monitor’s reliability, please clean the ventilation holes at the rear side of the cabinet at 

least once a year to remove dirt and dust. Failure to do so could lead to electric shock or damage to the 

monitor.

Summary of Contents for AccuSync AS173M

Page 1: ...User s Manual Desktop Monitor AccuSync AS173M AccuSync AS194Mi MODEL M179E7 M199E8 Please find your model name in the label on the rear side of monitor ...

Page 2: ...he Input 17 Power management function LED indicator patterns 17 Chapter 3 Troubleshooting Screen Image and Video Signal Issues 19 Hardware Issues 20 Image Persistence 20 Chapter 4 Specifications AS173M 21 AS194Mi 22 Appendix A OSD Controls List Appendix B Repacking the Monitor Flexible Arm Installation Repacking the Monitor 26 Flexible Arm Installation 27 Remove the Monitor Stand for Mounting 27 M...

Page 3: ...erence by one or more of the following measures Reorient or relocate the receiving antenna Increase the separation between the equipment and receiver Connect the equipment into an outlet on a circuit different from that to which the receiver is connected Consult the dealer or an experienced radio TV technician for help If necessary the user should contact the dealer or an experienced radio televis...

Page 4: ...her registered trademarks or trademarks of Adobe Systems Incorporated in the United States and or other countries All other brands and product names are trademarks or registered trademarks of their respective owners NOTE 1 The contents of this user s manual may not be reprinted in part or whole without permission 2 The contents of this user s manual are subject to change without notice 3 Great car...

Page 5: ... Unplug the power cord if the monitor malfunctions Should the monitor emit smoke or strange odors or sounds or if the monitor has been dropped or the cabinet broken turn off the monitor s power then unplug the power cord from the power outlet Failure to do so could not only lead to fire or electric shock it could also result in vision impairment Contact your dealer for repairs Never try to repair ...

Page 6: ...r start a fire If liquid has spilled or objects have fallen into the monitor Do not use flammable gas sprays to remove dust when cleaning the monitor Doing so could lead to a fire Do not play with the plastic bag which covers the monitor Do not use this bag for any other purpose To avoid the danger of suffocation do not place this bag over your head nose or mouth Do not place this bag over another...

Page 7: ... cord is not supplied with this equipment please contact NEC For all other cases please use the power cord with the plug style that matches the power socket where the monitor is located The compatible power cord corresponds to the AC voltage of the power outlet and has been approved by and complies with the safety standards in the country of purchase This equipment is designed to be used in the co...

Page 8: ...ible on the screen Unlike CRT monitors LCD monitors image persistence is not permanent but a still image being displayed for a long period of time should be avoided To alleviate image persistence turn off the monitor for as long as the previous image was displayed For example if an image was on the monitor for one hour and a residual image remains the monitor should be turned off for one hour to e...

Page 9: ... reference material directly in front of you to minimize turning your head while you are typing Blink often Eye exercise helps to reduce eye strain Please contact your ophthalmologist Get regular eye checkups To avoid eye fatigue adjust the brightness to a moderate setting Place a sheet of white paper next to the screen for luminance reference Do not position the Contrast control to its maximum se...

Page 10: ...irds of your monitor energy costs reducing emissions and lowering the air conditioning costs of the workplace Multiple Frequency Technology Automatically adjusts monitor to the display card s scanning frequency thus displaying the resolution required VESA Standard Mounting Interface Allows you to connect your AccuSync monitor to any VESA standard third party mounting arm or bracket Environmental I...

Page 11: ...English 9 English Chapter 1 Installation This Chapter Includes Parts Name and Functions on page 10 Connections on page 12 Setup on page 13 ...

Page 12: ...E menu When the OSD menu is displayed on the screen it navigates to the right or raises settings adjustments 5 When the OSD menu is not displayed on the screen it opens the BRIGHTNESS menu When the OSD menu is displayed on the screen it navigates to the left or lowers settings adjustments 6 SELECT When the OSD menu is not displayed on the screen it opens the OSD menu When the OSD menu is displayed...

Page 13: ...io signal input from external equipment such as a computer or player 3 DisplayPort IN Digital DisplayPort signals input 4 HDMI IN Digital HDMI signals input 5 VGA IN mini D Sub 15 pin Analog RGB signals input 6 Headphone Jack Connects with headphones 7 Security Slot Security and theft protection lock slot compatible with Kensington security cables equipment For products visit Kensington s website ...

Page 14: ...he selected monitor resolution is not a native panel resolution the text contents appearance in the monitor screen is expanded in a horizontal or vertical direction to show the non native resolution to full screen This expansion is done by interpolated resolution technologies which are normal and widely used in flat panel devices Connecting to a Computer with HDMI Please use an HDMI cable with the...

Page 15: ...fied cables with this product so as not to interfere with radio and television reception For mini D Sub 15 pin please use a shielded signal cable with core For DisplayPort HDMI and AUDIO please use a shielded signal cable Use of other cables and adapters may cause interference with radio and television reception Do not connect headphones to the monitor while you are wearing them Depending on the v...

Page 16: ...or Please refer to Power Supply in the Chapter 4 Specifications on page 21 5 Turn on the monitor by pressing the button and then turn on the computer 6 When using the analog VGA input No Touch Auto Adjust automatically adjusts the monitor to optimal settings upon initial setup For further adjustments use the following OSD controls AUTO CONTRAST AUTO ADJUST Refer to the OSD Controls List section of...

Page 17: ...lish 15 English Chapter 2 Basic Operation This Chapter Includes Using the OSD On Screen Display Controls on page 16 Changing the Input on page 17 Power management function LED indicator patterns on page 17 ...

Page 18: ...Below is an OSD structure Tables listing all options available in the OSD menu are located in Appendix A OSD Controls List on page 23 Main Menu Icon Select Sub menu Icon Select Press SELECT button Press SELECT button again Press or button to select an icon Main Menu Adjust Sub menu Adjust Press SELECT button Press SELECT button Adjust by using or button Press or button Example OSD TOOL sub menu Pr...

Page 19: ...lly commercially produced Blu rays and DVDs television broadcast and streaming media services Power management function LED indicator patterns The power management function is an energy saving feature that automatically reduces the power consumption of the monitor when the keyboard or the mouse has not been used for a fixed period Mode LED indicator Power consumption Condition Maximum operation Bl...

Page 20: ...English 18 Chapter 3 Troubleshooting This Chapter Includes Screen Image and Video Signal Issues on page 19 Hardware Issues on page 20 Image Persistence on page 20 ...

Page 21: ...e the OSD Image Adjust controls to focus and adjust the display by increasing or decreasing the FINE adjustment When the display mode is changed the OSD Image Adjust settings may need to be readjusted Check the monitor and your display card with respect to compatibility and recommended signal timings The image is not properly reproduced Use the OSD to enter the INFORMATION menu and confirm that th...

Page 22: ...to see if VOLUME is set to a minimum Check to see if the computer supports an audio signal through DisplayPort or HDMI Check selected SOUND INPUT when DisplayPort or HDMI is in use Image Persistence Please be aware that LCD Technology may experience a phenomenon known as Image Persistence Image Persistence occurs when a residual or ghost image of a previous image remains visible on the screen Unli...

Page 23: ...ngle Left Right Up Down 85 CR 10 80 CR 10 Response Time 5 ms Tr Tf Typ Active Display Area Horiz Vert 337 9 mm 19 2 inches 270 3 mm 11 7 inches AUDIO AUDIO Input STEREO Mini Jack DisplayPort Connector HDMI Connector Analog Audio Digital Audio Digital Audio Stereo L R 500mV rms 20 Kohm PCM 2ch 32 44 1 48 kHz 16 20 24bit PCM 2ch 32 44 1 48 kHz 16 20 24bit Headphone Output STEREO Mini Jack Headphone ...

Page 24: ...Down 89 CR 10 89 CR 10 Response Time 6 ms Gray to Gray Typ Active Display Area Horiz Vert 374 8 mm 19 2 inches 299 8 mm 11 7 inches AUDIO AUDIO Input STEREO Mini Jack DisplayPort Connector HDMI Connector Analog Audio Digital Audio Digital Audio Stereo L R 500mV rms 20 Kohm PCM 2ch 32 44 1 48 kHz 16 20 24bit PCM 2ch 32 44 1 48 kHz 16 20 24bit Headphone Output STEREO Mini Jack Headphone Impedance 32...

Page 25: ...n standard video inputs AUTO ADJUST Analog input only Automatically adjusts the image position H SIZE and FINE settings LEFT RIGHT Analog input only Controls horizontal image position within the display area of the LCD DOWN UP Analog input only Controls vertical image position within the display area of the LCD H SIZE Analog input only Adjusts the horizontal size by increasing or decreasing the se...

Page 26: ... button press to close the OSD menu The preset choices are 10 120 seconds by five second increments OSD LOCK OUT This control completely locks out access to all of the OSD control functions except for VOLUME BRIGHTNESS and CONTRAST To activate the OSD LOCK OUT function open the OSD TOOL sub menu select OSD LOCK OUT press and hold the INPUT RESET and buttons simultaneously until OSD LOCKED OUT indi...

Page 27: ...English 25 English Appendix B Repacking the Monitor Flexible Arm Installation This Chapter Includes Repacking the Monitor on page 26 Flexible Arm Installation on page 27 ...

Page 28: ...move the base stand when shipping the monitor 1 Place the monitor face down on a non abrasive surface 2 Remove the cable cover figure 1 3 Using your thumb press the button to unlock 4 With the button pressed in pull off the base stand figure 2 Figure 1 Cable Holder Monitor Stand Figure 2 Non abrasive surface ...

Page 29: ... from the monitor stand The monitor stand can be removed with the base stand attached 1 2 3 Non abrasive surface Mount the Flexible Arm Using four screws that meet the specifications listed below attach the arm to the monitor 12 mm M4 100 mm 6 8 mm Screw M4 Unit Thickness of bracket and washer Lock washer and flat washer Mounting Bracket 2 0 3 2 mm 100 mm 4 x 12 mm with lock washer and flat washer...

Page 30: ...mmitted to environmental protection and sees recycling as one of the company s top priorities in trying to minimize the burden placed on the environment We are engaged in developing environmentally friendly products and always strive to help define and comply with the latest independent standards from agencies such as ISO International Organisation for Standardization and TCO Swedish Trades Union ...

Page 31: ...s reached the end of its life All required information concerning the disposal of the product and country specific information on recycling facilities can be found on our following websites https www nec display solutions com greencompany in Europe https www nec display com in Japan or https www necdisplay com in USA Energy Saving This monitor features an advanced energy saving capability When a D...

Reviews: