Page 11
6.2 Initial Configuration
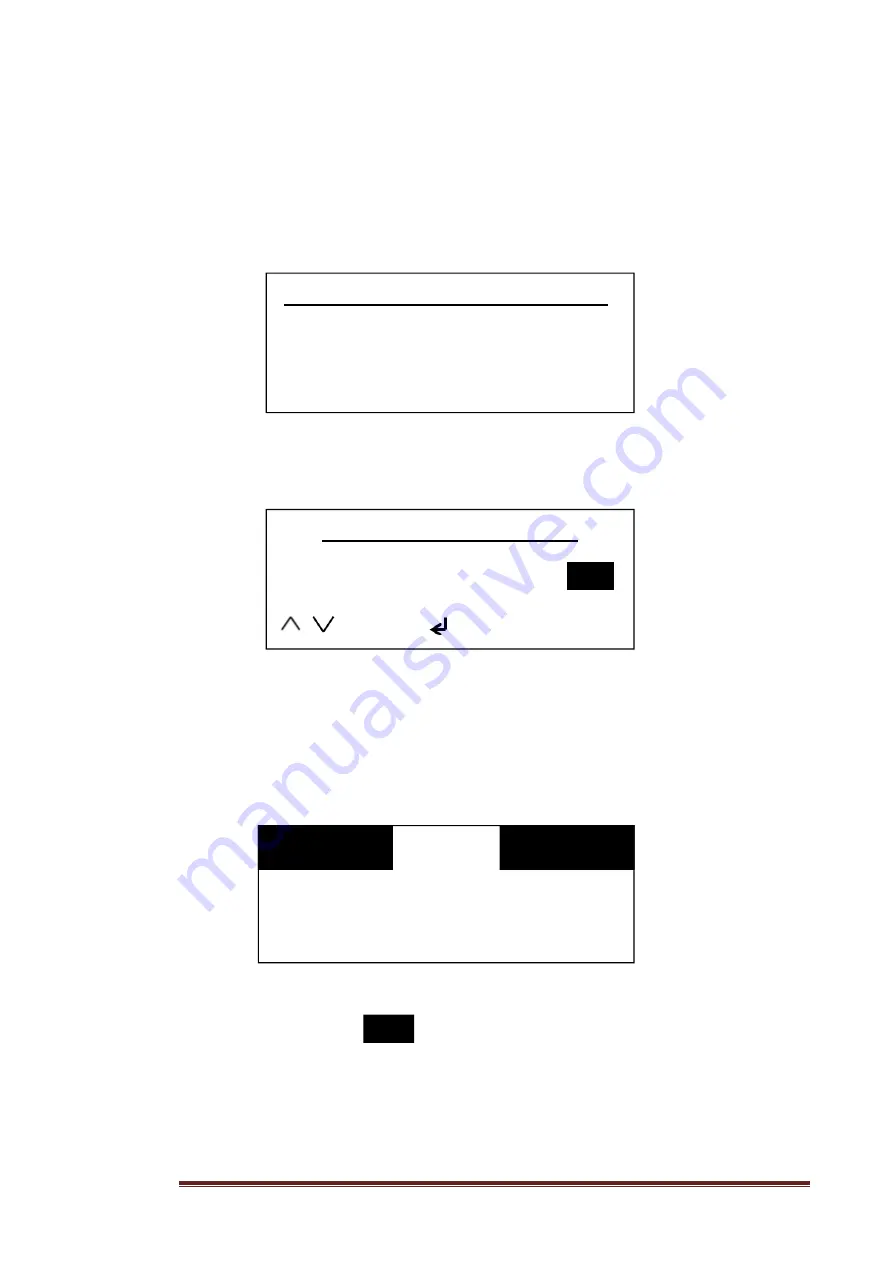
Upon initial switch on the LCD will momentarily display (approx. 2 Seconds) the
SensorMATe welcome screen. This screen contains information on the SensorMATe
variant and firmware version of the device.
After the version information has been displayed the user will be prompted to enter
the current date and time into the unit
Follow the on screen prompts to enter the date and time using the navigation
buttons. Momentarily select the “Standby button” to cancel if no timings are
required. Please note that the time and date can be entered at a later time if
desired.
You will then be displayed the
“Equipment Status”
menu similar to below:
Note: If the time and date was not configured the screen will display “Time/date not
set!” instead of the current date and time.
The contrast inverted captions that are displayed in the top LH and RH
areas of the screen indicate the monitoring status of the two available inputs on
the device. Once an input has been configured this will change to display one of
the event conditions as displayed in Chapter 4.
Possum SensorMATe VX.XX
Copyright <C>Possum 2015
<UK English / UK DST>
Please Set Time & Date
Year
15
...
Change
Save
<
Cancel
23
°
C
Monday
10:57
02 Mar 15
Summary of Contents for Possum SensorMATe 3
Page 1: ...Technical Manual SensorMATe 3 Version 1...
Page 2: ...Page 2 Copyright Possum 2017 SensorMATe 3 Technical Manual Version 1 5th January 2017...
Page 23: ...Page 23 10 Declaration of Conformity...
Page 24: ...Page 24...
Page 29: ...Page 29 Notes...
Page 30: ...Page 30 14 WEEE Information...


