


PiN 570
| User Manual
44
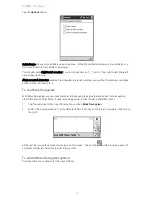
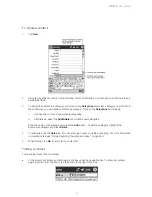
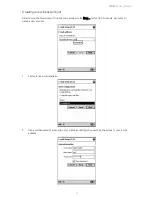
To create an appointment:
1.
If you are in Day or Week view, tap the desired date and time for the appointment.
2. Tap
New
.
3.
Using the input panel, enter a subject and a location.
4.
You can change the date or time of the appointment by tapping on the relevant field.
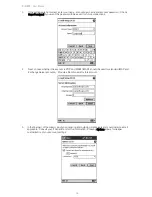
5.
Enter other desired information such as status (Free, Tentative, Busy, Out of Office) or Sensitivity
(Normal or Private). You will need to hide the input panel to see all available fields.
6.
If this appointment occurs more than once, click the text “Once” next to the
Occurs
field and select
among the drop-down options.
i.
Choose between weekly, monthly, or yearly appointments. Alternatively, you can edit the
recurrence pattern. Click Next to move to the next screen.
ii.
Indicate when this pattern should begin and terminate. Click
Finish
to save changes.
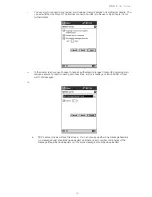
7.
You can add your appointment to a category if you wish. Click on the
Categories
field to begin.
i.
Choose one or more of the available categories.
ii.
Alternatively, select the
Add/Delete
tab to define new categories.
Enter the name of the category and press the
Add
button. To delete a category, highlight the
appropriate category and press
Delete
.
8.. When finished, tap
OK
to return to the calendar.
NOTE
: If you select
Remind me
in an appointment, your PiN will remind you according to the options set
in
Æ
Settings
Æ
Personal
tab
Æ
Sounds & Reminders
.
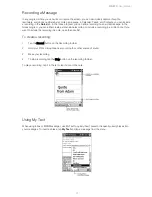
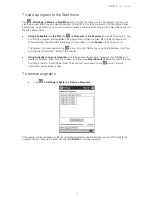
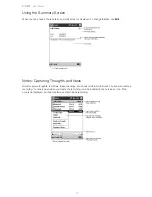
Using the Summary Screen
When you tap an appointment in Calendar, a summary screen is displayed. To change the appointment, tap
Edit
.
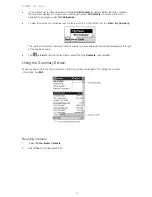
To add notes to an appointment, tap the
Notes
tab from the
Edit Appointment
screen.
You can enter text, draw, or create a recording. For more information on creating notes, see “Notes:
Capturing Thoughts and Ideas,” on page 50.
Summary of Contents for PiN 570
Page 1: ......
Page 2: ......
Page 4: ...PiN 570 User Manual 4 ...
Page 83: ...PiN 570 User Manual 83 If you choose to Rename type in the new file name ...


