


60
English
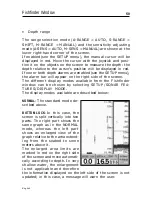
Track
Depth values are displayed only if available.
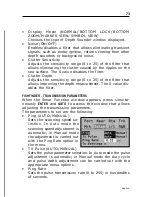
By positioning the manual cursor on the starting point of a
track segment, a menu will allow changing the segment name,
displaying average/maximum speed data, trip length/time, de-
leting the single segment as well as changing the single seg-
ment color.
When the menu pops up, press
ENTER
to access the options,
then use the joystick to select the desired option and press
ENTER
to confirm.
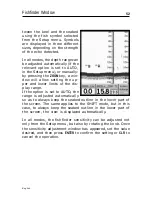
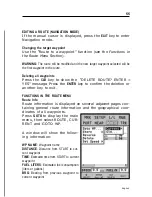
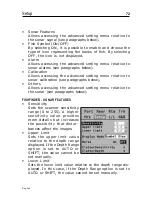
Route to a track segment
Press the
GOTO
key and select TRACK, CURRENT, GOTO
TRACK by the joystick. A window will show, for each track
segment, the line color, the name, the recording start date
and time as well as the recording duration and length.
The list can be sorted by using the joystick to select the sort
field and
ENTER
to confirm. Use the joystick to select the target
segment (the latest 8 segments used will be highlighted) from
the catalog and then press
ENTER
to confirm.
The GEONAV will position the manual cursor at the begin-
ning of the track segment selected; insert a waypoint by press-
ing
ENTER
,
or a marker by holding
ENTER
pressed.
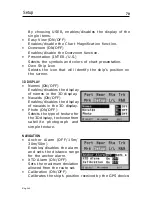
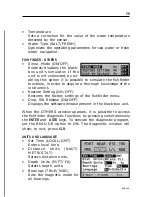
Setting the track density
Press the
GOTO
key and select TRACK, CURRENT, TRACK
DENSITY by the joystick. A window will allow setting the
trackpoint saving density by time interval, distance or auto-
matically.
Automatic track
When no track has been manually enabled by the user, the
Automatic track function will allow keeping the record of the
route anyway.
Summary of Contents for Geonav 5 Touring
Page 1: ...User and Installation Guide 5Touring...
Page 2: ......


