Getting Started with AKD EtherCAT Drives and NI SoftMotion
|
© National Instruments
|
25
Complete the following steps to test your setup after configuring and tuning the axis.
1.
Right-click the axis in the
Project Explorer
window and select
Interactive Test Panel
from the shortcut menu. Opening this dialog box sends the axis settings to the hardware and
activates the I/O on the module.
2.
On the
Move
tab, set the
Target Position
to
10
.
3.
On the
Move Constraints
tab, configure the following settings:
a.
Set
Velocity
to
1.00
Rev/sec
b.
Set
Acceleration
to
10.00
Rev/sec^2
c.
Set
Deceleration
to
10.00
Rev/sec^2
d.
Set
Acceleration Jerk
to
100.00
Rev/sec^3
e.
Set
Deceleration Jerk
to
100.00
Rev/sec^3
4.
Click the
Start
button on the bottom of the dialog box. The move should proceed for
10 revolutions at a velocity of 1 revolution per second.
5.
Use the
Status
and
Plots
tabs to monitor the move while it is in progress.
Your system is now configured and ready for motion application development.
Configuring a PXI or Industrial Controller Master
Complete the following steps to use a PXI or Industrial Controller as the EtherCAT master.
1.
Connect the controller to an Ethernet network on the same subnet as the development
computer. Refer to the controller operating instructions for information about wiring
the controller to the power supply and Ethernet network.
2.
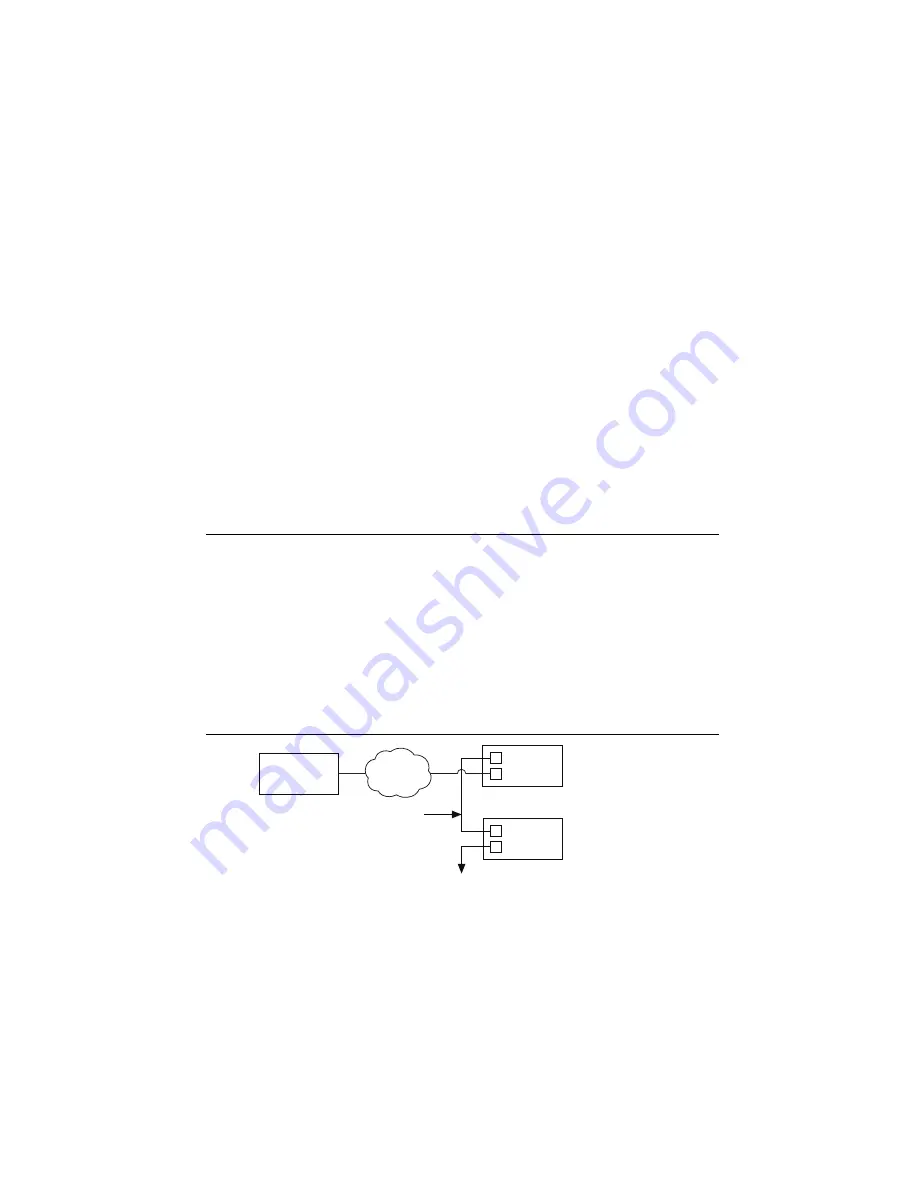
Connect the secondary port of your EtherCAT Master directly to the IN port (top port) on
the AKD EtherCAT servo drive using a standard Category 5 Ethernet cable. You may
expand the deterministic Ethernet network by connecting an additional AKD EtherCAT
drive or other slave devices to the OUT port (bottom port) on the first AKD EtherCAT
drive.
Figure 20.
Connecting the AKD EtherCAT Drive to the Network
Addition
a
l
AKD EtherCAT Drive/
S
l
a
ve Device
s
AKD EtherCAT Drive
NI M
as
ter Controller
Ho
s
t
Comp
u
ter
S
econd
a
ry
Prim
a
ry
IN (X5)
OUT (X6)
EtherCAT
Ethernet


