NATCOMM Page 9
IF YOU HAVE THE OPTIONAL RECORDING TONES FACILITY
(otherwise go to step 11)
9.
You will need to use the supplied cable which has USB PLUG connected to it.
10.
The USB port used to connect CRU3 should be automatically detected and displayed.
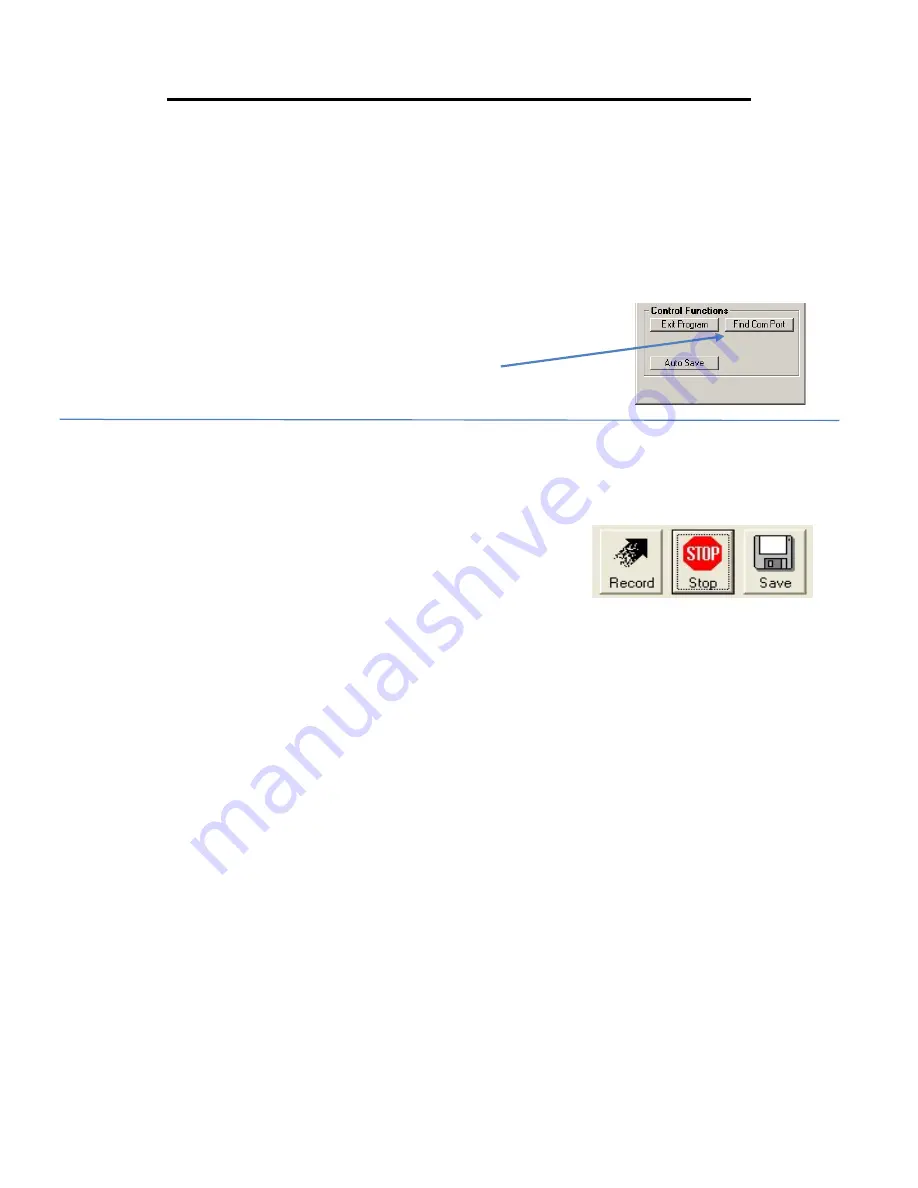
If a COM port number is not displayed, click Find
Com Port. If a COM port number is still not
displayed, Go to page 19.
11.
You are ready to TEST your Call Recording System:
a)
Pick up your handset, select a telephone
line and then press the RECORD icon.
b)
Speak into your handset for a short period
and then press the STOP icon.
12. Playback your Test Recording
Using Windows Explorer or My Computer to navigate to your recording:
C:\Program Files\RecordSoftware\MP3Store (if you are using Windows XP or earlier)
Or Navigate to your changed Save Folder (including all users of Windows 7 or Later)
You will see a single MP3 file in this folder. Double Click this file. Your PC’s Music
Player will begin to open and then this recorded call should play back through your
speakers.
You can adjust the playback Volume by using the slide bar(s) provided
in the CRS Menu or you can do so in Windows Mixer (see page 15).
a)
If you can hear yourself and the telephone dial tone, and the volume is correct
proceed to page 10.
b)
If you CANNOT hear yourself and the telephone dial tone, proceed to page 15.


