40
à
go back to contents
à
go back to contents
10. Software STEVE
Preparation for a measurement
Note!
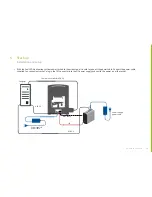
In order to start your measurements, verify that all the cables are properly plugged in, the 3D Cell Explorer-
fluo
and the CoolLED illumination
system are turned on and connected to your computer and STEVE is running.
Operate and control the 3D Cell Explorer-
fluo
and the CoolLED illumination system easily with STEVE if you wish to do the following:
• Fully automated microscope calibration
• Single-frame image acquisition (single 3D reconstruction)
• Time-lapse acquisition (multiple 3D reconstructions in a range of time)
• Localization of organelles at different cell depths
• Co-localization of fluorescence (3 channels) & Digital Stains (7 channels at single acquisition)
• Sample screening using auxiliary bright field mode (white light)
Data Storage
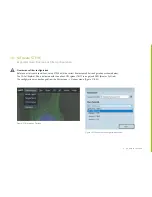
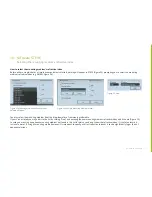
An acquisition generates a lot of data. It is thus necessary to store it on the control PC hard drive. The location of this acquisition buffer may be
changed from the Microscope —> Options menu. By default, it points to a location on your system drive (C:). You may choose another location
with more available space to avoid acquisitions being interrupted due to insufficient space.
Fully automated microscope calibration
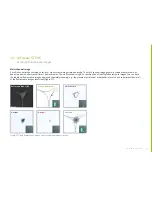
With the 3D Cell Explorer-
fluo
, there is no need for manual calibration. After positioning your sample, the microscope will instantly self-adjust so
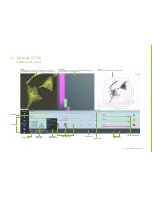
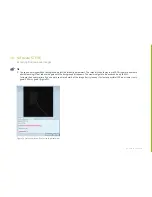
you can be sure you are getting the best possible images of your cells. You can always check the calibration progress as it is displayed on STEVE.
After calibration is completed the cell image is displayed on the left panel of STEVE (2D view).
Step-by-step guide on how to prepare for a measurement
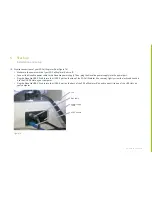
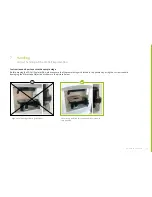
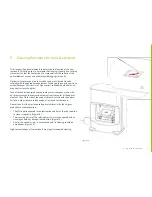
Take the sample previously prepared (for details on how to prepare the sample, please refer to the “Sample Preparation Protocol”) and place it on
the 3D Cell Explorer-
fluo
stage.
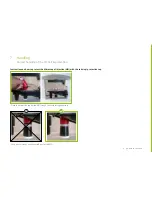
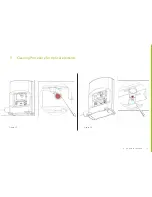
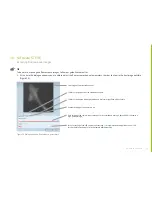
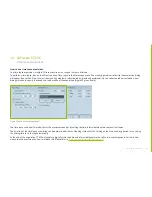
Open STEVE and click on the white light button. On the left panel of STEVE you can visualize your cells in the white light mode. Use the XY and Z
knobs of the 3D Cell Explorer
-fluo
to search for the cell of interest and focus on it.
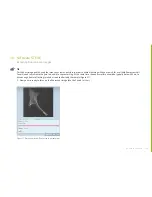
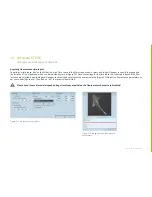
Now you can choose to either do a single-frame image acquisition or a time-lapse acquisition with your desired fluorescent channel choice.

