


4a. Turn control knob (17) clockwise or press the
BASS + button on the remote control to widen the
stereo image to the desired level.
4b. Turn control knob (17) counter clockwise or press
the BASS - button on the remote control to make the
stereo image narrower to the desired level. By adjust-
ing the setting to minimum, width has effectively been
reduced to full mono.
NOTE: The Width DSP function uses the stereo
information embedded in the music to calculate the
wider stereo image. If the music source is fully mono
then the Width DSP function doesn’t have any effect.
• Width & Spread
The Width & DSP Spread function is identical to the
Width DSP feature as described but in this DSP func-
tion the possibility of Spread has been added.
The Spread DSP function can make pure mono
recordings sound more spacious by stereo simulation.
In the past there have been attempts at stereo simula-
tion but very often with questionable results. This
Stereo Simulation program is subtle in the way it works
but it does help to eradicate the “keyhole” effect (fixed,
phantom image between the loudspeakers) when lis-
tening to a mono source over two loudspeakers.
When using stereo program material the additional
spacious effect of the Spread DSP function can be
used simultaneously with the Width DSP function (mak-
ing a stereo image wider or narrower).
1. Select the Width & Spread DSP function (16; but-
ton Width & Spread on remote control, section 3 on
remote control drawing).
2. Switch on DSP (15; button IN/OUT on front panel,
10 on remote control drawing).
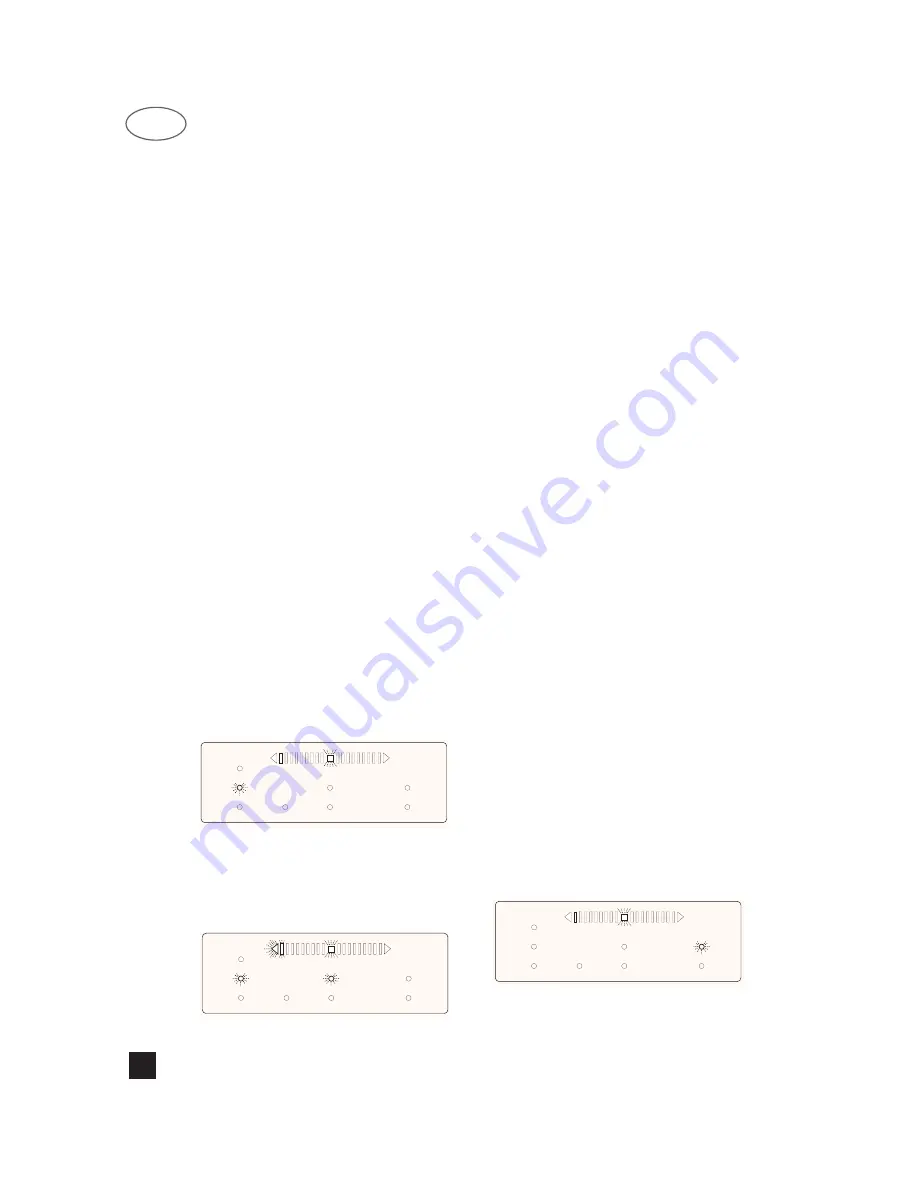
3. Start from the neutral setting for Width (original
stereo sound, no widening or narrowing) at the 12
o’clock position for the front panel control knob (17).
When using the remote control, press the BASS + or -
buttons (section 11 on remote control drawing) to
adjust to the neutral position, indicated by the LED bar
(only the square centre LED lights up) in the display
panel (26):
4. Start from the neutral setting for Spread (original
source’s stereo or mono sound, no spread added) at
the 7 o’clock position for the front panel control knob
(17). When using the remote control, press the MID -
button (section 11 on remote control drawing) to adjust
to the neutral position, indicated by the LED bar in the
display panel (26):
4a. Turn control knob for Width (17) clockwise or
press the BASS + button on the remote control to
widen the stereo image to the desired level.
4b. Turn control knob for Width (17) counter clock-
wise or press the BASS - button on the remote control
to make the stereo image narrower to the desired level.
By adjusting it to the maximum, width has effectively
been reduced to full mono.
5. Turn control knob for Spread (18) clockwise or
press the MID + button on the remote control to add the
desired level of Simulated Stereo.
NOTE: The Width DSP function uses the stereo
information embedded in the music to calculate the
wider stereo image. If the music source is fully mono
then the Width DSP function doesn’t have any effect.
The Spread DSP function will work with both mono and
stereo program material, however.
• Compression
Although this particular DSP function is referred to as
compression only, it can actually expand as well. In
many cases high dynamics in music (large differences
in volume level between the soft and loud passages)
can cause difficulty in situations whereby one can’t play
very loud recordings or broadcasts, or doesn’t wish to
play loud, e.g. for background music. In such instances
the loud passages become too loud if the soft pas-
sages are right, or the soft passages become too soft if
the volume level for the loud passages is right.
The Compression DSP function will raise the relative
volume level of the soft passages without changing the
volume for the very loudest passages. This way the dif-
ferences in volume between soft and loud passages
have become much smaller, making the music much
more enjoyable at low volume levels.
Compression is also particularly useful for making
recordings which will be played back in environments
with lots of ambient noise (e.g. tapes for personal
stereo or car stereo); as soft passages are difficult to
hear because of the surrounding noise. To use the
Compression DSP function:
1. Select the Compression DSP function (16; button
“Comp” on remote control, section 3 on remote control
drawing).
2. Switch on DSP (15; button IN/OUT on front panel,
10 on remote control drawing).
3. Start from the neutral setting for compression
(original sound, no compression or expansion) at the
12 o’clock position for the front panel control knob (19).
When using the remote control, press the or -
buttons (section 11 on remote control drawing) to
adjust to the neutral position, indicated by the LED bar
(only the square centre LED lights up) in the display
panel (26):
4. Turn control knob for compression (19) clockwise
or press the button on the remote control to
set the desired level of compression. Set the compres-
FM
WIDTH
BASS
INFRASONIC
MID
SPREAD
TREBLE
COMPRESSION
FM
WIDTH
BASS
INFRASONIC
MID
SPREAD
TREBLE
COMPRESSION
FM
WIDTH
BASS
INFRASONIC
MID
SPREAD
TREBLE
COMPRESSION
NAD
12
GB