Always move the Z axis down first to avoid collision with the print tips.
When moving the X and Y axis, make sure you do not stray too far from the home switches (left rear of the
machine) as this can cause collision with the printer frame . excessive collisions will damage the printer .
CheCkIng The XYz aXIs
Before you start using your CubeX you need to verify that no damage was inflicted on the X, Y or Z axes during shipping. To
do this, select the ‘move’ option on the main menu .
1 . move each axis in both directions, using the arrows on the screen .
2 . after checking that all axes work, use the function button to go back to the main menu .
3 . select to the ‘Home’ option on the main menu .
4 . Press the ‘Home’ button . This will move the print jet carriage to each of the home switches, checking the XYZ axis and
the Home function . The print jet carriage should stop in the home position in the back left corner of the machine .
navIgaTIng The CubeX MaIn Menu
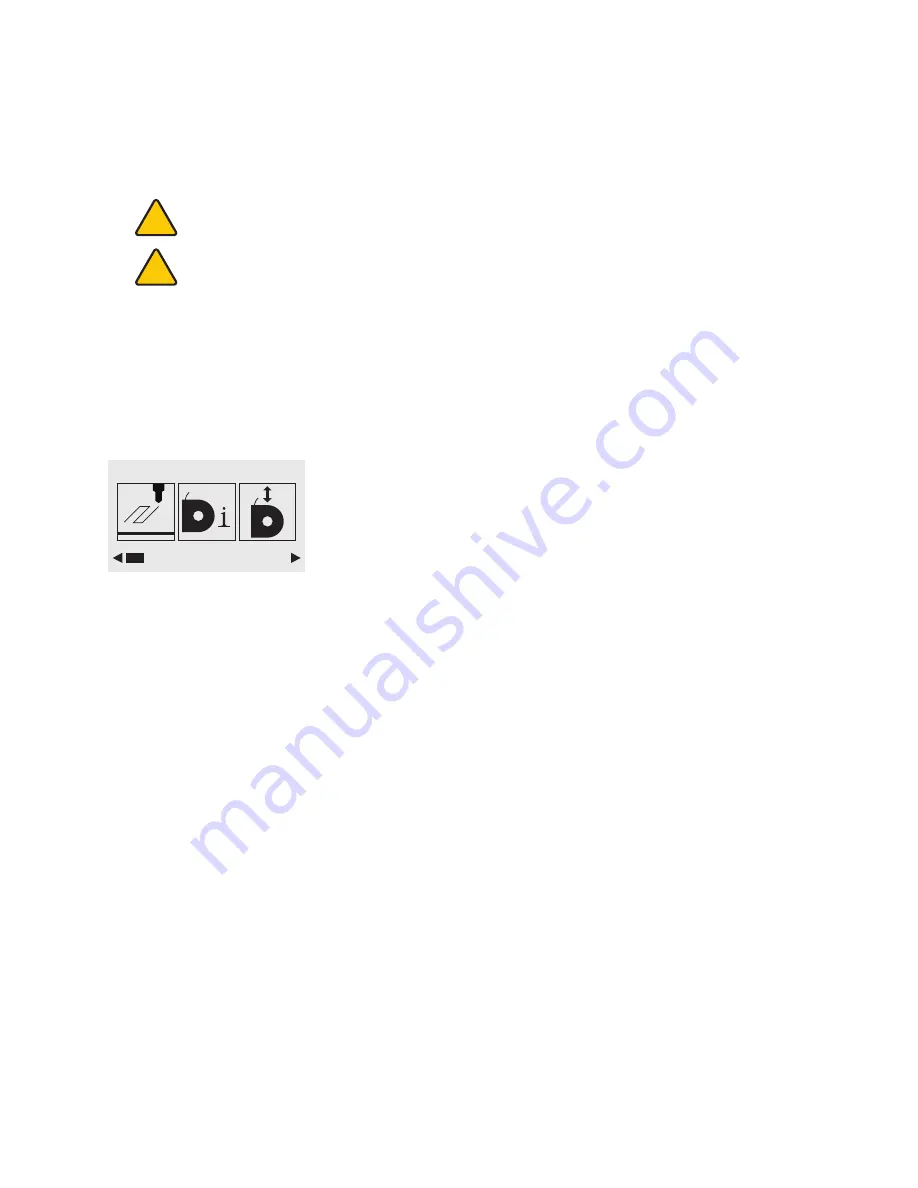
navigate the main menu using the arrows on the bottom corners of the touchscreen .
InsTallIng The pRInT pad
1 . Open the “move” function screen located on the CubeX Control panel
2 . using the up and Down arrows move the print pad base to its lowest position .
3 . To install the print pad, align the aluminum foot with front slot on the print pad base
4 . Drop the print pad into position, when properly installed the magnet will lock the print pad in place .
!
!
INFO REPLACE
9


