18
• Preview
Preview (a quick low-resolution scan of the
entire original image) the image in order to
get a clearer idea of the image area you
want to include in your final scan. To
preview, the steps are:
1. Place the document face down on the scan
window glass.
2. Click on the
Preview
button. After the scanner
has scanned the document, the scanned image will
appear in the Preview Window.
• Cropping Tool
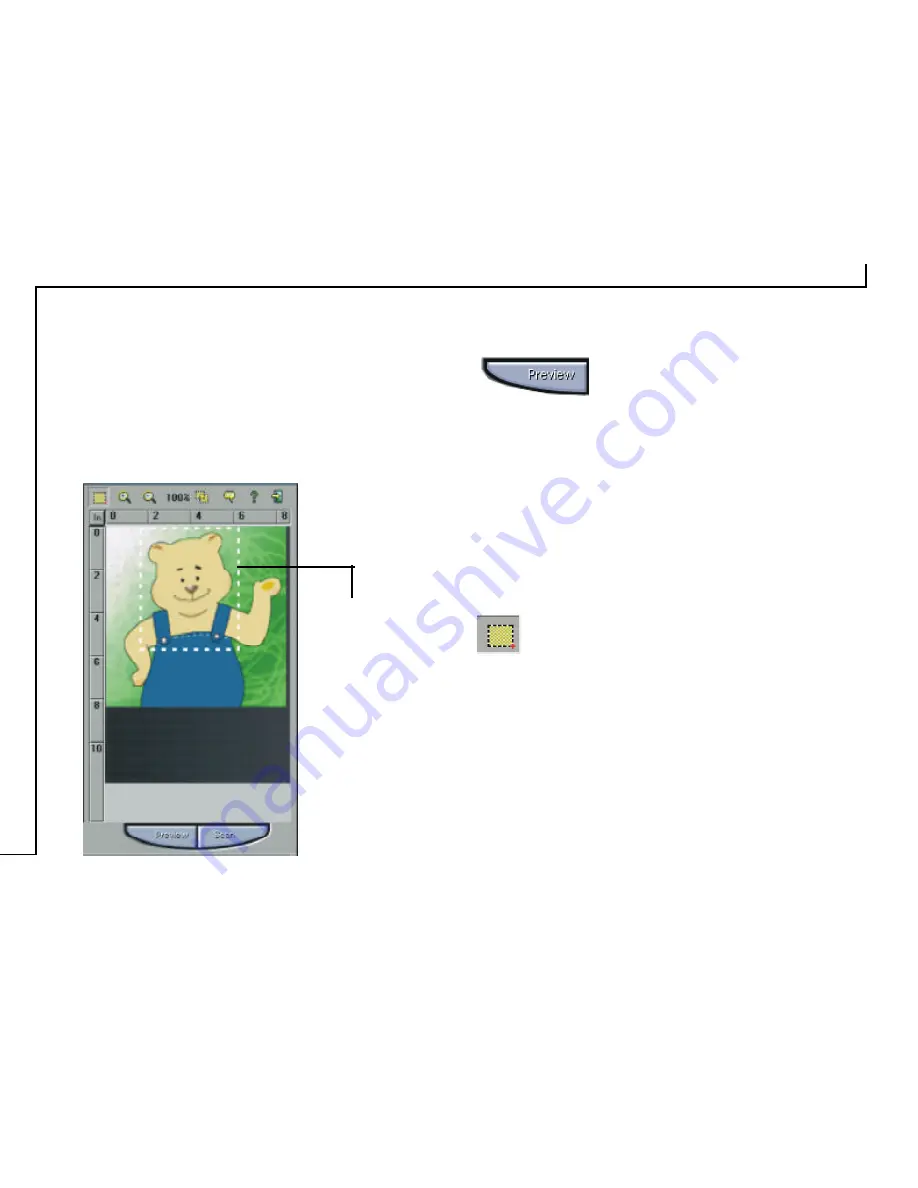
Clicking this button creates a Crop Frame (dotted
rectangle) in the Preview window while in Zoom mode.
The Crop Frame outlines the image area you wish to
scan. Click one of the sides or corners of the Crop
Frame and drag it to the desired length and width. To
move the entire Crop Frame, position the mouse cursor
inside it and drag with the left mouse button. Use the
cropping tool with the zoom tools to set the exact
image area you wish to include in your final scan.
The Preview Window & Buttons
The Preview window is where the preview image appears.
It is recommended that you preview each document/image
before scanning. Using the preview image, you can
specify the final image area to be included in the scan
and/or apply the enhance and filters features.
Crop Frame
Outlines the
scan area or
region that
will be
included in
the final scan.


