Configuring the network settings > 16
D
ETERMINING
THE
NAMES
OF
THE
ITEMS
REQUIRED
FOR
SCAN
TO
NETWORK
PC
Determine the names of the following items and fill in
C-2
to
C-6
on the
“Setup Information
Form,” on page 9
.
>
User name to log into the destination computer (
C-2
)
>
Password to log into the destination computer (
C-3
)
>
Profile name to register the settings on your machine (
C-4
)
>
Shared folder name on the destination computer (
C-5
)
>
File name of the scanned data (
C-6
)
C
ONFIGURING
THE
COMPUTER
FOR
SCAN
TO
NETWORK
PC
Register your machine on the computer as a user and then set up a shared folder to which
scanned images are sent and saved.
Windows 7, Windows Server 2008 R2, Windows 2008 and Windows Vista
1.
Click
Start > Control Panel
.
2.
Select
Add or remove user accounts
.
3.
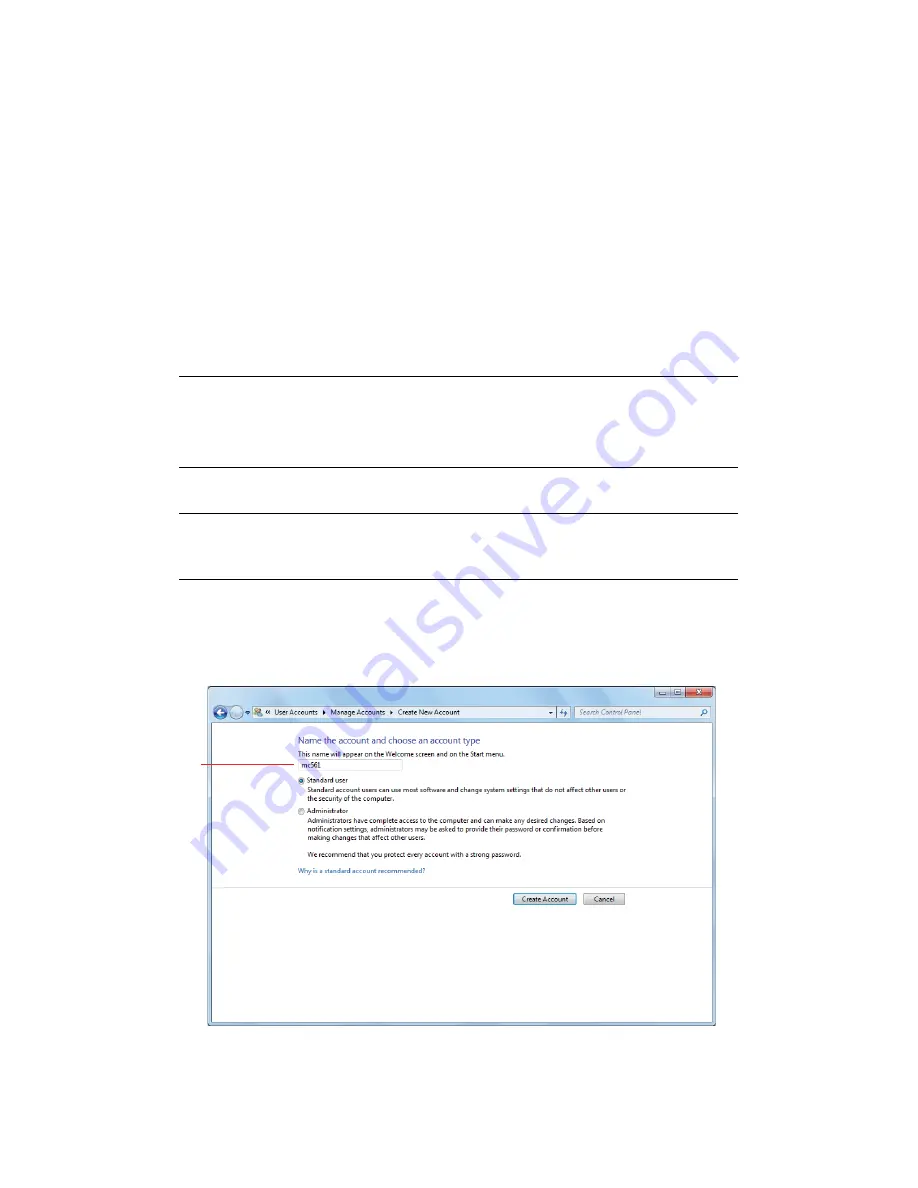
Select
Create a new account
.
4.
Enter the
user name (C-2)
in the text box.
5.
Ensure that
Standard user
is selected, and then click
Create Account
.
6.
Click the icon of the user account created in step
5
.
NOTE
If the computer is in a domain, the procedure of adding a user account may
be different to the procedure below.
Refer to Windows help.
NOTE
The procedure below uses Windows 7 as an example. The display may differ
depending on the operating system.
C-2


