Chapter 3 – Configure your MultiAccess
18
Multi-Tech Systems, Inc. MultiAccess User Guide
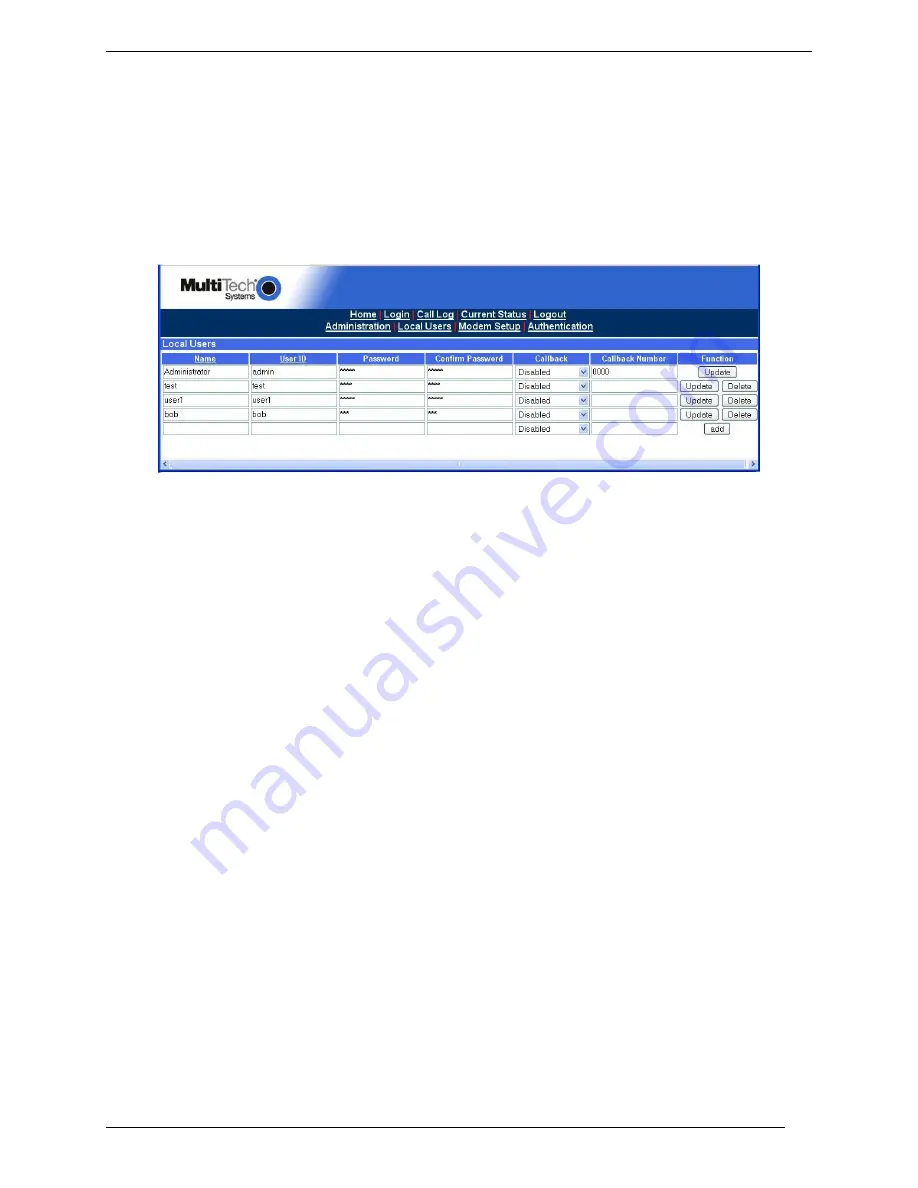
Setting Up Local Users
The administrator builds the Local Users data base by defining the Name field, recording the User ID,
Password entries, and callback method. The administrator account has both administration of the
MultiAccess and dial-in rights and dial-out rights. The local user accounts have dial-in and dial-out rights.
Remote users enter their user ID and password at the beginning of the dial-in session.
For Local Authentication, go to the
Local Users
screen.
Note:
The first row is for the “Administrator” function. No matter what values are used for the
Name
,
User ID
and
Password
fields, the first row will still apply to the person doing the
Administrator function for the MultiAccess. The Administrator is the party privileged to
configure the MultiAccess.
Note:
Callback Security can be implemented in two ways: 1) a fixed telephone number by choosing
Admin specific in the Callback window. 2) A variable telephone number by choosing User specified in
the Callback window.
Administator Row:
1. In the “Administrator” row of the
Local Users
screen, enter the Name and User ID to be used for
the MultiAccess administrator (it need not be literally “Administrator”).
2. In the Password window, enter an alphanumeric password. Passwords can be as long as 21
characters and are case-sensitive.
3. In the Confirm Password window, enter the identical alphanumeric password.
4. If the administrator is going to use the Callback Security option, click on the
Callback
down arrow
and choose the callback method. The fixed phone number is
Admin specified
or variable phone
number is
User specified
.
If
the
Callback Security
option is enabled and
Admin specified
is selected, then enter your
fixed callback telephone number in the
Callback Number
window.
If
the
Callback Security
is enabled and
User Specified
is selected, you
do not
enter a
telephone number in the
Callback Number
window. You enter the callback telephone number
during the dial-in process.
5. Click
on
Update
in the “Administrator” row. At this point, a
Login
screen will appear and you will
be asked to log in again. Log in using the administrator’s User ID (as listed in the “User ID”
column) and the administrator’s current password.
Caution:
If you change the admin password, you must be sure you remember your new
password.
Users Row:
1. In the first blank row, enter the
Name
and
User ID
of your local user.
2. In
the
Password
window, enter an alphanumeric password. Passwords can be as long as 21
characters and are case-sensitive.
3. In
the
Confirm Password
window, enter the identical alphanumeric password.
4. If you are going to enable the Callback Security option for a remote user, click on the
Callback
down arrow and choose the callback method. A fixed phone number is
Admin specified
or
variable phone number is
User specified
.
For example of a
user specified
, if a traveling sales person needs to be called back at their
current location, they will provide the callback telephone number during the dial-in process. You
do not
enter a telephone number in the Callback Number window.


