Chapter 3: FaxFinder Client Software Operation
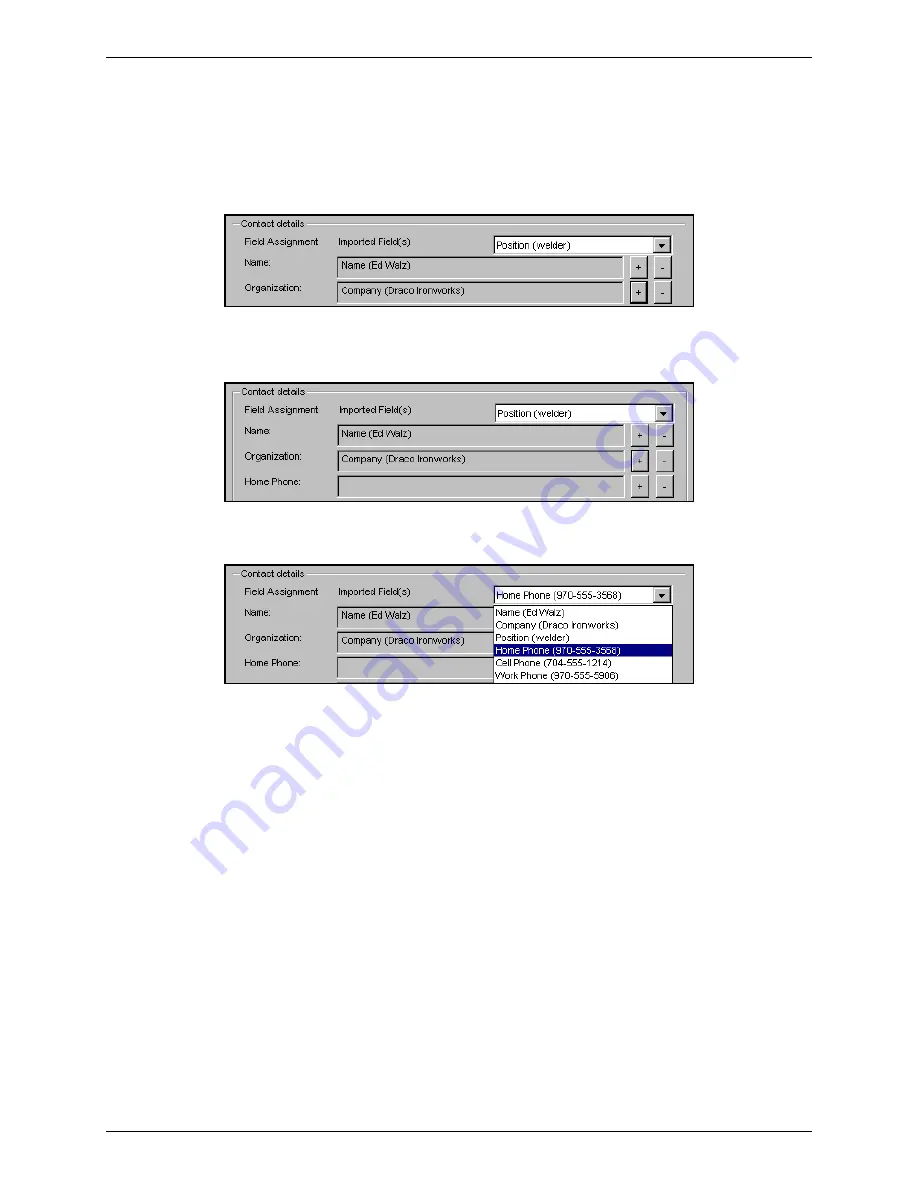
6. When one field name from the drop-down list has been added (with the
+
button), the next CSV field
name in the drop-down list will appear. Click
+
on the next line to associate that CSV field with the
next New Contact screen field (if the association makes sense). Sometimes the field names will differ
but it will be appropriate to map the CSV field to the New Contact screen field anyway. (For example,
the “Company” field from the CSV file can logically be mapped to the “Organization” field of the New
Contact screen.)
7. When the field names from the CSV file cannot logically be mapped from the CSV file to the New
Contact screen (for example, the “Position” field from the CSV file cannot be logically mapped to any
New Contact screen fields), skip that CSV field.
8. Search in the Imported Fields drop-down list for appropriate CSV fields and use the
+
button to map
such CSV fields to
New Contact
screen fields as needed.
9. Use the
–
button on any line to delete an unwanted mapping.
10. The CSV file may have more or fewer fields than the
New Contact
screen.
In any event, you must map a fax recipient
Name
and a
Fax Number
from the CSV file to the New
Contact screen to create valid entries in the FaxFinder Address Book.
Multi-Tech Systems, Inc.
FaxFinder Client User Guide
68


