34
MultiFRAD 3000-Series User Guide
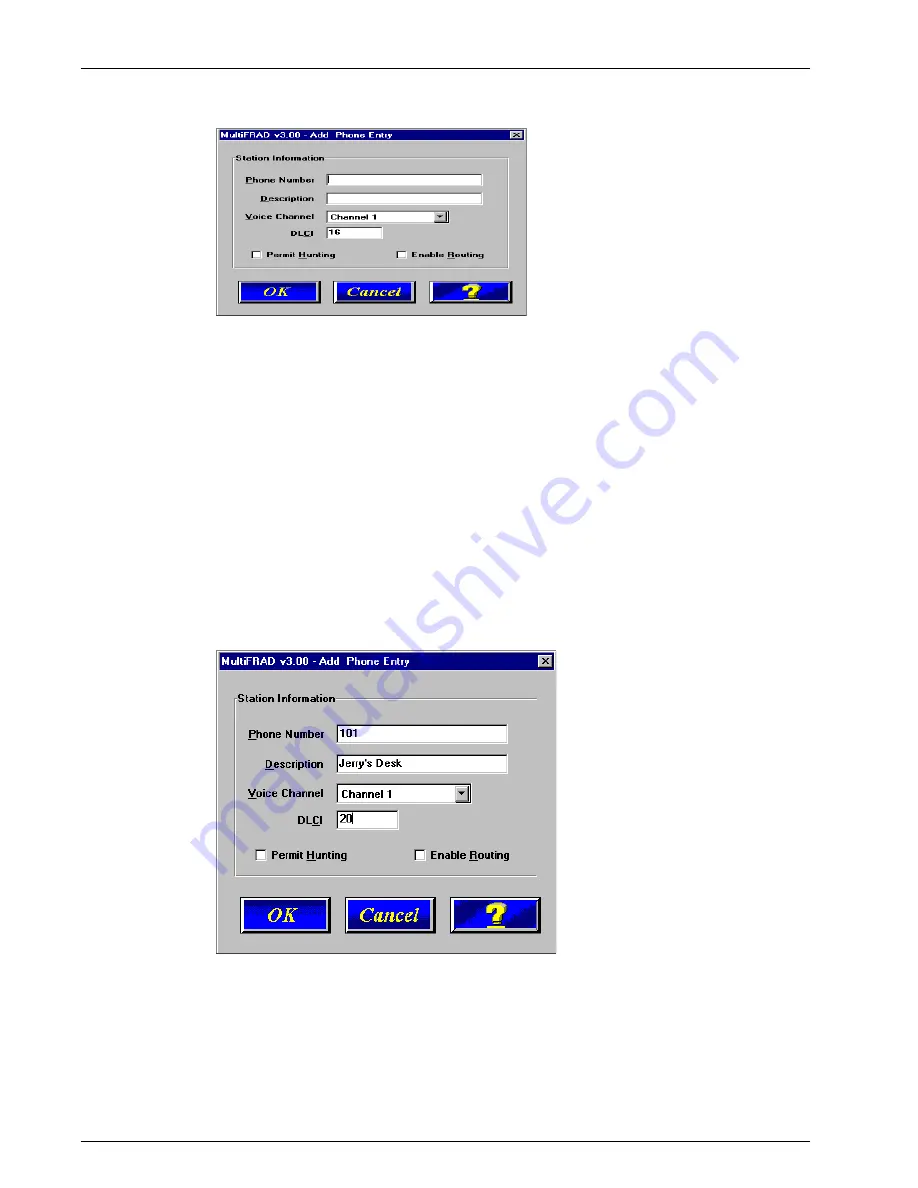
58. Click Add to begin building your phone directory database. The Add/Edit Phone Entry
dialog box is displayed.
In the Station Information group, enter a unique phone number in the Phone Number field
for one of the remote voice/fax channel you will be calling. For example, telephone number
101. This telephone number does not have to be a standard number of digits (7).
The Description field for your local phone number is optional. In the following example, we
describe the phone number as, “Jerry’s Desk.”
The Voice Channel field defaults to Channel 1. To change the channel number, click the
down arrow and highlight desired remote voice/fax channel number.
The Permit Hunting option enables a call to roll over to an available channel on the remote
FRAD if the first channel is busy. Click on Permit Hunting if you want to roll over to another
channel.
If there is no direct PVC, such as between two remote sites, you will need to click to check
Enable Routing to assure that such calls will go through.
The DLCI field defaults to the number 16, which can be changed by selecting it and typing
the desired number. (We are using DLCI number 20 in this example.)
59. Click OK and you are returned to the Phone Directory Database dialog box, which now
displays the phone number 101 in the Station Phone Number list and your other information
in the Station Information group.
Summary of Contents for MultiFrad FR3060
Page 13: ...3000 Series Router Multiport Data Voice Fax Frame Relay Access Device Chapter 2 Installation...
Page 78: ...78 MultiFRAD 3000 Series User Guide...
Page 84: ...84 MultiFRAD 3000 Series User Guide...
Page 85: ...3000 Series Router Multiport Data Voice Fax Frame Relay Access Device Appendices...
Page 91: ...3000 Series Router Multiport Data Voice Fax Frame Relay Access Device Glossary...


