English
Operating Manual
10
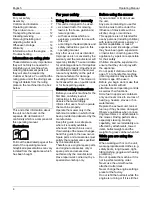
Danger of asphyxiation due to
carbon monoxide poisoning
Run the internal combustion engine
outdoors only.
Explosion or fire hazard
Petrol vapour is explosive and
petrol itself is extremely flammable.
Fill up will petrol before you start
the engine. Do not remove the fuel
cap while the engine is running or if
it is still hot.
Fill the fuel tank only after the
engine has been switched off and
allowed to cool down. Avoid naked
flames, spark formation and do not
smoke. Only refuel the mower out
in the open.
Do not start the engine if any petrol
has been spilt.
Push the mower away from the
area where the petrol was spilt and
wait until the petrol fumes have
evaporated.
To prevent a fire hazard, keep the
following parts free from grass and
leaking oil: engine, exhaust,
battery, fuel tank.
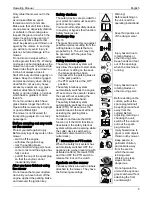
Danger
Injury hazard due to defective
mower
Do not operate the mower unless it
is in perfect working order.
Always carry out a visual inspection
of all parts before you use the
mower. Pay particular attention to
safety devices, the cutting
mechanism and its supporting
brackets, operating controls and
threaded connections, and check
that they are not damaged and are
securely attached.
Replace all damaged parts before
you use the mower again.
Operating times
Observe the national/municipal
regulations concerning the times
when the unit may be used (if
required, ask the appropriate
authorities).
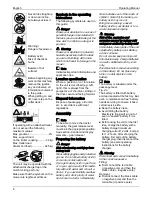
Before operating the unit,
always
Check:
all guards,
the engine oil level
(see engine manual),
the fuel level,
the tyre pressure,
Side panels, accessory
equipment, air filter area for dirt
and debris.
Filling up with fuel and checking
the oil level
Note
The engine has already been filled
with oil at the factory – please
check and, if required, refill.
Fill up with lead-free petrol.
See engine manual.
Fill fuel tank up to max. 2 cm
below the lower edge of the inlet
nozzle.
Replace the fuel cap and ensure
that it is secure.
Check the oil level. The oil level
must be between the „Full/Max.“
and „Add/Min.“ marks (see also
engine handbook).
Check tyre pressure
Check the tyre pressure (see tyre
walls) on all wheels. Correct if
necessary.
Preparing for operation
Park the appliance on a firm level
surface and lock the parking
brake.
Conduct all work with the engine
switched off.
Remove the ignition key.
For all work on moving parts:
Disconnect in addition the spark
plug.
Adjusting the seat
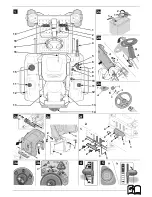
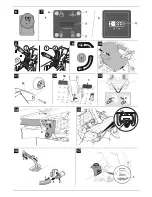
Fig. 10
Sit down on the driver's seat.
Move seat to the required
position.
Adjusting the steering column
Fig. 2b
Loosen clamping lever (2) anti-
clockwise.
Tilt steering column (B) into the
required position.
Tighten clamping lever (2)
clockwise to lock the steering
column in this position.
Setting the cutter wheels
Fig. 11
The cutter wheels should never be
lower than 6–12 mm above the
ground at the lowest cutter position.
The cutter wheels are not designed
to bear the loads generated by the
cuttersand may have to be offset
accordingly.
Note
The number of cutter deck wheels
varies depending on the model.
Starting the engine
Sit on the driver’s seat.
Open fuel tap (for the right or left
fuel tank).
Switch off the cutter deck:
Switch off PTO and raise the
cutter deck.
Push the brake pedal down fully
or lock the parking brake.
Do not actuate accelerator pedals
(= neutral position, N position).
Move throttle to
.
If the engine is cold, pull out the
choke or set the throttle to
.
Turn the ignition key to until
the engine is running (start
attempt max. 5 seconds, wait
10 seconds before the next
attempt). When the engine is
running, set the ignition key
to /
.
Slowly push back the choke.
Return the accelerator lever until
the engine runs smoothly.
Stopping the engine
Move the throttle to the middle
position.
Leave the engine running for
approx. 20 seconds.
Set ignition key to .
Remove the ignition key.
Engage the locking brake before
leaving the appliance.
Driving
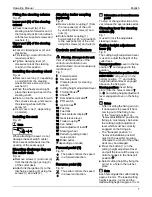
Danger
Abrupt starting, sudden stopping,
and driving at an excessively high
speed increases the risk of
accidents and may damage the
unit.
Never set/adjust the steering
column or driver’s seat while
driving.


