


9
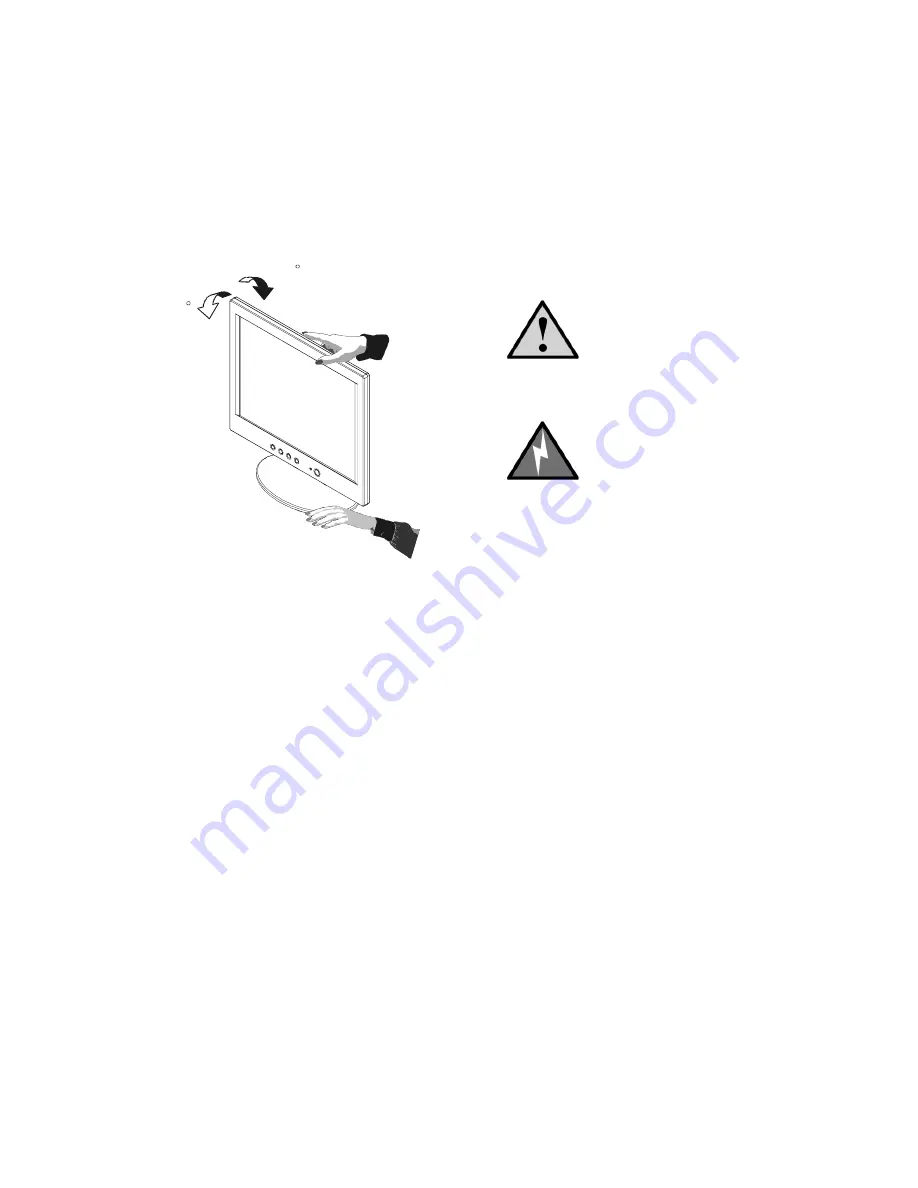
ADJUSTING THE VIEWING ANGLE
•
For optimal viewing, look at the full face of the monitor, and then adjust
the monitor’s angle to your own preference.
•
Hold the base so the monitor does not fall when you change the
monitor’s angle.
•
You are able to adjust the monitor’s angle from -5
°
to 25
°
.
-5
25
Figure 3: Adjusting the Monitor’s Angle
OPERATING INSTRUCTIONS
The following sections provide information about operating and adjusting
your monitor.
General Instructions
To turn on the monitor, do the following:
1
Check that the power cord is connected to the monitor and a power
outlet or socket.
2
Check that the video cable is connected securely to the monitor and to
your computer’s video port.
3
Verify the audio cable is connected to the Line In port on the display.
4
Verify the audio cable is connected to the Line Out port on the PC.
5
Locate the power button. (See Figure 4 and Table 1 on page 10.)
6
Press the power button. The power indicator will light up. The monitor
features a unique quick-switch system. A picture should appear within
seconds after the monitor is turned on.
Caution: Do not touch
the LCD screen when
you change the angle,
or the screen may
become damaged or
broken.
Warning: Be careful
not to pinch your
fingers when adjusting
the monitor’s angle.


