5-16
Disassembly And Reassembly Procedures
: Radio Reassembly – Detailed
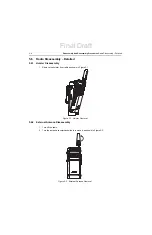
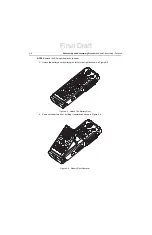
2. Pull the dust cover out from the front housing as shown in Figure 5-20.
Figure 5-20. Dust Cover Removal
5.7
Radio Reassembly – Detailed
5.7.1
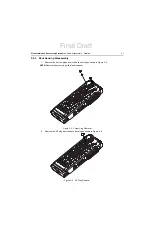
Dust Cover Reassembly
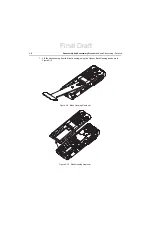
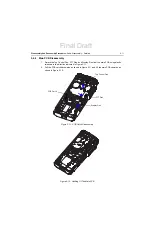
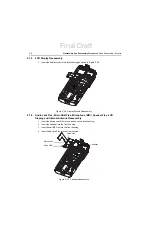
1. Insert the dust cover tail into the front housing middle hole openings as shown in Figure 5-21.
Figure 5-21. Dust Cover Tail Insertion
Final Draft
Summary of Contents for SL1M
Page 1: ...tTitle Page SL1M Portable Radio Basic Service Manual MN000916A01 AA tttt Final Draft ...
Page 2: ...Final Draft ...
Page 4: ...Notes Final Draft ...
Page 6: ...vi Notes Final Draft ...
Page 10: ...x Table of Contents Notes Final Draft ...
Page 12: ...xii List of Figures Notes Final Draft ...
Page 14: ...xiv List of Tables Notes Final Draft ...
Page 16: ...xvi List of Tables Notes Final Draft ...
Page 36: ...Notes 2 6 Test Equipment and Service Aids Audio Test Cable Final Draft ...
Page 46: ...Notes 3 10 Transceiver Performance Testing Test Mode Final Draft ...
Page 50: ...Notes 4 4 Radio Programming and Tuning Radio Tuning Setup Final Draft ...
Page 78: ...Notes 5 28 Disassembly And Reassembly Procedures Torque Chart Final Draft ...
Page 82: ...Notes 6 4 Basic Troubleshooting Operational Error Codes Final Draft ...
Page 89: ...Final Draft ...


