


November 2008
9980384R89-E
3-2
Advanced Radio Operations
: Accessing the Advanced Menu
Enabling Scan
The Scan feature allows your radio to monitor up to 10 PublicGroups per channel and switch to them
when there is activity. Scan is turned On by default, but can be disabled by switching to OFF. When
Scan is OFF, you must select a PublicGroup in the Scroll List to hear any activity on it.
NOTE:
When Scan is ON, the Scroll List can not be empty to scan for public groups. Private
groups are always scanned regardless of Scan ON/OFF setting.
To determine which contacts are scanned, see Scan Lists on page 4-9.
Enabling Call Forwarding
Call Forwarding allows a user to notify anyone contacting them that they are not available and
suggest a manager or third party to be contacted in their absence. The user contacting them can
then choose to transmit to the third party by simply pressing the PTT button.
NOTE:
Your radio must be on and within range to use this feature while you are away.
1. From the Advance menu, scroll to highlight
Call Forwarding
and press
under
Select
.
The Call Forwarding screen appears.
2. Scroll to highlight
Forwarding
and press
under
Change
. The
Forwarding
screen
appears.
3. Scroll to select the desired function and press
under
Select
to return to the previous
screen.
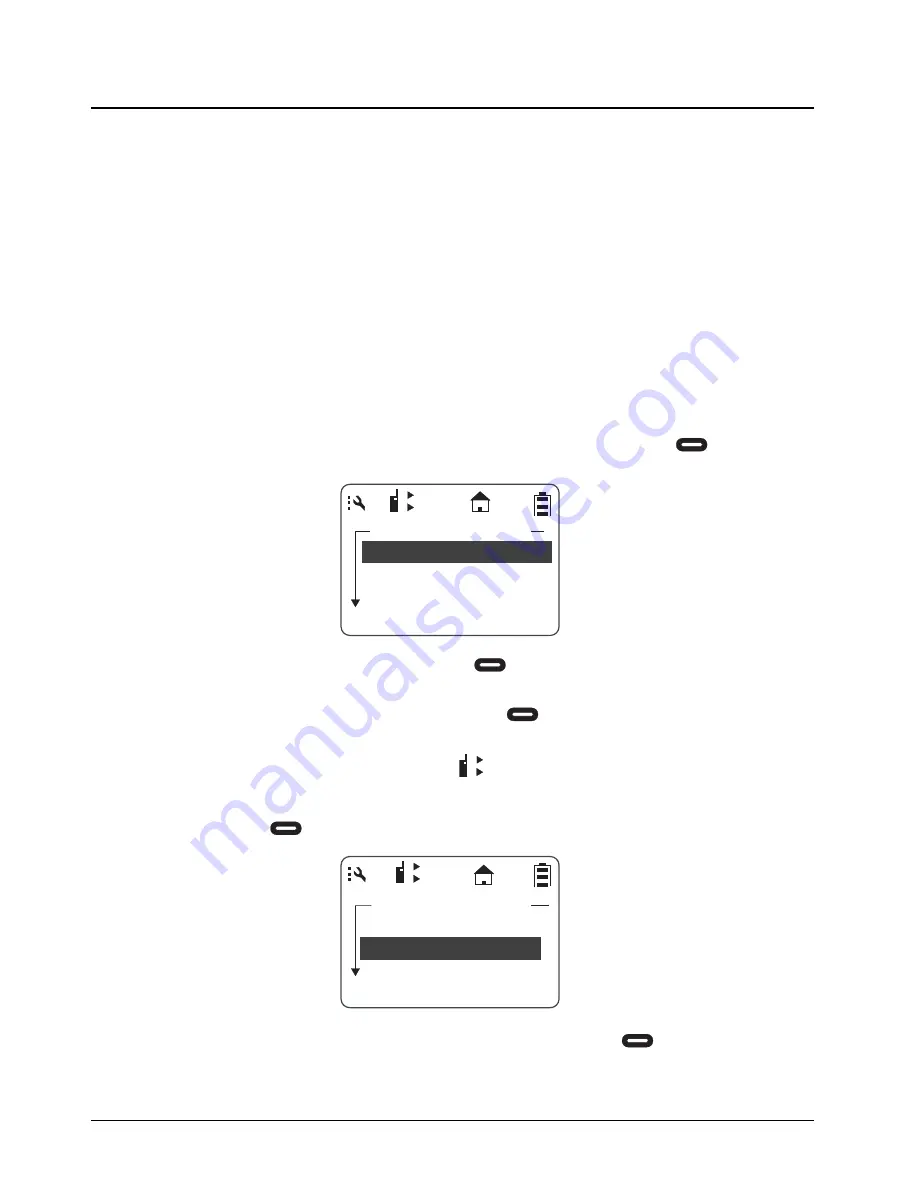
NOTE:
When Call Forwarding is enabled, the
icon appears on the display
4. To change or select the radio to receive the forwarded calls, scroll to highlight the
To:
function
and press
under
Change
.
5. Scroll to select the radio name from the list to forward to. Press
under
Select
.
Call Forward
Forwarding:On
To:Joe Smith
Charge
Back
1
2
1
2
Call Forward
Forwarding:On
To:Joe Smith
Change
Back
1
2
Summary of Contents for DTR410 - On-Site Digital Radio
Page 6: ...iv Table of Contents November 2008 9980384R89 E Notes ...
Page 8: ...November 2008 9980384R89 E vi Notes ...
Page 22: ...November 2008 9980384R89 E 1 14 Introduction Accessories ...
Page 42: ...November 2008 9980384R89 E 2 20 General Radio Operations My Info Notes ...
Page 70: ...November 2008 9980384R89 E 6 6 Cloning Mode Remote Delete Contact Notes ...
Page 72: ...November 2008 9980384R89 E 7 2 Troubleshooting Notes ...


