ENG
5
STEP 2
Attaching the Mount to the Display
IMPORTANT!
Use extra care during this part of the installation. If possible,
avoid placing your display facedown as it may damage the viewing surface.
NOTE:
This mount comes with a selection of different screw diameters and
lengths to accommodate a wide variety of display models. Not all of the hard-
ware in the kit will be used. If you cannot find the appropriate screw size in the
kit provided, consult the manufacturer of your display for more information.
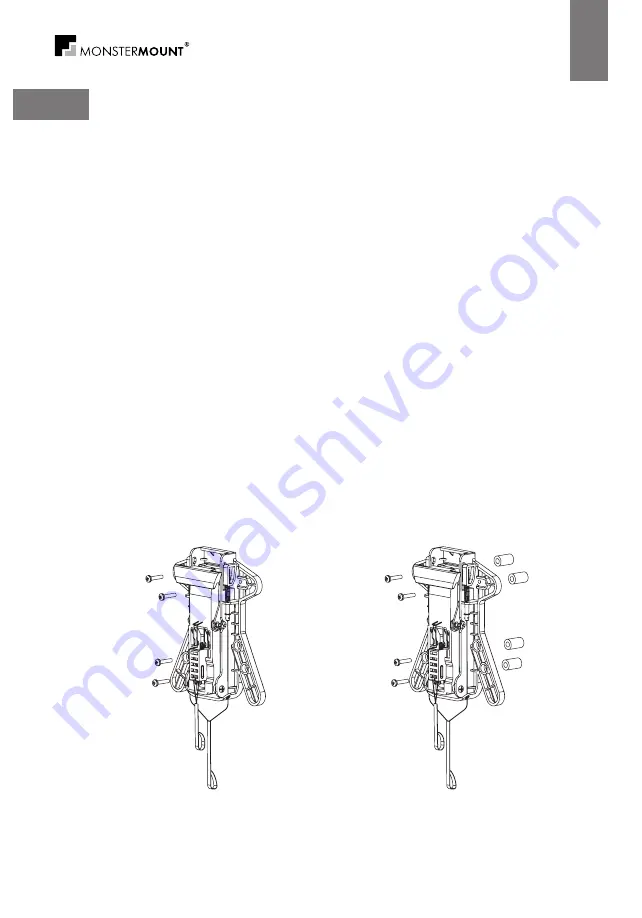
1. Determine the correct length of screw to use by examining the back of your
display:
a) If the back of your display is flat and the mounting holes are flush with the
surface, you will use the M4 x 12 screws (C) from the hardware kit.
b) If the back of your display is curved, has a protrusion, or if the mounting
holes are recessed, you will need to use the M4 x 20 screws (D) and may also
need to use the spacers (E).
2. Attach the display plate to the back of your display using the screws identi-
fied in step 1. If you are using the M4 x 20 screws on a display with a curved or
recessed back, you may also need to use the spacers (E) (see Fig. 5). However,
you should only use a spacer if necessary.
NOTE:
If the holes of the mount do not line up with the holes on your display,
check to make sure that your display is VESA compatible. This mount can only
be used with displays that are VESA 75 or VESA 100 compatible. Consult the
manufacturer of your display for more information.
Fig. 5
For displays
with flat backs
For displays
with curved or
recessed backs
Summary of Contents for MB-1003
Page 1: ...MB 1003 Installation instructions Руководство пользователя LCD Wall Mount Кронштейн для LCD ...
Page 8: ......
Page 14: ...РУС 14 ...
Page 16: ...MB 1003 ...


