99
/126
Image Optimization
© MOBOTIX AG • Security-Vision-Systems • Made in Germany
www.mobotix.com • [email protected]
Since activated lens distortion correction requires additional processing power, you should
consider disabling it in situations where it is not really necessary. You will only notice a
minimal distortion of the image, especially if you use the zoom. However, the maximum
frame rate for high resolution may be reduced (by 10 to 25 percent), which means you
have to choose between maximum distortion correction or maximum frame rate.
We recommend activating lens distortion correction, especially for applications with a low
frame rate and non-zoomed images (for example, when using as a webcam). However,
images can usually be corrected at a later point in time when searching recorded images.
This saves on processing power during recording and increases the frame rate. The more
you zoom in on the image, the less distorted the image should appear.
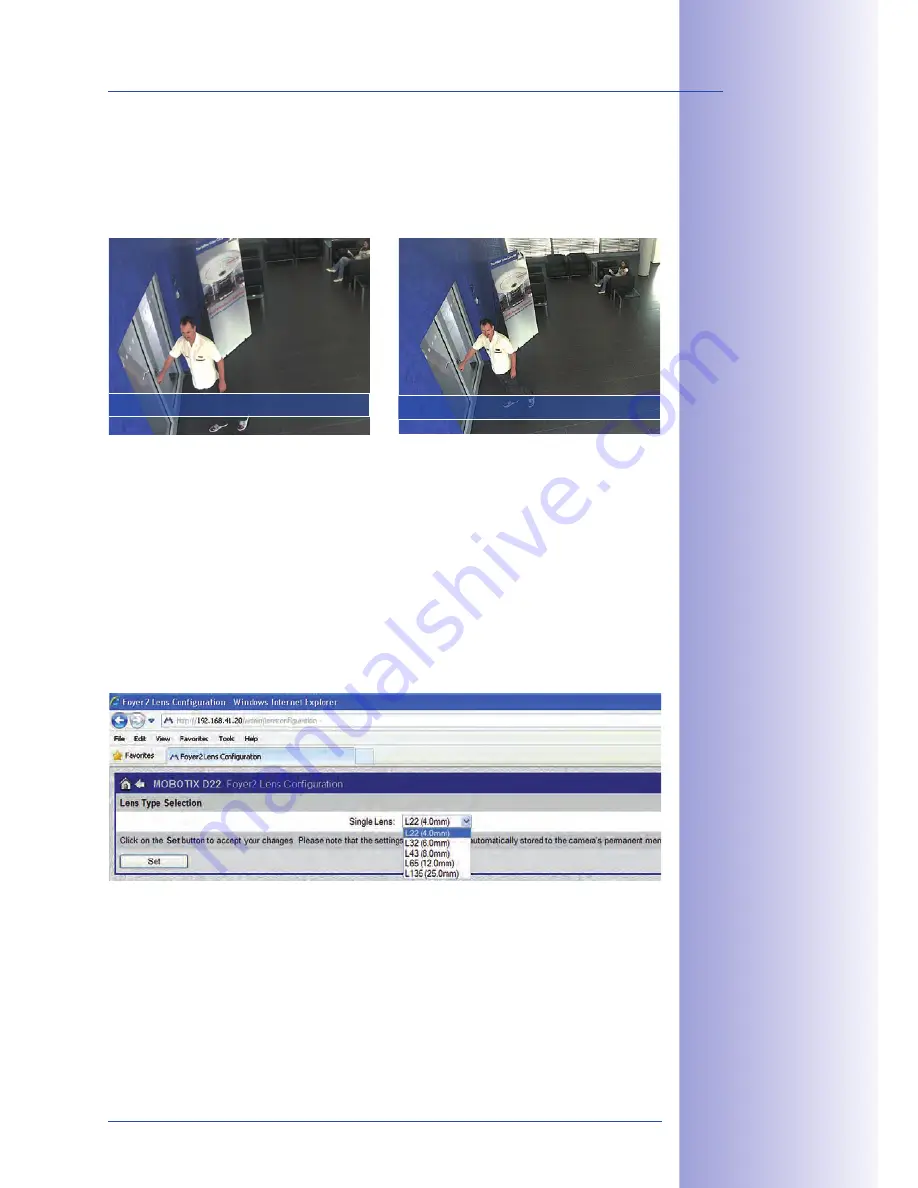
Activate/Deactivate Lens Distortion Correction In The Browser
To activate this option, first specify the lens you are using in the
Admin Menu > Camera
Administration > Lens Configuration
dialog box (this setting is saved until the camera is
reset to its default configuration). Select the
L22 (4.0 mm)
option from the
Lens Type
Selection
field and then click on
Apply
followed by
Restart
.
Now select the
Lens Distortion Correction
option in the
Display Mode
Quick Control
panel. An automatically corrected (live) image is displayed that can be panned, tilted,
or zoomed. Switching to the
Full Image
option will deactivate the automatic distortion
correction function.
Zoom without distortion correction
Corrected image (zoom)


