5
2. Installing the indoor unit
ø100
ø
122
90
°
B
A
A
250
288.5
108
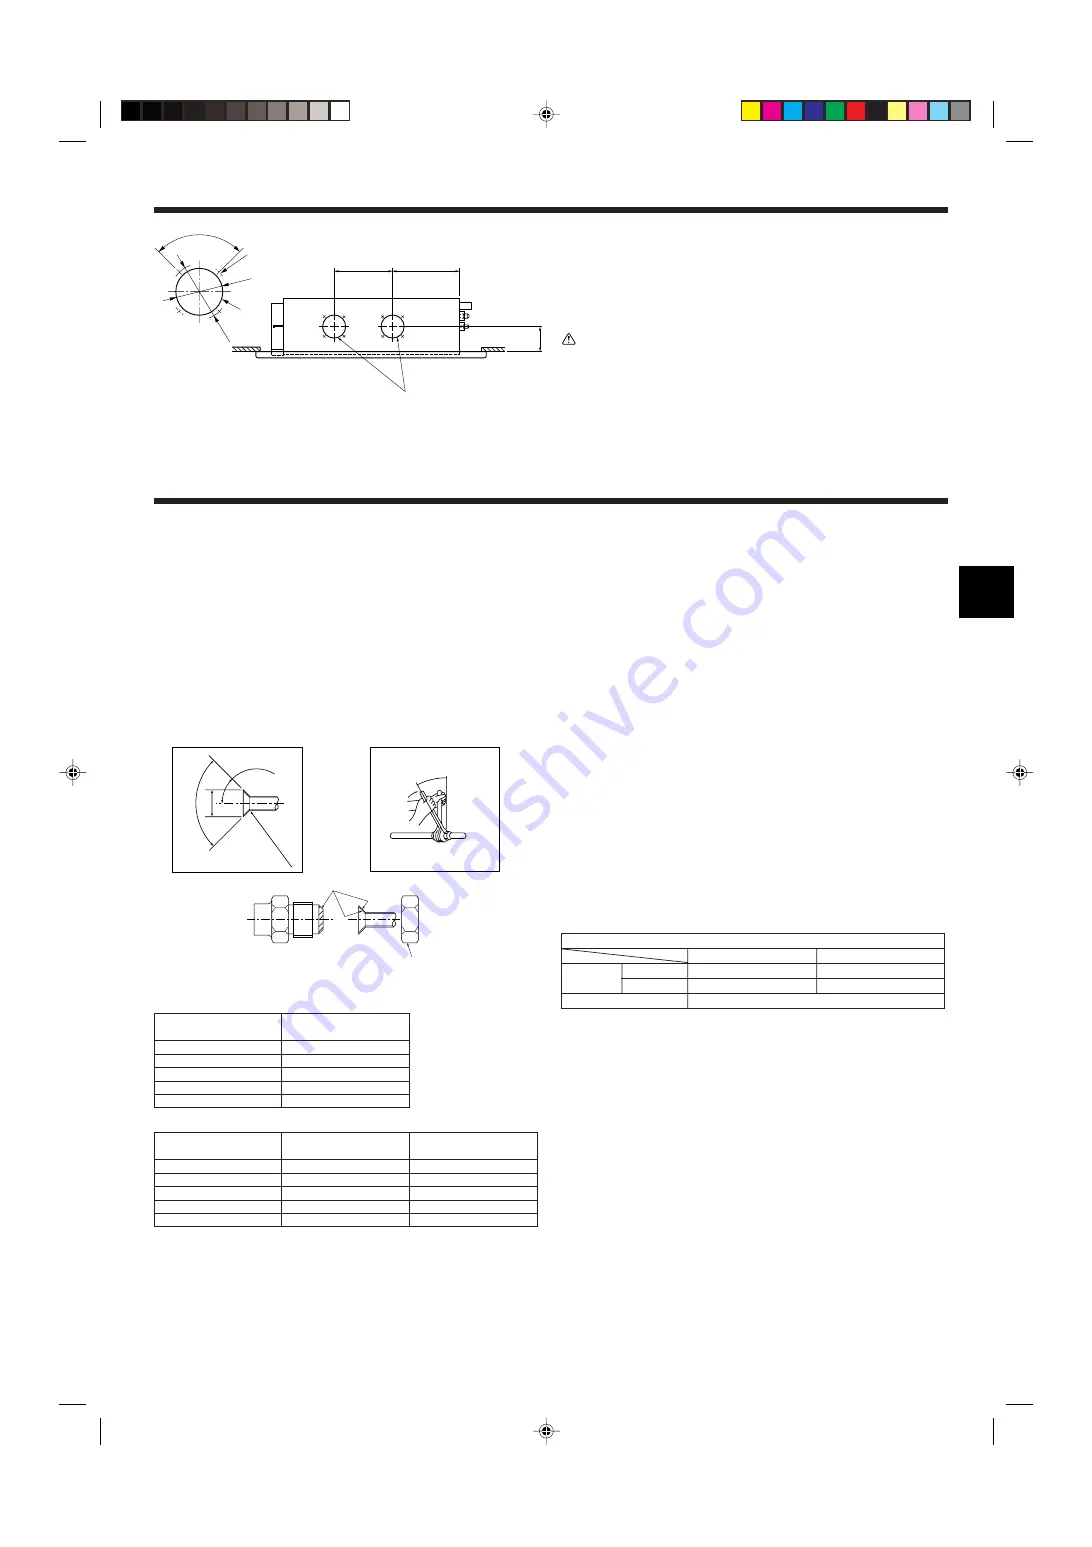
2.5. Fresh air intake hole (Fig. 2-9)
At the time of installation, use the hole (knock out) located at the positions shown in
following diagram, as and when required.
Note:
Make sure that the fresh air intake is no more than 20% of the entire air intake
(when the air flow speed is set to its highest setting).
Caution:
Linkage of duct fan and air conditioner.
If a duct fan is used, be sure to link it with the air conditioner when outside air
is taken in.
Do not run just the duct fan. Otherwise, condensation may form.
A
Fresh air intake hole (Knock out)
B
4-ø2.8 burring hole
Fig. 2-9
(mm)
3.1. Precautions for devices that use R407C refrigerant
• Do not use the existing refrigerant piping.
• Do not use crushed, misshapen, or discolored tubing. The inside of the tub-
ing should be clean and free from harmful sulfuric compounds, oxidants,
dirt, debris, oils and moisture.
• Store the piping to be used during installation indoors and keep both ends of
the piping sealed until just before brazing.
• Use ester oil, ether oil or alkylbenzene (small amount) as the refrigerator oil
to coat flares and flange connections.
• Use liquid refrigerant to fill the system.
• Do not use a refrigerant other than R407C.
• Use a vacuum pump with a reverse flow check valve.
• Do not use the tools that are used with conventional refrigerants.
• Do not use a charging cylinder.
• Be especially careful when managing the tools.
• Do not use commercially available dryers.
3.2. Indoor unit (Fig. 3-1)
• When commercially available copper pipes are used, wrap liquid and gas pipes
with commercially available insulation materials (heat-resistant to 100 °C or more,
thickness of 12 mm or more).
• The indoor parts of the drain pipe should be wrapped with polyethylene foam insu-
lation materials (specific gravity of 0.03, thickness of 9 mm or more).
• Apply thin layer of refrigerant oil to pipe and joint seating surface before tightening
flare nut.
• Use two wrenches to tighten piping connections.
• Use leak detector or soapy water to check for gas leaks after connections are
completed.
• Use refrigerant piping insulation provided to insulate indoor unit connections. Insu-
late carefully following shown below.
Refrigerant and Drainage Piping Sizes
Item
Model
25
35, 50
Liquid
O.D. ø6.35 (1/4")
O.D. ø9.52 (3/8")
Gas
O.D. ø12.7 (1/2")
O.D. ø15.88 (5/8")
Drainage piping
PVC pipe: O.D. ø26 (1")
3. Installing the refrigerant piping
90
°
±
0.5
°
ø
A
R0.4~R0.8
A
45
°±
2
°
B
Apply refrigerating machine oil over the entire flare seat surface.
Be sure to only use the flare nuts that came with the unit.
A
Flare cutting dimensions
Copper pipe O.D.
Flare dimensions
(mm)
øA dimensions (mm)
ø6.35
8.6 - 9.0
ø9.52
12.6 - 13.0
ø12.7
15.8 - 16.2
ø15.88
19.0 - 19.4
ø19.05
22.9 - 23.3
B
Flare nut tightening torque
Copper pipe O.D.
Tightening torque
Tightening angle
(mm)
(N·m)
(Guideline)
ø6.35
14 - 18
60˚ - 90˚
ø9.52
35 - 42
60˚ - 90˚
ø12.7
50 - 58
30˚ - 60˚
ø15.88
75 - 80
30˚ - 60˚
ø19.05
100 - 140
20˚ - 35˚
Refrigerant
piping
Fig. 3-1


