41
i-
m
o
d
e
or:
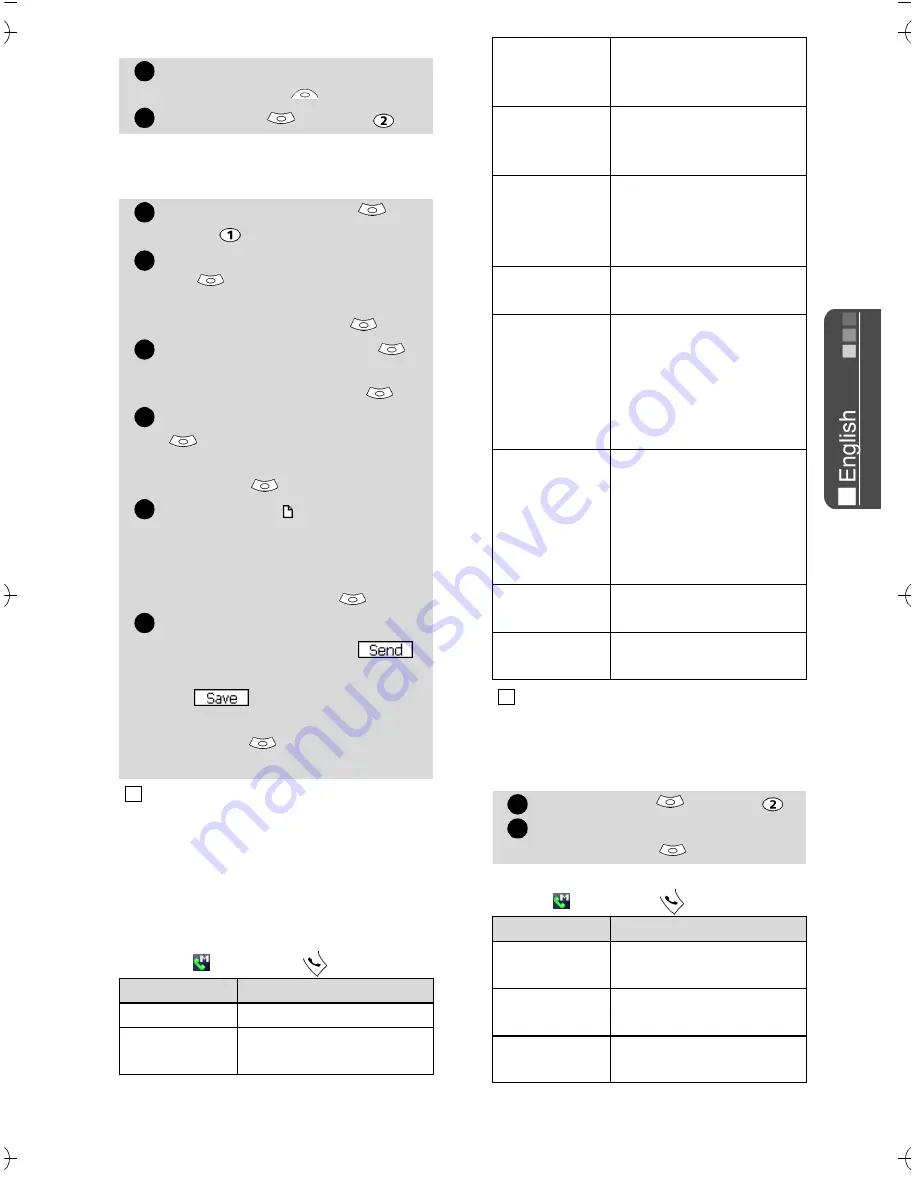
Once in the Mail sub-menu:
Writing a Mail
While writing your mail, you can at
any time get to the Edit menu by se-
lecting (press the key).
Inbox
To view the received mails:
While in the reception box, select-
ing (press the key) allows to:
From the standby screen
select
i-mode
.
Select
or press
.
Select
Compose mail
or
press .
Highlight
Subject
. Select
ok
and type in the mail
header text (30 characters
maximum). Select
ok
.
Highlight
To1
. Select
ok
and type in the required
mail address. Select
ok
Highlight
Message
.
Select
ok
and type in the mail text
(maximum 1000 characters).
Select
ok
.
Highlight the field if you
want to add a melody
(among the available down-
loaded melodies) to your
message.
Select
ok
.
Scroll down as many times as
necessary to highlight
(to send your message)
or
(to store your mes-
sage in the
Draft
file) and
select
ok
to validate your
choice.
The maximum contents of the message is 1000 cha-
racters provided there is no header, no signature and
no attach file. Each additional text or file uses the
available memory space and decreases the maximum
contents of the message text.
Option
Description
1. Send
To send your mail
2. Save
To store your mail in
the Draft folder
1
2
1
2
3
4
5
5
4
3. Attach
melody
To attach a MIDI Melo-
dy from the Images &
Melodies menu.
4. Open
phonebk.
To view the phone-
book available mail ad-
dresses and select one.
5. Add
address
To add an address (you
can enter it manually
or select it from your
phonebook).
6. Del.
address
To delete the entered
address.
7. Attach
header
To attach a pre-en-
tered header (please
make sure you have
previously written and
stored one. See Edit
header, page 43).
8. Attach
sign.
To attach a pre-en-
tered signature (please
make sure you have
previously written and
stored one. See Edit
signature, page 43).
9. Del.
message
To delete the contents
of the message field.
0. Del. mail
To delete the contents
of the whole mail.
The items of this options list may vary according to the
contents of the displayed page.
Select
Inbox
or press
.
Scroll to the required mail
and select
ok
to view it.
Option
Description
1. Show all
To display all the re-
ceived mails.
2. Show
unread
To display the unread
mails only.
3. Show read
To display the read
mails only.
4
1
2
Summary of Contents for M21i
Page 64: ...64 ...


