22
23
R
ECORDING MODE
RECORDING MODE
To prepare the camera for use, read pages 12 through 21.
SETTING THE CAMERA TO RECORD IMAGES
1
HANDLING THE CAMERA
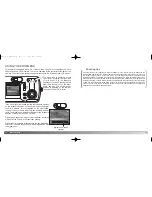
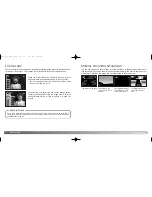
While using the viewfinder or LCD monitor, grip the camera
firmly with your right hand while supporting the camera body
with your left. Keep your elbows at your side and your feet
shoulder-width apart to hold the camera steadily.
When taking vertical pictures, hold the camera so that the
flash is above the lens with the shutter-release button to
the top. Take care not to cover the lens with your fingers
or the strap.
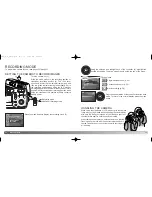
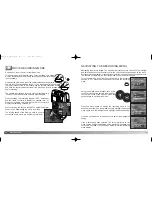
Turn the camera on (1).
Viewfinder recording mode
Recording mode
3
4
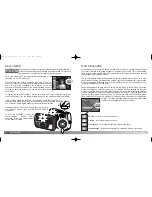
Using the up/down and left/right keys of the controller (4), highlight the
desired drive mode. The drive mode menu is on the top line of the menu.
Press the menu button to display the recording menu (3).
Press the central button of the controller to set the drive
mode. To return to the normal display, press the menu
button.
Slide the mode switch to the recording position or
viewfinder recording position (2). The lens cover
opens and at first the red indicator lamp blinks, and
then the green indicator lamp glows steadily. Set to
the recording position when using the LCD monitor;
an image appears on the monitor when you set to this
position. Set to the viewfinder recording position when
using the viewfinder; this position will help conserve
battery power.
2
Drive modes
Single-frame advance (p. 26)
Continuous advance (p. 33)
Movie recording (p. 34)
SCENE SELECT
FULL AUTO
100
MODE
CONTINUOUS
100
100
2729_E_A_print.qxd 03.7.11 11:11 AM Page 22


