9
Researchers have proven that brainwave frequencies determine what brainwave state is being
experienced at any given time (Budzynski 1991). By measuring the production of brainwaves
through the utilization of EEG (electroencephalogram) equipment, the frequencies that produce
these various brain states can be tracked on a computer monitor. As mentioned earlier, these
frequencies are generated in every person's brain, and are the result of outside stimulation that
has been passed to the brain via electrical signals from our different senses. Light and sound in-
struments stimulate the neural activity of our vision and hearing, and can safely guide our
minds to produce specific frequencies that are associated with the four general brainwave cate-
gories (Hutchison 1992).
“Mind States” (ISBN 0-9662596-0-2): written by Michael Landgraf ( www.MichaelLandgraf.com )
Quick Start Guide for iLightz
The first step in setting up your iLightz is …
Your second step is connecting the lightframes and headphones …
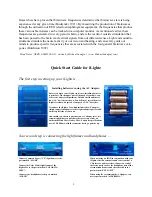
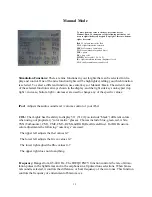
Installing batteries or using the A/C Adapter:
Before you begin your iLightz experience, installing batteries
is necessary. On the upper part of the back of your unit, you
will see the battery compartment. Unlatch the lid and insert
four “AA” batteries as shown. You will enjoy several hours of
iLightz sessions with just one four-pack of “AA” batteries.
If you have the iLightz Pro which includes the A/C adapter,
simply connect the adapter to the iLightz adapter port located
on the top left side of your unit.
And should you choose to purchase an A/C adapter later, it is
recommended that you purchase the correct type from an
authorized Mind Gear retailer. The A/C adapter specifications
are: 6V DC 800mA with the connector having a positive tip.
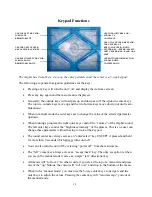
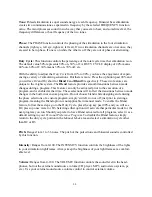
Connect Common Power (“CP”) lightframes to the
port marked “LIGHT”.
Connect the Color Matrix lightframes of the
iLightz Pro to the port marked “COLOR MA-
TRIX”.
Connect your headphones to the port marked
“SOUND”.
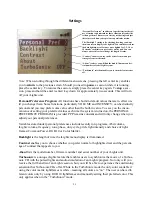
When not using an iPOD in conjunction with your
iLightz, select an external sound source such as a
CD player or audio receiver. Connect one end of
the stereo patch cord to the headphone port of the
external sound source and the other end to the
port marked “EXT. INPUT”.
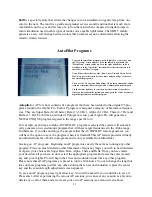
When using the recommended AC Adapter, con-
nect to port marked “6VDC/800MA”.


