1. The oscilloscope shall be powered by a power adapter;
2. Align the interface of the probe control module with the scope BNC interface, push
it in quickly with a little force, and confirm that the probe is connected reliably after
hearing a "click" sound.
Caution: The battery of the oscilloscope cannot carry the power of the high-frequency
current probes, so the oscilloscope must be connected to a power adapter while testing.
Installation
Caution: The probe head is a precision part. Do not drop the probe or physically shock
it, twist it, or drastically alter its surroundings. Do not insert wires larger than 5.0 mm in
diameter into the probe grip, as this may damage the probe.
Connecting to an oscilloscope
Degaussing and Zero
Note: Before degaussing and zero the probe, be sure to verify that the probe head is
locked. When the oscilloscope recognizes the probe for the first time, the probe will
automatically degauss and zero.
To ensure accurate measurements, degauss the probe under each of the following
conditions:
* Turn on the measuring system and allow a 20-minute warm-up time
* Before connecting the probe to the wire
* Whenever there is a current or thermal overload
* Whenever the probe is placed in a strong external magnetic field
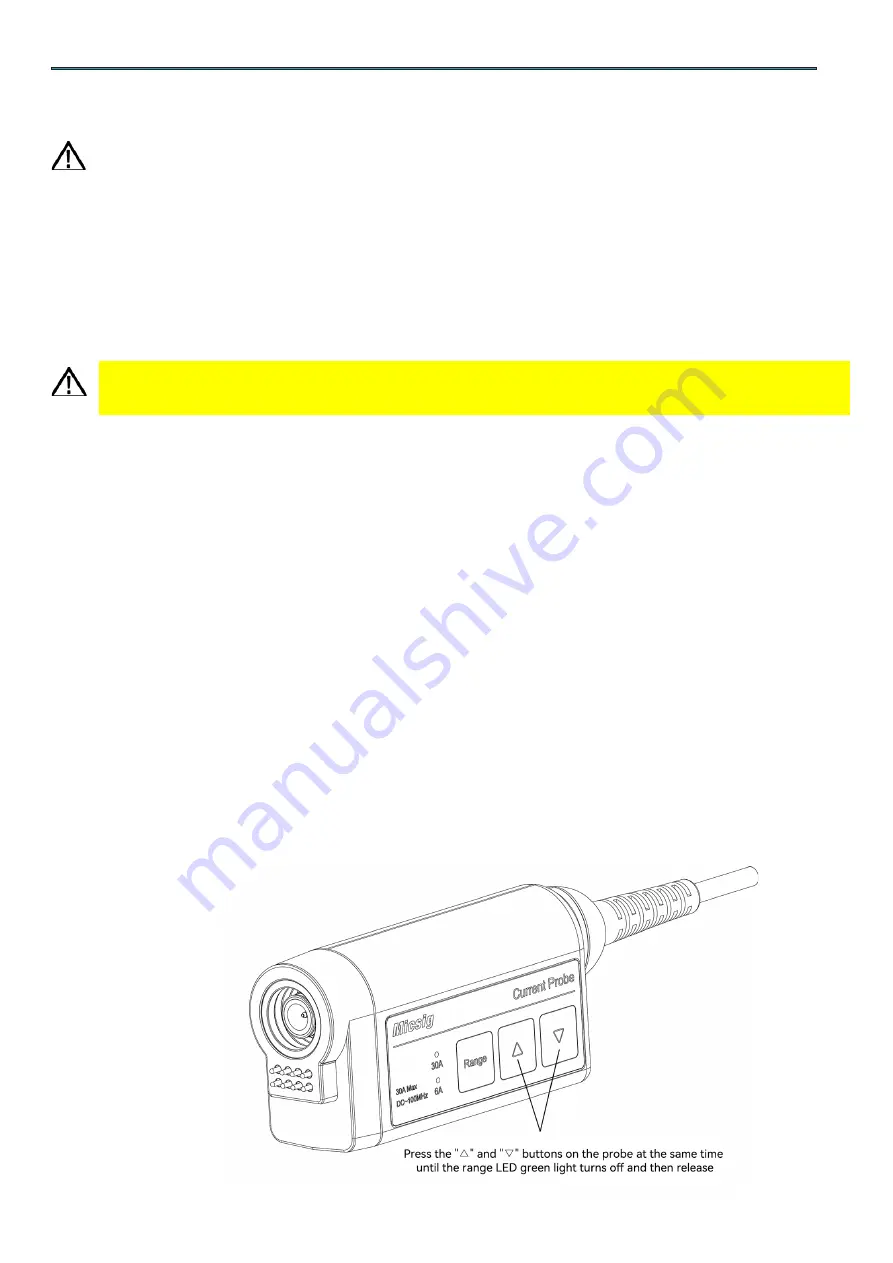
Simultaneously press th
e "△" and "▽" buttons on the probe until the green light of the
range LED turns off and then release, the probe will be degaussed and zeroed at this
time. When the probe is degaussing and zeroing, the two range LED status indicators will
flash. Flash 1 time means zero calibration is successful, Flash 5 times means zero
calibration fails.
Installation
5


