10
Shooting Still Images
Photo mode allows you to capture still images with
automatic exposure, providing a full selection of manual
controls over all camera settings.
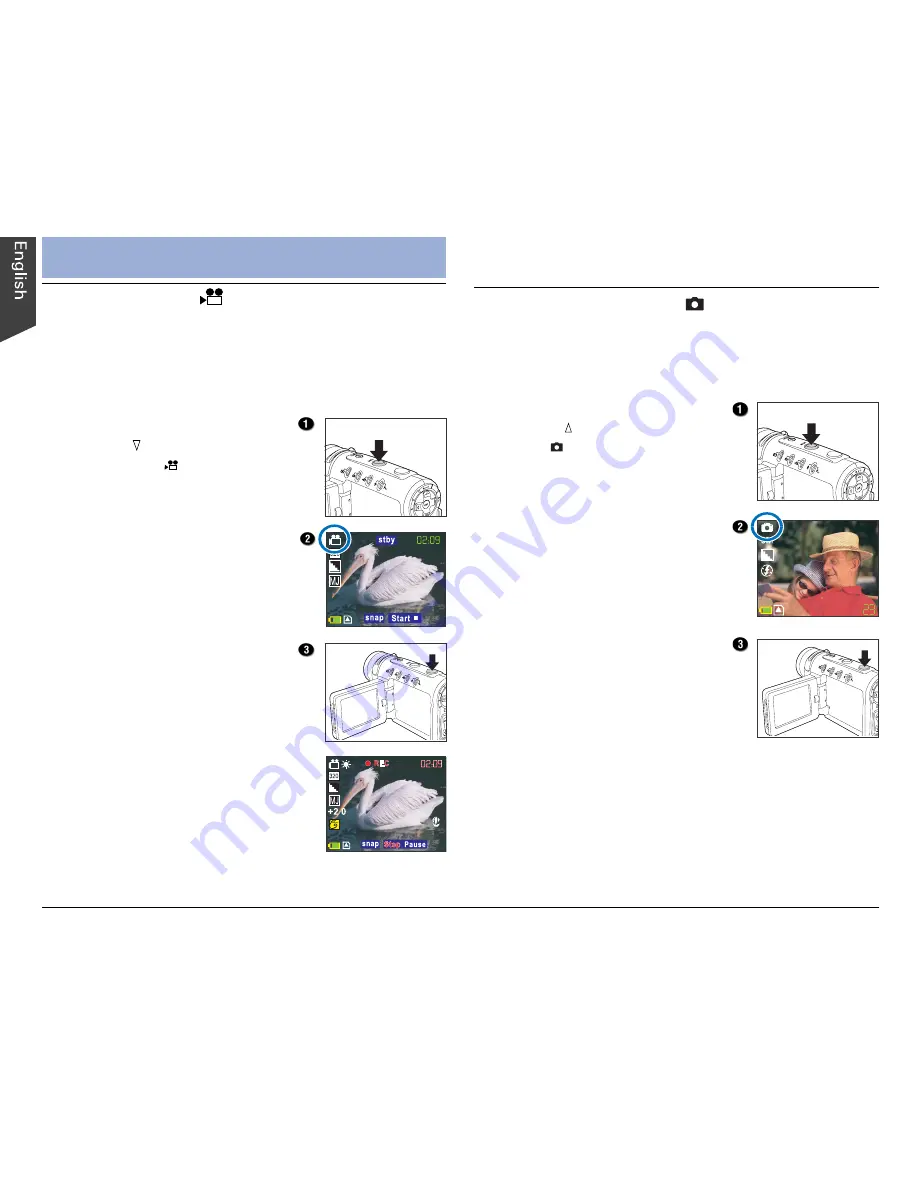
1. Press the MODE button and
then the button to enter Photo
mode ( ).
Information related to the shoot
(e.g., photo size, photo quality,
flash, etc.) appears on the LCD
screen automatically.
2. Compose your shot using the
LCD screen.
3. Press the Shutter button.
When you press the Shutter
button, you will hear a sound to
indicate that the still image has
been taken (unless the sound is
disabled), and the captured image
remains on the screen for two
seconds.
The DV camera is ready to take another still image when
the “Busy” message vanishes from the LCD screen.
Shooting
Shooting Video
Video mode allows you to record video clips, the length
of which is determined only by the size of your available
memory. Video clips are recorded in ASF or AVI file
format at a resolution of 640 x 480 or 320 x 240
pixels.
1. Press the MODE button and
then the button to enter
Video mode ( ).
The video standby recording
screen appears.
2. Compose your shot using the
LCD screen.
3. Press the Shutter button and
release to shoot.
Recording begins, with the
elapsed recording time shown on
the LCD screen.
4. Press the Shutter button once
more to stop.
The video has been recorded,
and the DV camera is ready to
shoot another video.
NOTE:
The flash is inactive in Video mode.
Summary of Contents for Take-it MV320
Page 1: ......


