


2 ScanMaker 9700XL Installing and Getting Started
This document provides information on how to install the
ScanMaker 9700XL flatbed color scanner and perform basic
image scanning procedures.
Introduction
The ScanMaker 9700XL is a 48-bit color flatbed scanner that supports tabloid-sized
(A3 or B-size) scanning for corporate users or designers. This scanner scans images
up to 12" x 17" at an optical resolution of 1200 x 2400 dpi (9600 x 9600 dpi
interpolated).
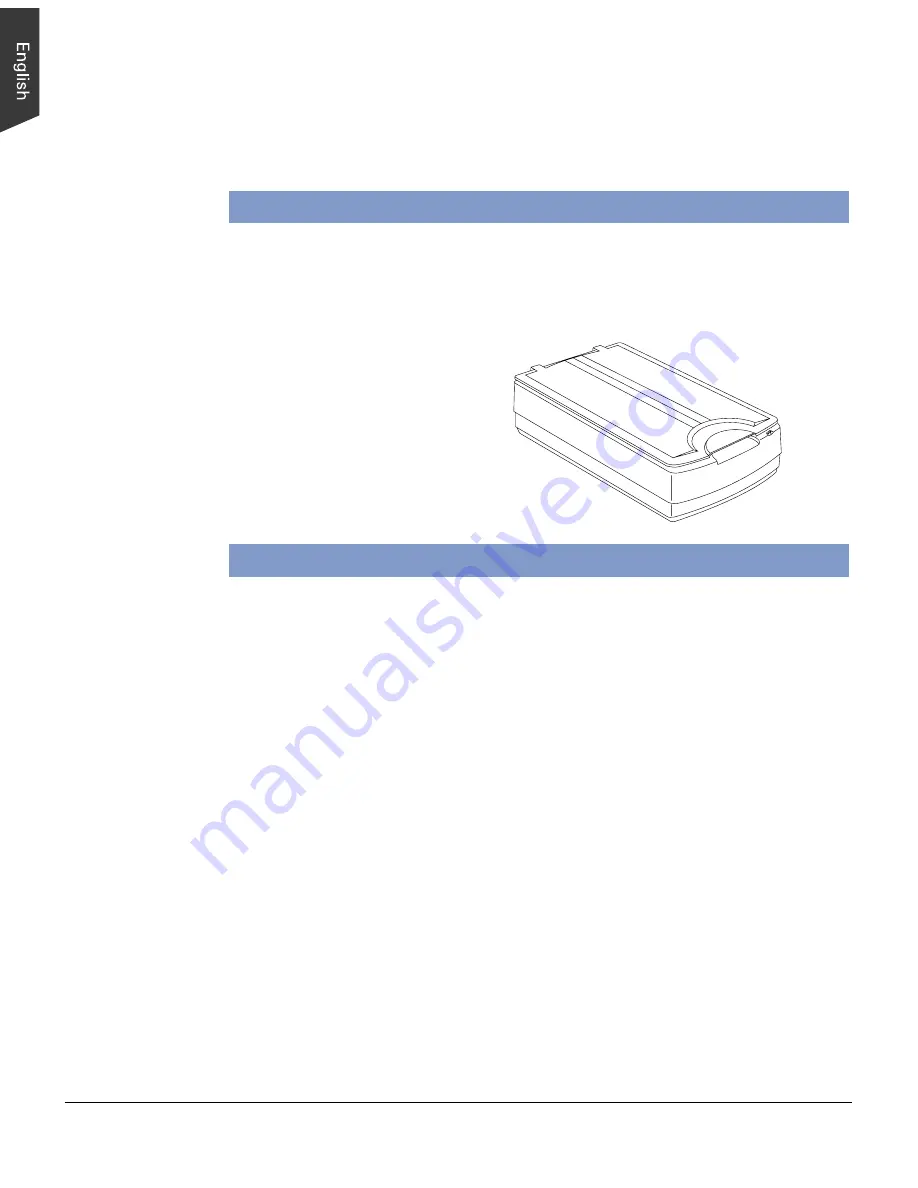
The ScanMaker 9700XL
provides two built-in interfaces
(USB and SCSI), and allows
you choose any of the two
interfaces to digitize image
originals.
System Requirements
•
128MB RAM or more recommended
•
CD-ROM drive (for installing software)
•
Color display with 24-bit color output capability
USB
•
PC
- Pentium PC or later with USB port
- Windows 98, 2000, Me, or XP
•
Mac
- iMac or G3/G4 with built-in USB port
- Mac OS 8.6, OS 9.x, or OS X
SCSI
•
PC
- Pentium PC or later
- Windows 95, 98, 2000, Me, NT 4.0, or XP
•
Mac
- Power PC class or later with ASPI compliant SCSI port
- Mac OS 8.5, OS 9.x, or OS X


