


50
CHAPTER 4
The Options Menu
Status Bar
The Status Bar shows the polarity convention used for the
current panel, whether muting is enabled/disabled, and
how many loudspeakers of the total in the panel are online.
The Status Bar will show 2+/3+ if both polarity settings are
detected. Click
Options, Status Bar
from the Menu Bar to
display the Status Bar at the bottom of the RMS window.
Background
You can change the RMS window background to different
colors and patterns. Click
Options, Background
from the
Menu Bar to open the Background dialog, as shown in
Figure 4.13.
Figure 4.13. The Background dialog
Network Setup
Choose
Options, Network Setup
from the Menu Bar
to open the RMS Network Setup dialog. Select
LNS
or
Legacy
to identify the network system you are using.
Title
Choose
Options, Title
from the Menu Bar to open the
Set Title Type dialog. This dialog determines whether the
device name or speaker title appears in the title bar of the
speaker view.
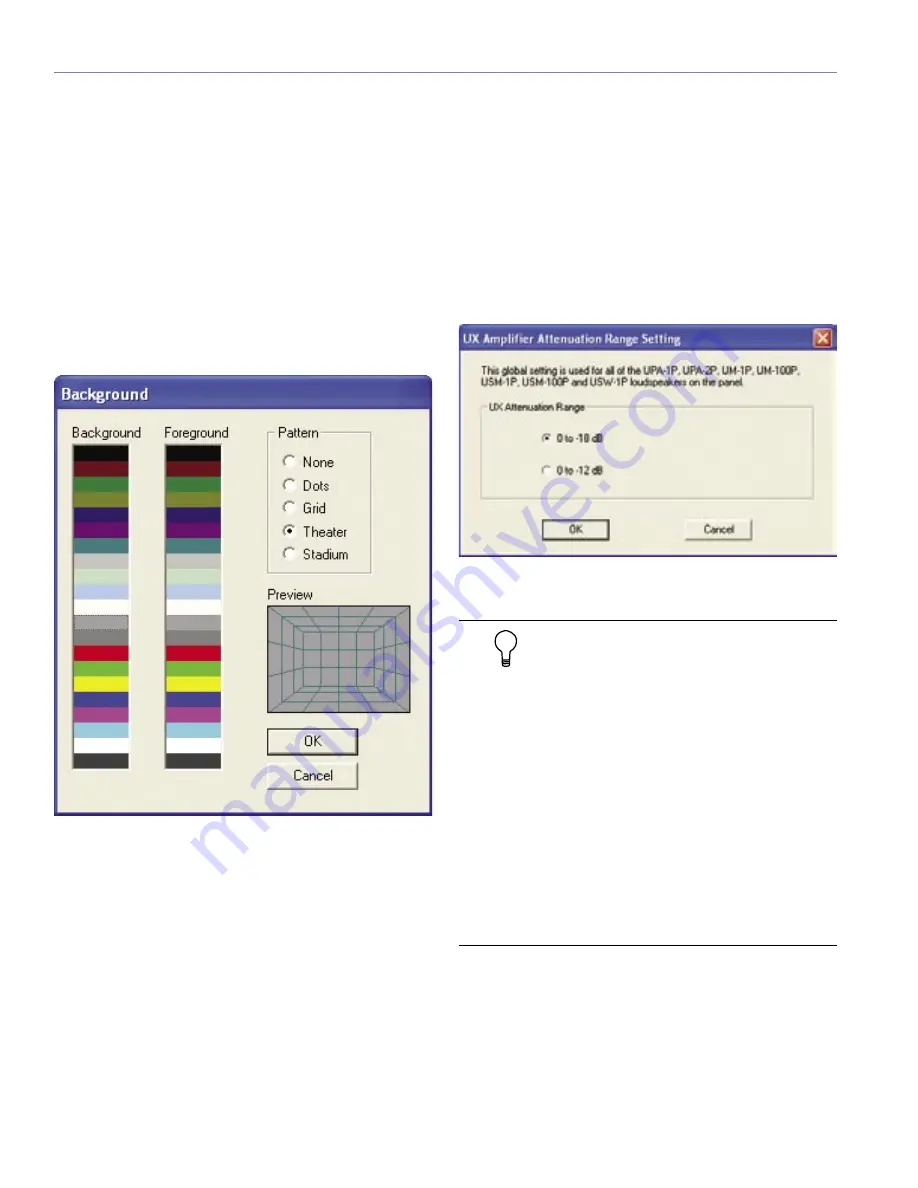
UX Attenuation Range
The UX Attenuation Range dialog is used specifically
for setting the attenuation ranges for UltraSeries model
loudspeakers UPA-1P, UPA-2P, UM-1P, UM-100P, USM-
1P and USW-1P. The dialog allows you to set the range to
either 0 to –18 dB or 0 to -12 dB.
Figure 4.14. The UX Attenuation Range dialog
TIP:
All Meyer Sound loudspeakers that
use a UX or UPM amplifier can use the UX
Attenuation Range dialog. These include:
■
UPA-1P
■
UPA-2P
■
USW-1P
■
UM-1P
■
UM-1P
■
UM-100P
■
USM-1P
■
USM-100P
■
M2D
■
UPM-1P
■
UPM-2P
■
UMS-1P
Summary of Contents for RMS 4.5
Page 1: ...USER GUIDE RMS 4 5...
Page 28: ...24 CHAPTER 2...
Page 56: ...52 APPENDIX A...
Page 60: ...56 APPENDIX B...
Page 62: ......
Page 63: ......
Page 64: ...2004 Meyer Sound Laboratories Inc 05 033 302 02 A...


