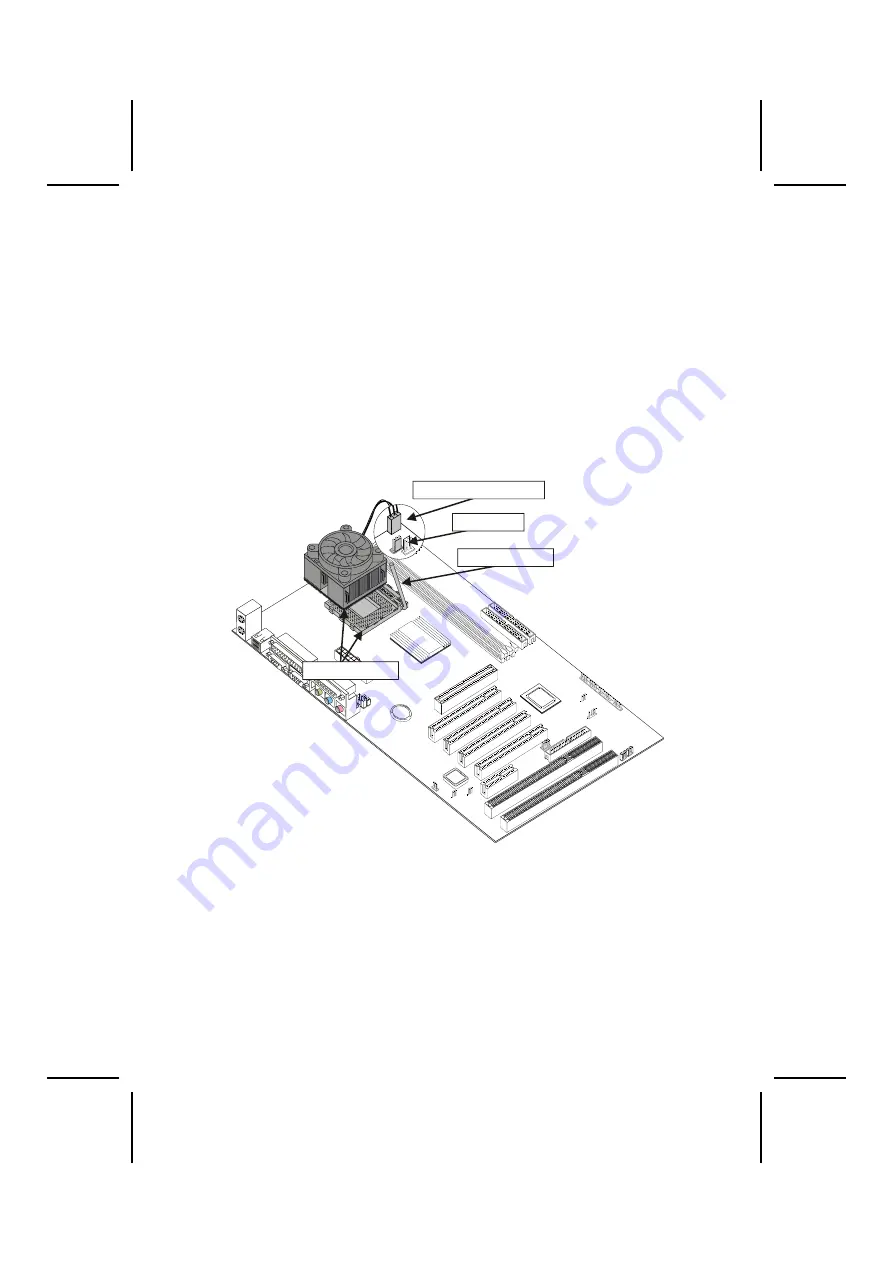
Follow these instructions to install the CPU:
1. Pull the CPU socket locking lever away from the
socket to unhook it and raise the locking lever to the
upright position.
2. Identify the pin A-1 corner on the CPU socket and the
pin A-1 corner on the processor.
3. Match the pin A-1 corners and insert the processor into
the socket. Do not use force.
4. Swing the locking lever down and hook it under the
latch on the edge of the socket.
5. Plug the CPU fan power cable into the CPU cooling
fan power supply on the mainboard (CPUFAN1).
Locking lever
CPUFAN1
CPU fan connector
CPU fan and
heatsink assembly
Pin-1 corners
It is necessary now to configure your BIOS to accommodate
your CPU. Refer to page 35 (BIOS Setup Utility – CPU &
BIOS Features), for information on how to configure your
mainboard for the appropriate clock speed and system bus for
the CPU you have installed.
20


