85-03-01058-O
FV33i Gen 3
Page
57
1.
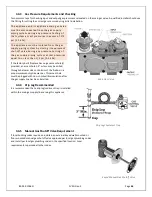
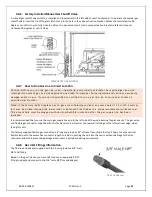
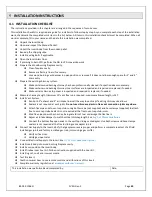
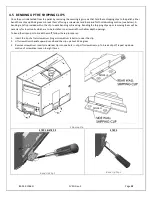
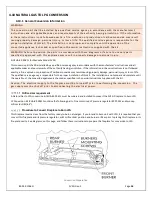
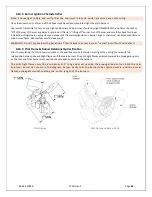
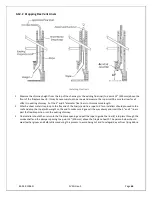
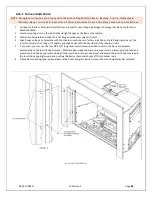
Using a ¼” Hex Driver, remove two screws that secure the Front and Rear burners to the Burner Airbox.
1.
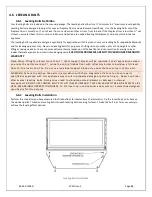
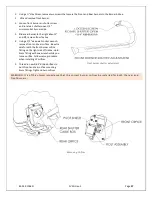
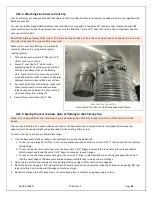
Lift and remove front burner.
2.
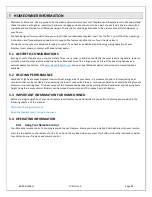
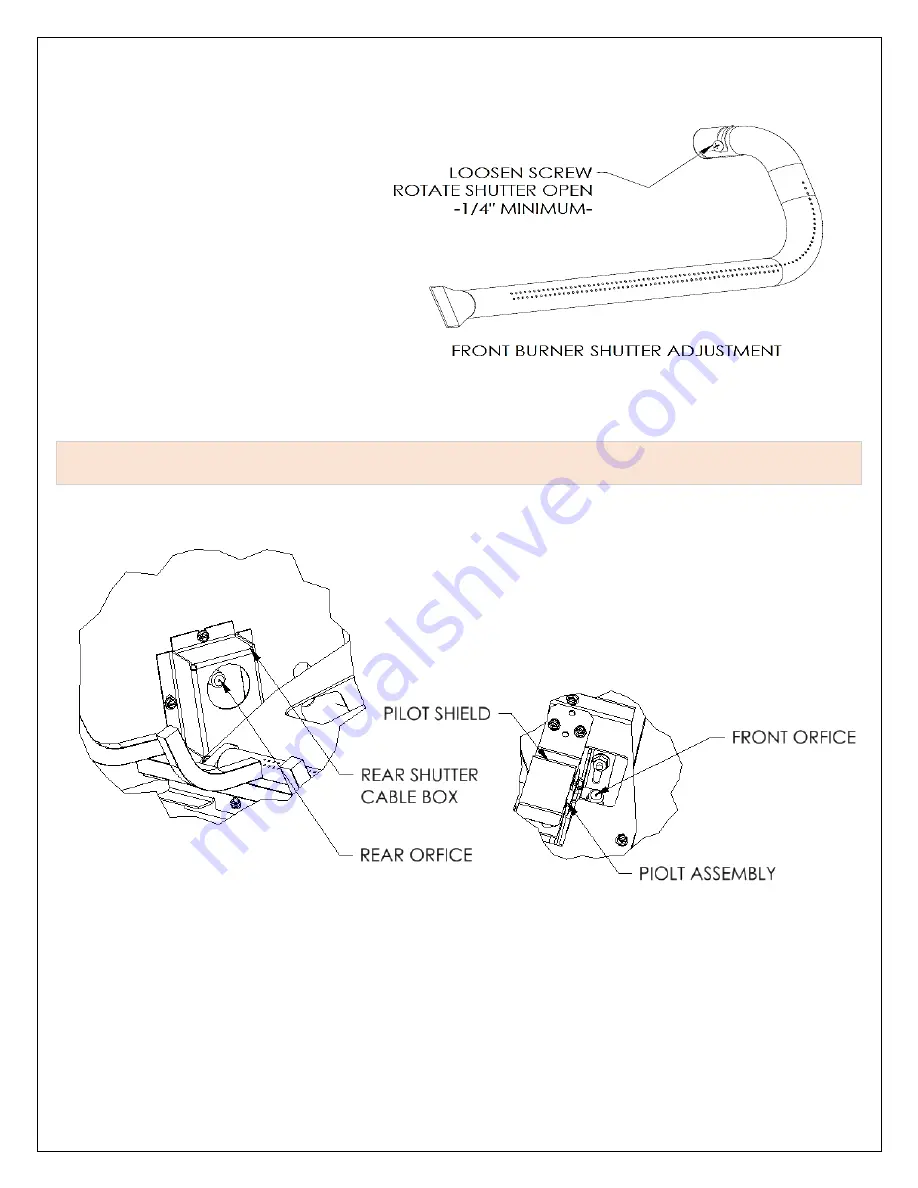
Loosen front burner air shutter screw
and rotate air shutter open 1/4"
minimum. Set burner aside.
3.
Slide rear burner to the right about 2"
and lift, remove from firebox.
4.
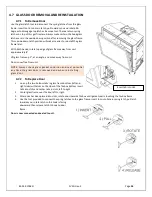
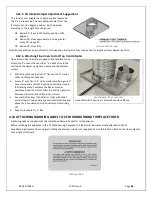
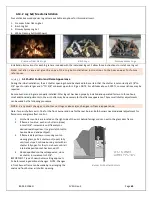
Using a 1/2" deep well socket wrench,
remove front and rear orifices. Be extra
careful with the front burner orifice
fitting on the right side of firebox. Hold
brass fitting with one wrench while you
loosen orifice. Follow same procedure
when installing LP orifices.
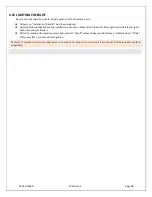
5.
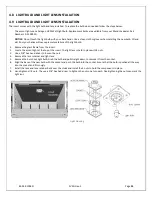
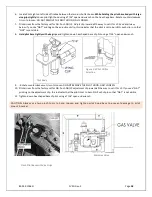
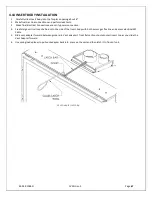
Thread in new 3/64" drilled orifices to
both front and rear orifice mounting
brass fittings. Tighten down orifices.
WARNING: It is of the utmost importance that the correct burner orifices be installed for both the rear and
front burners.
.
Front burner shutter adjustment
Removing Orifices

