
85-03-01058-O
FV33i Gen 3
Page
65
4.12.3
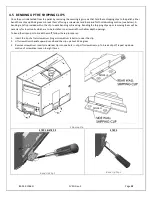
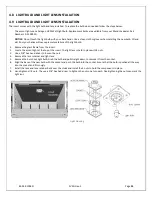
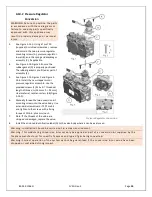
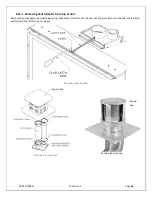
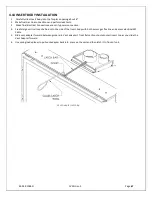
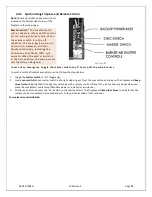
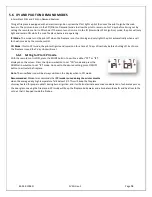
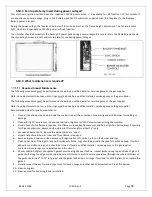
Attaching Flue Liners to Vent Cap
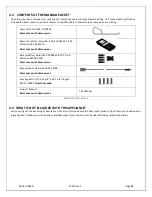
Four hose clamps are supplied with each Mendota vent kit. Four #8 sheet metal screws are needed which are not supplied with
Mendota vent kits.
For vent kits (other brands) obtained from other distributors or suppliers, acquire four 4” diameter hose clamps and eight #8
sheet metal screws. Follow these procedures to secure the flexible 4” liner and 3” liner to the Insert Top vent adapter and the
vent cap starter collars:
CAUTION: Always inspect flex liners for tears and punctures. If any tears or punctures are found, do not use
the liner. Replace the liner with a new one.
Make certain vent cap/ flashing is permanently
sealed to chimney top using exterior grade
roofing sealants.
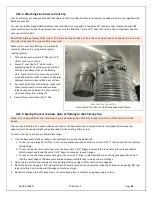
1.
At the chimney top, attach 4” flex vent to 4”
starter collar on vent cap.
2.
Secure 4” vent flex to 4” starter collar
employing one 4” hose clamp and a ratchet.
Position hose clamp close to the flashing
plate. Compress the flex as much as possible
around the starter collar to obtain a tight joint
between starter stubs and flex inner surface.
3.
Secure the flex liner to the starter collar with
sheet metal screws in two equally spaced
radial locations and below the hose clamp to
stop hose clamp from sliding off.
4.
Repeat this procedure for the 3” flex.
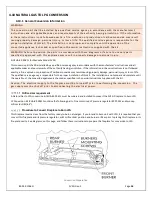
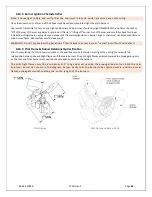
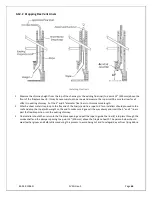
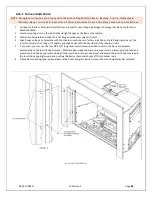
4.12.4
Sealing the vent cap base plate or flashing to the Chimney Top
Note: It is required that the chimney-top be permanently sealed to prevent cold air infiltration into the
home.
The vent cap base plate of a square shaped vent cap or the base plate of a co-linear to coaxial vent adapter (chimney top
adapter) must be sealed airtight and permanently to the existing chimney top.
To seal to the top of a chimney, follow these steps:
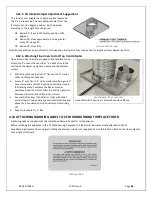
1.
Trim the base plate of the vent cap or vent adapter to size and shape desired.
a.
To seal on top a large flat surface, trim the base plate as desired but allow a minimum of 1” overlap outside the chimney
top opening.
b.
To seal on top of a terra cotta liner, trim the base plate 1-1/2” bigger all around the terra cotta liner outer perimeter.
Notch corners and bend the extra 1-1/2” down to make a screw-on flanges.
c.
To seal on top of a steel tubular vent pipe, trim to a size 2” larger in diameter than the existing vent pipe and cut slots
into the outer edge of the base plate and bend down multiple tabs to make screw-on flanges.
2.
Clean the top surface and side walls of the existing chimney using a stiff wire brush or sandpaper.
3.
Blow off all dust and apply a 1/4” diameter bead of exterior grade silicone sealant around the chimney top opening (flat top,
terra cotta liner) or the side wall top edges of metal vent pipe.
4.
Place base plate on top of chimney top and secure base plate to chimney using appropriate screws.
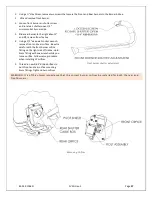
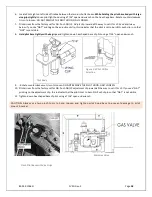
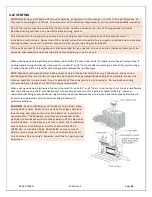
Vent Cap Flex Connection
Hose Clamp first. Secure w/ Screw above Hose Clamp


