


75
System Log
Setup - System Setup
1
3
2
1
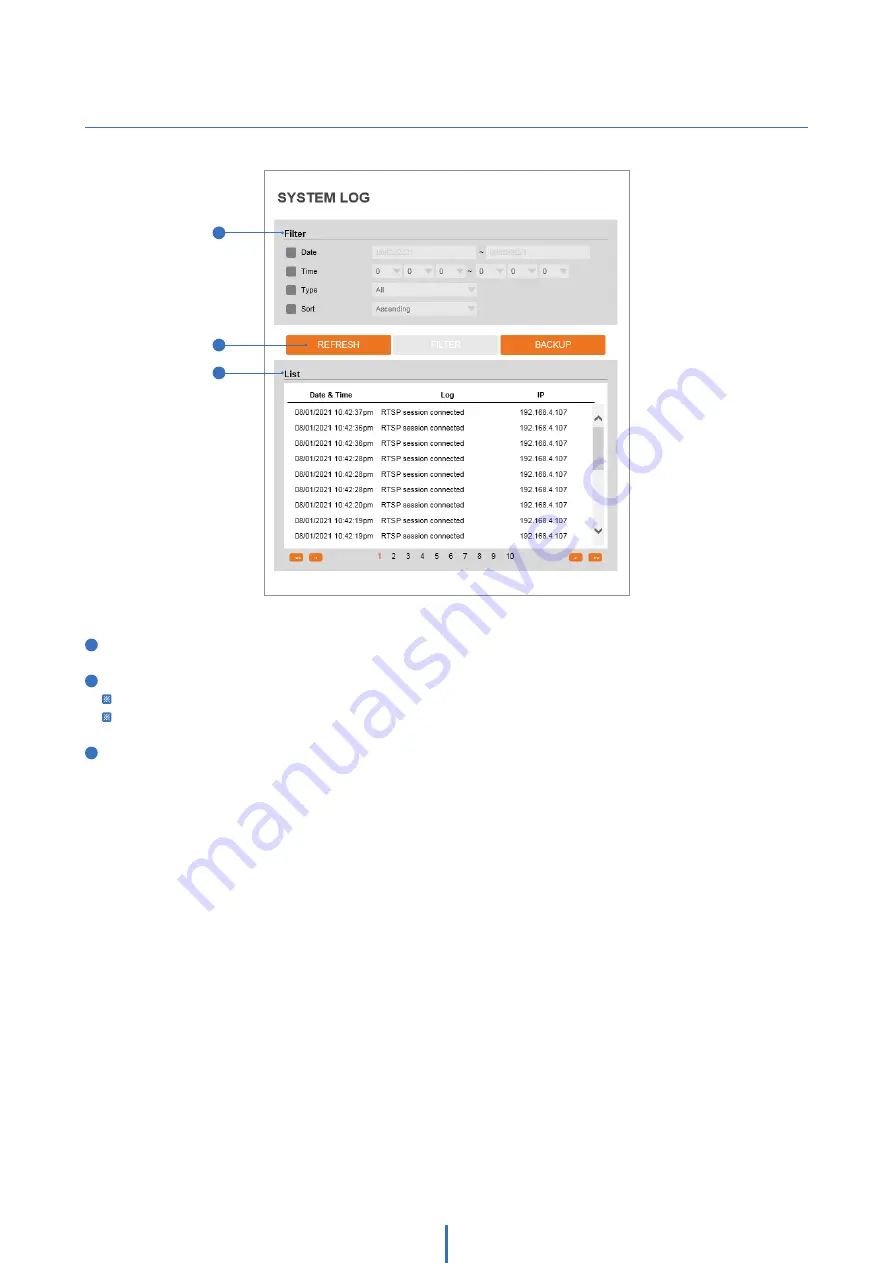
Filter -
Select a date, time, sort, or type of log to filter the log.
2
Click the 'Refresh' button to refresh the log list.
Click 'Filter' to view the filtered log.
Click 'Backup' to back up the filtered log.
3
System Log List -
The filtered log is displayed.


