21
Maintenance and Field Adjustment
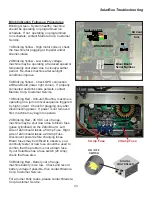
Impeller Removal For Buildup Below Impeller
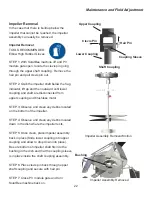
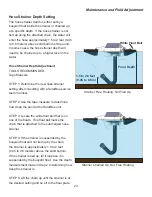
SolarBee With Buildup On Impeller
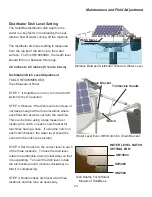
CAUTION: TURN SOLARBEE OFF BEFORE
WORKING NEAR IMPELLER! WEAR
PROTECTIVE CLOVES AND BE CAUTIOUS
OF SHARP LEADING EDGES ON IMPELLER
BLADES WHILE CLEANING! FAILURE TO
FOLLOW THESE WARNINGS COULD LEAD
TO INJURY!
Impeller Cleaning
In some applications, the autoreverse function
will not completely eliminate floating debris or
aquatic weeds from catching on the impeller
blades and shaft. In these applications,
impeller cleaning and impeller removal may be
necessary.
Impeller Cleaning
TOOLS RECOMMENDED:
Elbow High Rubber Gloves
Squeegee
Garbage Bag
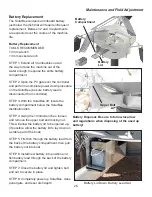
STEP 1: Turn SolarBee off by placing the On/Off
switch into the OFF position.
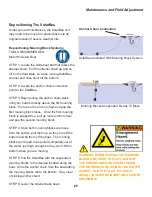
STEP 2: Open PV module gate for easy access
to the impeller. If necessary for better access,
use the three turnbuckles to raise machine level.
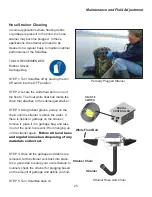
STEP 3: Using gloves and squeegee, clean
off debris or aquatic weeds that are wrapped
around impeller blades and shaft. Place the
debris into a garbage bag and remove from pond
to prevent it from going through SolarBee again.
Follow all local laws and regulations
when disposing of any materials
collected.
STEP 4: Observe if there is buildup below the
impeller blades.
If below the impeller is clean, then close the PV
module gate, lower dish into the water at proper
setting using the turnbuckles, and screw in fuse
switch to turn SolarBee back on.
If there is buildup below the impeller, then see
directions for impeller removal on the next page.

