background image

Menu Item

Settings

AUDIO VIDEO 
SHARING

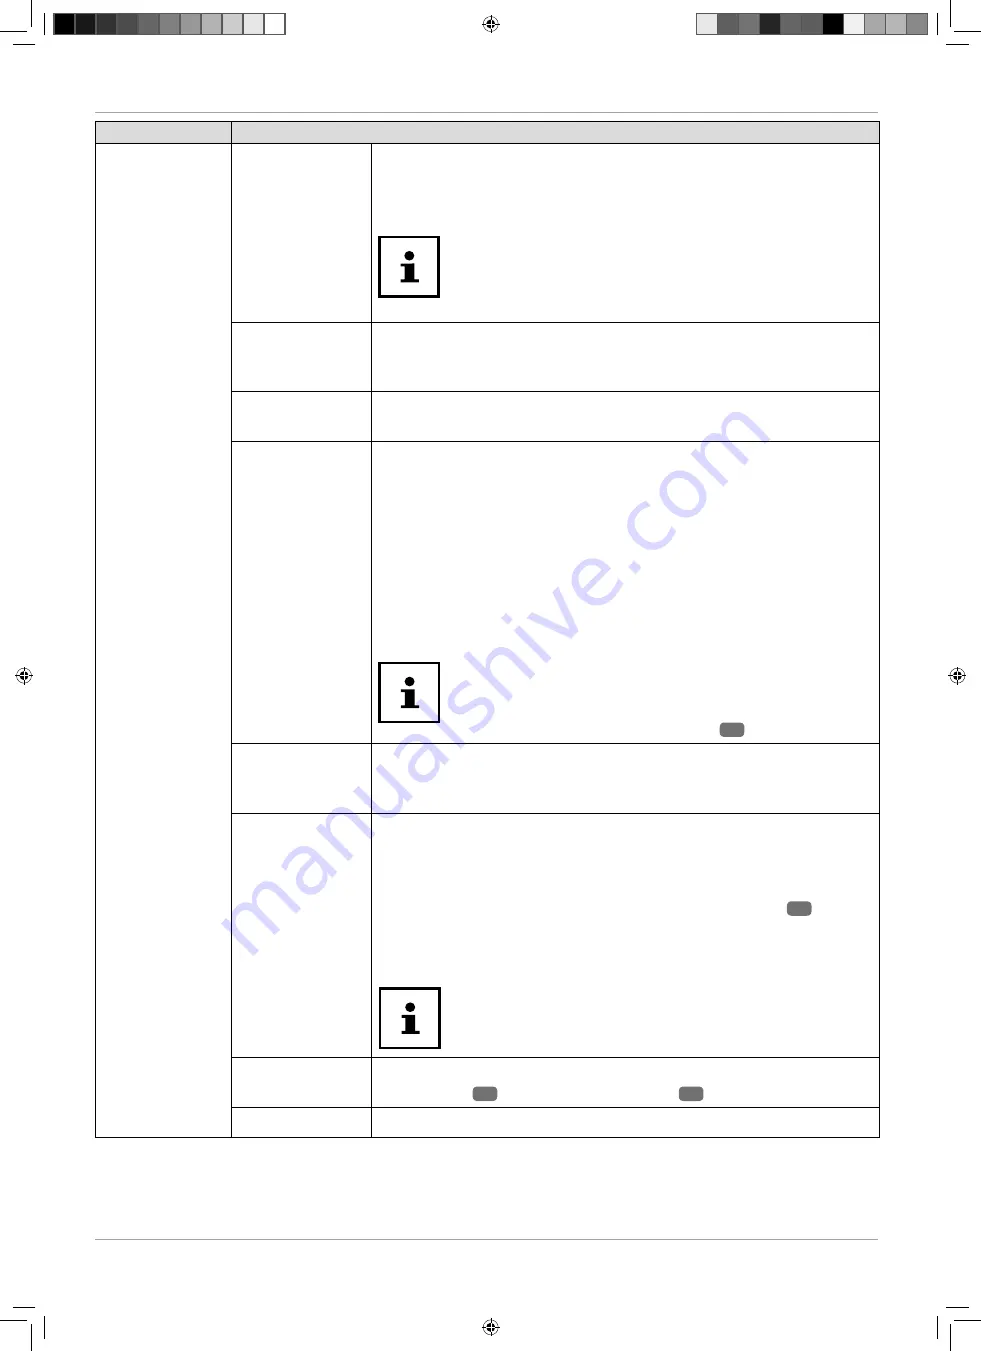
Toggle audio-video sharing. This function allows data exchange with 
other multimedia devices such as PCs, smartphones, cameras, etc. Read 
the section "Video audio sharing – using network service" on page 
51

If you disable the 

AUDIO VIDEO SHARING

 function, 

you will no longer be able to display audio, video 
or photo fi les on the smart TV. The DMR function 
(digital media renderer) is then switched off.

POWER UP 
MODE

Select the power-on mode 

STANDBY 

or

 LAST STATE

. When you press 

the Power button, this turns the device on in standby mode or retrieves 
the most recently selected setting. 

VIRTUAL 
REMOTE

Activate/deactivate the virtual remote control. This allows the operation 
of the TV via other devices.

  CEC

(consumer 
electronics 
control)

Enable this function to enable the communication of all devices that 
are connected via HDMI. In this way, you can, for example, control all 
devices within an HDMI network using only one remote control. Enable 
this function if you also want to specify settings under the following 
option: 

SPEAKERS

.


Enable the CEC function fi rst and select 

HDMI2

 as the source. If you 

have already connected a CEC-enabled device, the name of the 
device is listed instead of 

HDMI2

. The basic functions of the device 

can then be automatically controlled by using the remote control of 
the smart TV.


If the CEC feature is enabled and 

HDMI2

 was 

selected as the source (CEC-enabled device 
connected), the OSD menu of the smart TV can no 
longer be called up via the 

MENU


20

 button. 

CEC AUTO 
POWER ON

This function allows you to turn on the TV with the connected HDMI-
CEC-compatible device and automatically switch to the input source. 
Select 

AKTIVIEREN

 if you want to use this function.

 SPEAKERS

(ARC)

The default setting for the speakers is 

TV

, so that only the internal 

speakers are used for the sound output. This setting can only be 
changed if you have previously enabled the CEC function. If you have 
done so, it is possible to select the 

AMPLIFIER

 setting and integrate 

an external amplifi er into a CEC network via the 

HDMI2

 port 

9

. The 

internal speakers are muted in this case. The volume buttons on the 
remote control now control the device connected to the 

HDMI2

 port (no 

OSD display of the volume bar).


Due the great variety of different devices, correct 
functioning cannot be guaranteed.

SHOW ALL 
COOKIES

Here you can open a list of all cookies. Select a cookie with the direction 
buttons 




40

 and press the 

red button 

29

 to delete it.

OSS

Display the licence information on Open Source Software.

44

Via the OSD menu

Summary of Contents for P13210

Page 1: ...ith a smartphone camera and that contains a link to a website or contact details for example Advantage You do not need to manually enter a website address or contact details How it works To scan the Q...

Page 2: ...ith a smartphone camera and that contains a link to a website or contact details for example Advantage You do not need to manually enter a website address or contact details How it works To scan the Q...

Page 3: ...ith a smartphone camera and that contains a link to a website or contact details for example Advantage You do not need to manually enter a website address or contact details How it works To scan the Q...

Page 4: ...MON INTERFACE CI 5 USB 5V 500 mA max 6 HDMI 1 7 8 MODE 9 HDMI 2 3 10 ANT 11 VGA 12 BACK AV IN 13 SPDIF Optic OUT 14 LAN 15 Fixing holes for a wall mount 16 17 NETFLIX 18 Number buttons 19 SWAP 20 MENU...

Page 5: ...MON INTERFACE CI 5 USB 5V 500 mA max 6 HDMI 1 7 8 MODE 9 HDMI 2 3 10 ANT 11 VGA 12 BACK AV IN 13 SPDIF Optic OUT 14 LAN 15 Fixing holes for a wall mount 16 17 NETFLIX 18 Number buttons 19 SWAP 20 MENU...

Page 6: ...MON INTERFACE CI 5 USB 5V 500 mA max 6 HDMI 1 7 8 MODE 9 HDMI 2 3 10 ANT 11 VGA 12 BACK AV IN 13 SPDIF Optic OUT 14 LAN 15 Fixing holes for a wall mount 16 17 NETFLIX 18 Number buttons 19 SWAP 20 MENU...

Page 7: ...nting 19 Inserting batteries in the remote control 20 Connecting the antenna 20 Connecting the power supply 20 Switching the smart TV on and off 20 Using the multimedia connections 21 Channel search w...

Page 8: ...Do you need more help 58 Smart TV pixel faults 58 Cleaning 59 Storage when not in use 59 Disposal 60 Technical data 61 Product data sheet 63 Information on trademarks 63 Service information 64 Legal N...

Page 9: ...ury NOTICE This signal word warns of possible damage to property This symbol gives you useful additional information on assembly or operation Declaration of conformity see section Declaration of confo...

Page 10: ...use is deemed improper and can cause personal injury or property damage Do not use the device in extreme environmental conditions This device is intended for use in dry indoor areas only This device i...

Page 11: ...ng material is not a toy Packaging lm can be swallowed or used improperly Therefore there is a risk of suffocation Keep packaging material such as plastic lm or plastic bags away from children DANGER...

Page 12: ...ot operating correctly The device has fallen or the housing is damaged Smoke is rising from the device Set up location In the rst few hours of use new devices can give off a typical unavoidable but to...

Page 13: ...smart TV from falling over Only use the stand and screws supplied with the TV Only use furniture that guarantees the safe use of the TV Ensure that the TV does not hang over the edges of the furnitur...

Page 14: ...e completely from the mains network Disconnect the mains plug from the mains socket for this purpose DANGER Risk of electric shock There is a risk of death due to an electric shock when the housing is...

Page 15: ...recharged Never empty the batteries by means of high power output Never short circuit the batteries Never expose the batteries to excessive heat such as sunlight re or similar sources of heat Do not d...

Page 16: ...EU Simpli ed EU Declaration of Conformity Hereby MEDION AG declares that the radio equipment type P13210 MD31310 is in compliance with Directive 2014 53 EU The full text of the EU declaration of confo...

Page 17: ...MI connection for devices with a HDMI output HDMI 2 can be used for CEC ARC 10 ANT For connecting an aerial analogue DVB T or DVB C 11 VGA VGA port for connecting a PC or a YUV adapter 12 BACK AV IN A...

Page 18: ...se services due to geo blocking 36 EPG EPG Digital TV call up the electronic programme guide 37 i INFO Digital TV show information e g current channel number 38 Mute 39 V Increase or decrease volume 4...

Page 19: ...monthly broadband data allowance Only selected channels provide 7 day catch up Using the device for the rst time Before using for the rst time be sure to read the section Safety instructions Unpacking...

Page 20: ...module available in specialist shops into the slot provided for this purpose on the left hand side of the device Common Interface 4 You can then insert the card from your provider into the CI module C...

Page 21: ...nd audio transmission It offers the best quality transmission Use a standard HDMI cable for this purpose Connect the corresponding HDMI connections on the devices using a HDMI cable HDMI ARC If you wa...

Page 22: ...connection on the TV to the YPbPr cinch connections red blue green on the video device Use a corresponding YPbPr adapter for this purpose Use the AV audio connections on the TV red white for transmit...

Page 23: ...o there are a number of options preset for the individual countries If Siyou would also like to search for encrypted channels set the option to ON Now use the direction buttons to select the preferred...

Page 24: ...WPS connection will be made INTERNET SPEED TEST Press the OK button in order to test the Internet speed ADVANCED SETTINGS Press the OK button to call up further network con guration options CONFIGURA...

Page 25: ...ue Scan statistics NetworkType DVB T DVB C Analogue TV Radio Exit OK 51 0 0 0 29 After the end of the automatic channel storage an overview of the number of found channels appears for the correspondin...

Page 26: ...udio language Screen settings Depending on the programme the pictures are transmitted in the formats 4 3 or 16 9 Use the SIZE 30 button to adjust the picture format AUTO The format displayed is automa...

Page 27: ...he green button 29 ADVANCED Now use the and buttons to select the channel that you want to add to one or more favourites lists If you want to add several channels to the favourites simultaneously sele...

Page 28: ...e desired source Con rm your selection with the OK button 23 Wireless Display Via wireless display you have the option of playing content from a signal source device e g tablet PC smartphone etc via t...

Page 29: ...yed in the top left corner of the screen The teletext counter searches as long as it takes to nd the selected page number Scrolling through pages Using the channel selector buttons or the direction bu...

Page 30: ...ection Use the EXIT 24 or MENU buttons to close the menu Please note that depending on the presets the menu closes automatically if no button is pressed The OSD menu also displays the available option...

Page 31: ...e OPTION MENU EDIT FAVOURITES If you press the Q MENU button you can use the option EDIT FAVOURITES in the OPTION MENU to add the currently selected channel to a favourites list LIST 1 4 by switching...

Page 32: ...ast on a scale of 0 100 BRIGHTNESS Increase or decrease brightness on a scale of 0 100 SHARPNESS Increase or decrease sharpness on a scale of 0 100 COLOUR Increase or decrease colour saturation on a s...

Page 33: ...OINT If you have selected the setting CUSTOM under the option COLOUR TEMP you can set the colour temperature to any value between warm and cold PICTURE ZOOM Set the picture format here This function c...

Page 34: ...ct OFF MINIMUM MEDIUM MAXIMUM CUSTOM SCREEN OFF or AUTO to set the brightness of the TV or switch off the screen BACKLIGHT If you have selected CUSTOM under the setting ENERGY SAVING you can set your...

Page 35: ...n use 40 to adjust the horizontal position of the picture V POSITION You can use to adjust the vertical position of the picture DOT CLOCK With this setting the picture signal is synchronised to match...

Page 36: ...ressing play set the volume to the lowest setting Start playback and increase the volume to a comfortable level SOUND MODE Standard setting STEREO If the current programme supports DUAL mode e g dual...

Page 37: ...ll out the mains plug Insert rst of all the CI module into the slot on the side of the smart TV Then insert the card Please note that you may only insert or remove the CI module when the device has be...

Page 38: ...gramme e g a lm is broadcast in several languages you can select the spoken language here e g original language SECONDARY AUDIO LANGUAGE Select your second preferred language here PRIMARY SUBTITLE LAN...

Page 39: ...Set PIN Default CICAM PIN Select Setting Back Exit ChangeValue MENU BACK Off Off MENU LOCK The MENU LOCK setting locks or unlocks menu access You can block access to the installation menu or disable t...

Page 40: ...he TIMER menu The timer then switches to the relevant programme However it is not possible to output the signal The displayed timer can now be selected and deleted using the red button 29 Press the gr...

Page 41: ...ange the time settings DATE TIME Display the set date and time The entries cannot be changed TIME SETTING MODE If you change the setting from AUTO to MANUAL you can in terms of full hours adjust the s...

Page 42: ...options CONFIGURATION Choose the setting AUTOMATIC IP or MANUAL IP If you select MANUAL IP three additional lines appear in which you can manually enter the data for the IP ADRESS SUBNET MASK and DEF...

Page 43: ...Aus Ein V 2 6 0 0 MED V 2 6 0 0 MED 4 Stunden OK Aktiviert Letzter Zustand Aktiviert Aktiviert Deaktiviert TV Deaktiviert Weitere Einstellungen Men Einblendungsdauer HBBTV Aktuelle Software Update Anw...

Page 44: ...name of the device is listed instead of HDMI2 The basic functions of the device can then be automatically controlled by using the remote control of the smart TV If the CEC feature is enabled and HDMI2...

Page 45: ...hes for related channels of the currently selected station The information sent in this respect depends on the selected channel and leads to different results The existing channel list is replaced whe...

Page 46: ...nels You can use the lock function to password protect access to certain channels Press the OK button and then enter the required password on delivery 0000 A lock icon will open after the channel name...

Page 47: ...or all channels are displayed FAVOURITES Select whether one of the four possible favourites lists is to be displayed PROFILE OPTIONS Here you can make pay TV settings is not however currently support...

Page 48: ...um is removed USB DEVICE 0 DISCONNECTED will be displayed and the device will automatically switch back to normal TV mode VIDEOS To play back video les 0 9 18 Jump OK 23 Play selection RED BUTTON 29 S...

Page 49: ...ssage will be displayed The SWAP option will only be displayed if several USB connections and or networks are available ALL2 Play back all media types RECORDINGS In this option the recorded programmes...

Page 50: ...te have been selected under DISCARD HARD DISK INFORMATION To display details about the USB hard drive highlight this option and press the OK 23 button The information about the hard drive will tell yo...

Page 51: ...e MEDIA BROWSER via the menu Select the SETTINGS option Under VIEW STYLE select the option FOLDER Press the BACK 41 button to return to the main menu of the media browser Select the desired media type...

Page 52: ...on and the FILTER function with the TXT button Use the yellow button to get back to the TIMELINE SCHEDULE Yellow button 29 ZOOM Shrink time window Blue button 29 FILTER If you are looking for a speci...

Page 53: ...ou can then register as a new user optional The start view of the media portal appears only on rst use or after a reset of the media portal under SETTINGS Afterwards the home screen of the media porta...

Page 54: ...wser function is an app in the media portal and provides you access the Internet After opening prede ned web pages and their logos are shown that you can select directly You can use the keyboard funct...

Page 55: ...uire the provision of your personal data and the selection of a unique and secret password Please check the privacy policy of the provider beforehand MEDION shall not be liable if the HbbTV the portal...

Page 56: ...eception might be poor Check if the antenna is connected properly The picture is not clear The reception might be poor Check if the antenna is connected properly The picture is too bright or too dark...

Page 57: ...9 opens This is dependent on the source device and must be supported accordingly You will nd more information on page 44 Change the input source Filter function of the channel list does not work perma...

Page 58: ...h a resolution of 1 920 x 1 080 pixels which are each made up of four sub pixels red green blue white there are a total of approx 6 2 million control elements in use Occasionally pixels or individual...

Page 59: ...dust rst or wipe the high gloss nish too vigorously you could scratch the high gloss nish Do not use solvents corrosive or gaseous cleaning agents Clean the screen with a soft lint free cloth Ensure...

Page 60: ...rials in the device for the purpose of recycling and minimising the environmental impact Take old devices to a collection point for electrical scrap or a recycling centre Before doing so remove the ba...

Page 61: ...t 2 x 6 Watt RMS DTS HD compatible Physical resolution 1 920 x 1 080 TV system Pal Channel positions 199 ATV 800 DTV Channels VHF channels I III UHF BAND U HYPERBAND CABLE TV S1 S20 S21 S41 HD DVB T D...

Page 62: ...ns with stand W x H x D approx 735 x 495 x 195 mm Weight without stand approx 5 1 kg Weight with stand approx 5 3 kg Wall mounting Vesa standard hole spacing 200 x 100 mm4 Wi Fi Frequency range 2 4 GH...

Page 63: ...tion px 1 920 x 1 080 www tuv com ID 1111215947 Information on trademarks DTS the logo and DTS together with the logo are registered trademarks of DTS Inc You can nd more information about DTS patents...

Page 64: ...araday Road Dorcan Swindon SN3 5JF Wiltshire United Kingdom You can download this and many other sets of operating instructions from our service portal at www medion com gb service start You will also...

Page 65: ...tions 21 AV 21 HDMI 21 HDMI ARC 21 HDMI CEC 21 Headphones Out 22 LAN 22 SPDIF 22 USB 22 VGA PC 22 VGA YPbPr 22 N Net ix 43 Network Internet settings 24 42 O Operation 26 Options menu 31 OSD menu 30 Ch...

Page 66: ...T Technical data 61 63 Teletext 29 Channel selection button 29 Colour buttons 29 Number buttons 29 Sub pages 29 U USB 17 48 Using the device for the rst time 19 W Wireless Display 28 66 Index...

Page 67: ...ith a smartphone camera and that contains a link to a website or contact details for example Advantage You do not need to manually enter a website address or contact details How it works To scan the Q...

Reviews: