10
6.
TURNING SPYKEE ON
•
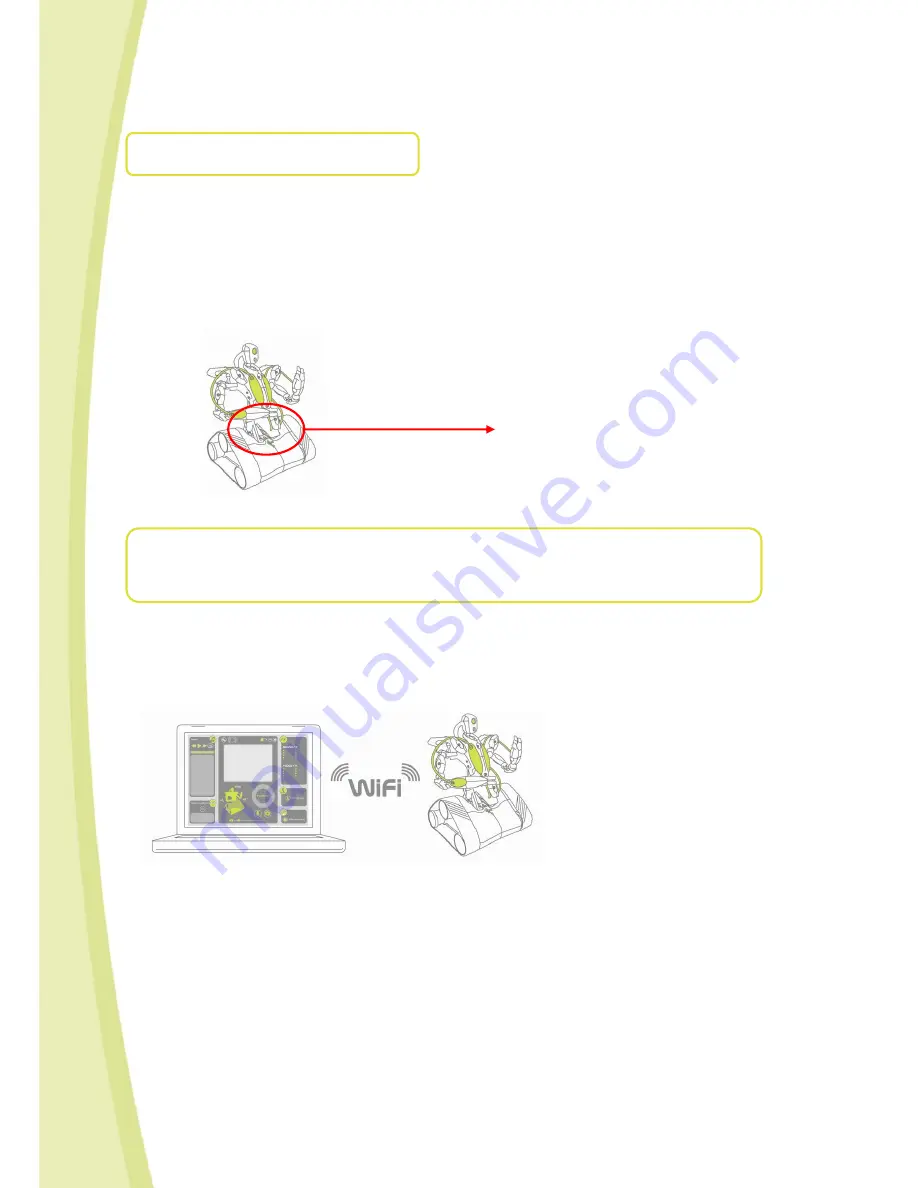
Turn Spykee on by switching the button under the chassis to the "ON" position.
•
Spykee’s lights begin to flash rapidly: this means Spykee is searching for his favorite WiFi access point.
Since it’s your 1
st
use of your robot, you haven’t chosen yet any new favourite WiFi access point.
Spykee will then turn in local adhoc mode automatically (which is his default favourite WiFi mode) after
approximately 15 seconds: the robot will make a « Beep Beep » sound and his lights will blink slowly one after
another (to know more about the light statuses of your robot, refer to Chapter VI "
LIGHTS AND SOUNDS OF
THE ROBOT ").
•
If, for some reason, Spykee does not flash, check that the button is actually switched to "ON.” If this is the
case, then it may be that the battery is drained (see previous section).
7.
CONNECTING YOUR COMPUTER TO YOUR ROBOT
IN AD HOC LOCAL MODE
•
There are several modes of connection (see Chapter IV "ALL CONNECTION MODES ").
Nonetheless, for the first use, it is necessary that you connect in "local ad hoc mode."
•
What is local ad hoc mode?
=> Local ad hoc mode allows you to connect your computer directly to Spykee via WiFi (see figure below).
•
In local ad hoc mode, the 1
st
step (before even starting up the console) is to connect your computer to your
robot via WiFi. To do this, follow the instructions below: 7.1 if you have a PC and 7.2 if you have a Mac.
7.1
Connecting your PC to your Spykee Robot:
1)
Turn on your Spykee and place it within range of your computer's WiFi.
2)
Turn on your computer (remember, your computer must have an internal or external WiFi card and the
Spykee console installed).
3)
Go to your computer’s wireless network.
If you want use the Windows wireless network, click on Start / Networks / Wireless networks or Start / Settings /
Networks / Wireless networks.
Lights


