37
SETUP, con’t
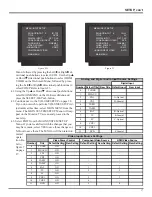
Menu, followed by pressing the Left or Right di-
rectional push-buttons to select S-VID. Use the Up
or Down
directional push-buttons to select HDMI
VIDEO on the On-Screen Menu, followed by press-
ing the Left or Right directional push-buttons to
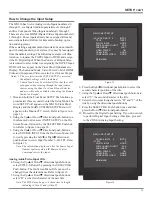
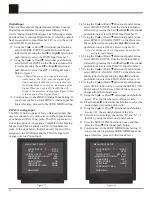
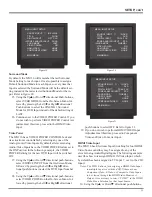
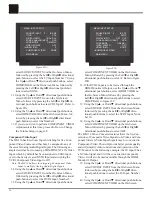
select COMP Refer to figure 23.
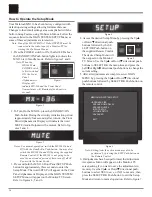
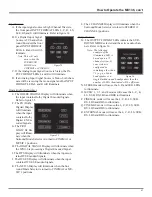
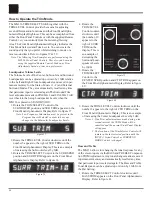
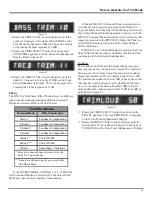
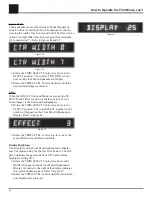
41. Using the Up
or Down
directional push-buttons,
select MAIN MENU on the On-Screen Menu and
press the SELECT/OK Push-button.
42. Continue next to the VOLUME SETUP on page 38.
If you do not wish to perform VOLUME SETUP Ad-
justments at this time, select MAIN MENU from the
menu. The MAIN SYSTEM SETUP Menu will reap-
pear on the Monitor/TV screen and proceed to the
next step.
43. Select EXIT from the MAIN SYSTEM SETUP
Menu. If you are satisfied with the changes that you
may have made, select YES to save those changes or
NO not to save them. The MX136 will then return to
normal
opera-
tion. Re-
fer to
figure 7
on page
27.
Number
Title
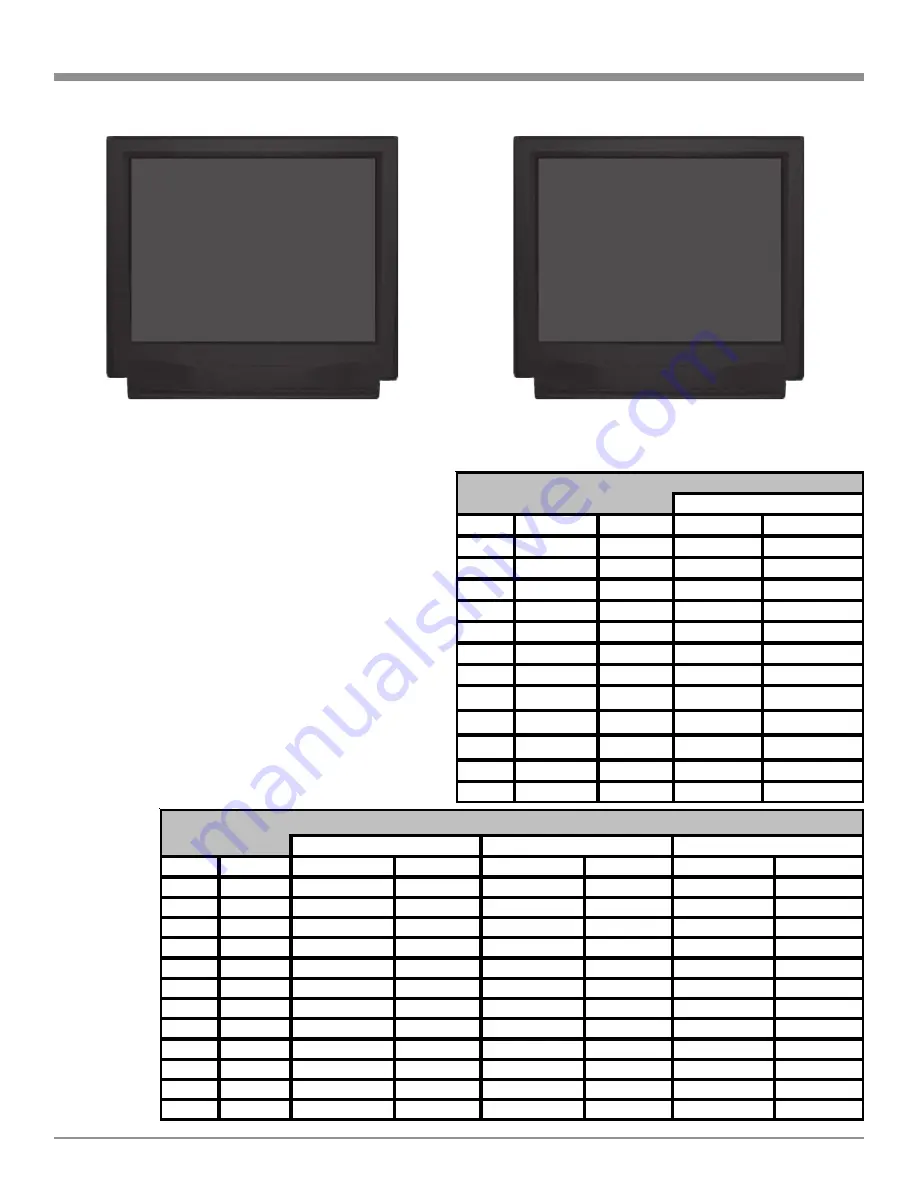
Default Setting New Setting Default Setting New Setting Default Setting New Setting
0
TUNER
ON
-
-
1
PH/AUX
ON
-
-
2
CD1
ON
-
-
3
CD2
ON
-
-
4
TAPE1
ON
-
-
5
TAPE2
ON
-
-
6
SAT
ON
1
1
7
TV
ON
2
2
8
LV
ON
-
-
9
VCR1
ON
3
3
10
VCR2
ON
4
-
11
DVD
ON
5
4
Video Inputs Source Settings
Video Power Control
Component Video Source
HDMI Video Source
Number Default Title
New Title
Default Input
New Input
0
TUNER
-
1
PH/AUX
-
2
CD1
A-Optical
3
CD2
D-Coaxial
4
TAPE1
-
5
TAPE2
-
6
SAT
B-Optical
7
TV
E-Coaxial
8
LV
C-Optical
9
VCR1
-
10
VCR2
-
11
DVD
F-Coaxial
Analog and Digital Audio Input Source Settings
Digital Input
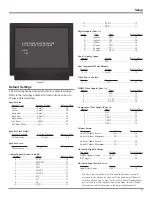
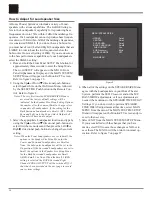
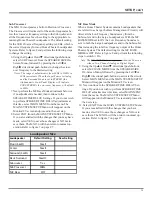
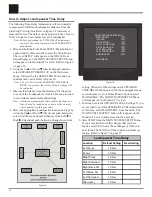
Figure 23
MENU: INPUT SETUP
SOURCE INPUT
8
-
IR-LV
TITLE
LV
DIGITAL INPUT
OPT C LK
ZONE A ANALOG INPUT
RCA
SURR MODE
CINEMA 1
VIDEO POWER
OFF
HDMI VIDEO
COMP
Æ
COMPONENT VIDEO
S-VID
MAIN MENU
Figure 22C
MENU: INPUT SETUP
SOURCE INPUT
5
-
IR-TP2
TITLE
DVD2
DIGITAL INPUT
OPT C LK
ZONE A ANALOG INPUT
RCA
SURR MODE
CINEMA 1
VIDEO POWER
OFF
Æ
HDMI VIDEO
COMP
COMPONENT VIDEO
4
MAIN MENU
Summary of Contents for MX136
Page 23: ...23 Notes ...

