30
The MX134 has eleven Analog Audio Inputs numbered 1
through 11, six Digital Audio Inputs lettered A through F
and two Component Video Inputs numbered 1 and 2. These
inputs already have assigned titles and associations that
will allow for immediate hookup, operation and enjoyment.
If these starting assignments and associations do not match
up with components in your system, they may be reas-
signed from the default settings. The following example
will illustrate how to rename the AUX Input to DVD2 and
assign it a Digital Input. When the Zone A or B Input Se-
lector is rotated to select what was originally the AUX In-
put, DVD2 will now appear on the Front Panel Alphanu-
meric Display. The Video Power Control, Video Converter
and Component Video can also be set for each Input.
Notes: 1. The Source Input Number 0 will always be assigned
to the Tuner Input and can not be reassigned.
2. Unused Inputs may be switched Off so that they will
not appear when rotating through the input source
choices using the Zone A or Zone B Input Selector and
also will not be available when using the Remote
Control or Keypad.
3. Each Analog Audio/Video Input must have a unique
title (type and number) assigned to it.
4. Multiple Inputs of the same type must be assigned
consecutively. Example, there can not be a DVD3
Input without first having DVD1 and DVD2 inputs.
1. Press and hold the Front Panel SETUP Push-button ap-
proximately three seconds to enter the Setup Mode.
The word SETUP will appear on the MX134 Front
Panel Display and the MAIN SYSTEM SETUP Menu
will appear on the Monitor/TV screen. Refer to figure
6 on page 23.
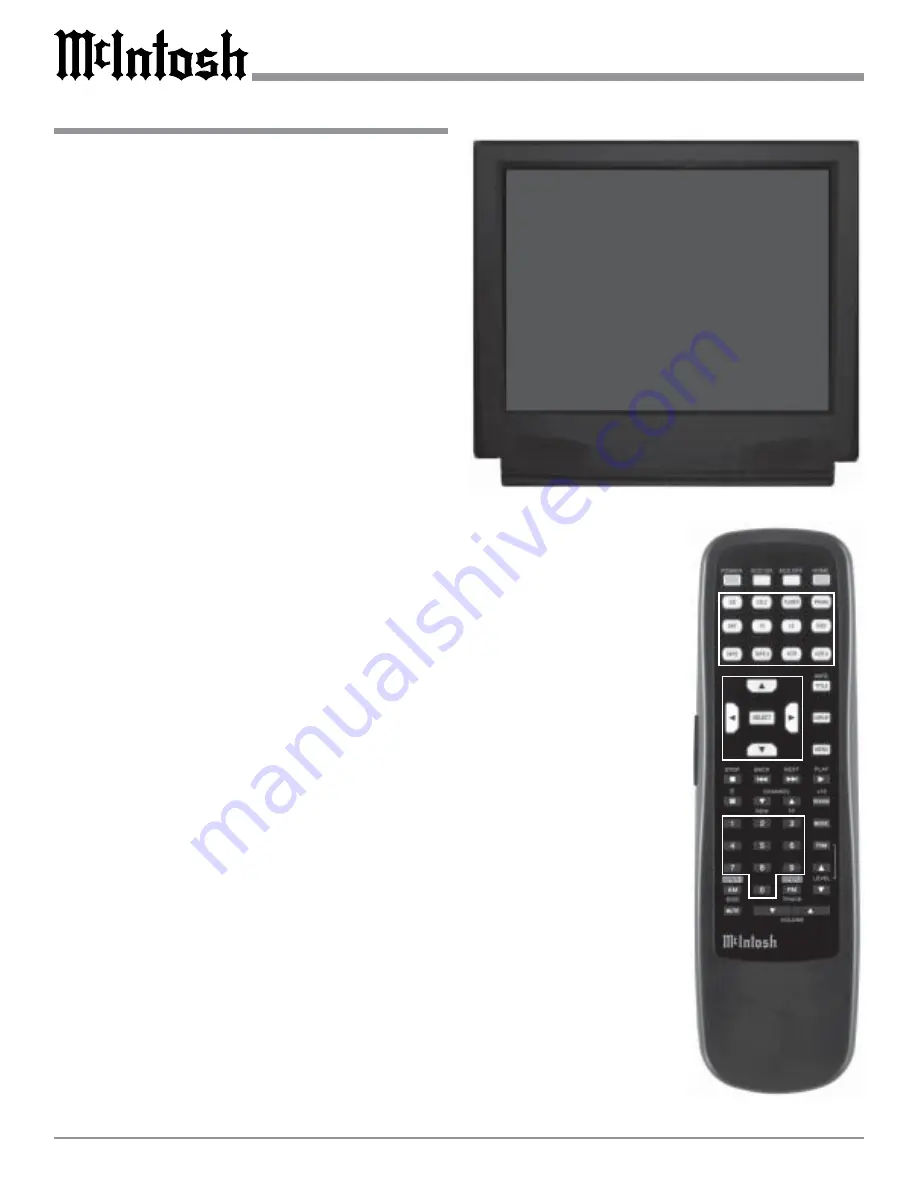
2. Using the Up
or Down
directional push-buttons on
the Remote Control, select Input Setup on the On-
Screen Menu, followed by the SELECT Push-button.
Refer to figures 14 and 15.
3. Using the Up
or Down
directional push-buttons,
select SOURCE INPUT from the On-Screen Menu,
followed by pressing the Left
or Right
directional
push-buttons to select Input Number 1.
Note: The very first time the INPUT SETUP is accessed, the
default settings will be indicated.
Analog Audio/Video Input Title
4. Using the Up
or Down
directional push-buttons,
select TITLE, followed by pressing the SELECT Push-
button. The On-Screen Menu will now change, al-
lowing the current Input Title to be changed. Refer to
figure 16.
5. Press the DVD Push-button on the Remote Control.
The On-Screen Menu Display will now display the
How to Change the Input Setup
DVD Input Name with a
question mark symbol after
it. Refer to figure 17.
6. Now press the Number 2
Push-button and the On-
Screen Title Menu will indi-
cate DVD2 for the number
1 Input Name. Refer to fig-
ure 18.
7. Repeat steps 4 thru 6 for
any additional inputs that
need to be reassigned using
the desired Input Title
(name and number).
8. Proceed to the Digital Input
Setup.
If the re-ordering of Titles is de-
sired to place frequently used
inputs adjacent to one another,
input(s) may be switched Off
during the process. This is per-
formed by pressing the Number
0 Push-button on the Remote
Control in step five instead of
an input name. The On-Screen
Display will now indicate OFF
for a TITLE. Refer to figure 19.
Notes: This same procedure can
also be used for switching
Off those inputs that have
Figure 15
Figure 14
MENU: INPUT SETUP
SOURCE INPUT
1
TITLE
AUX
DIGITAL INPUT
NONE
VIDEO POWER
ON
COMPONENT VIDEO
NO
VIDEO CONVERTER IN
OFF
MAIN MENU


