SERVICING
24
TROUBLESHOOTING
ELECTROSTATIC DISCHARGE (ESD) PRECAUTIONS
NOTE:
Discharge body’s static electricity before touching unit.
An electrostatic can adversely affect electrical components.
Use the following precautions during air handler installation
and servicing to protect the integrated control module from
damage. By putting the air handler, the control, and the per-
son at the same electrostatic potential, these steps will help
avoid exposing the integrated control module to electrostat-
ic discharge. This procedure is applicable to both installed
and uninstalled (ungrounded) blowers.
1. Disconnect all power to the blower. Do not touch the
integrated control module or any wire connected to
the control prior to discharging your body’s electro-
static charge to ground.
2. Firmly touch a clean, unpainted, metal surface of the
air handler blower near the control. Any tools held in a
person’s hand during grounding will be discharged.
3. Service integrated control module or connecting
wiring following the discharge process in step 2. Use
caution not to recharge your body with static electrici-
ty; (i.e., do not move or shuffle your feet, do not touch
ungrounded objects, etc.). If you come in contact with
an ungrounded object, repeat step 2 before touching
control or wires.
4. Discharge your body to ground before removing a
new control from its container. Follow steps 1 through
3 if installing the control on a blower. Return any old
or new controls to their containers before touching
any ungrounded object.
DIAGNOSTIC CHART
WARNING
HIGH VOLTAGE
To avoid personal injury or death due to
electrical shock, disconnect electrical power
before performing any service or maintenance.
Refer to the Troubleshooting Chart at the end of this man-
ual for assistance in determining the source of unit oper-
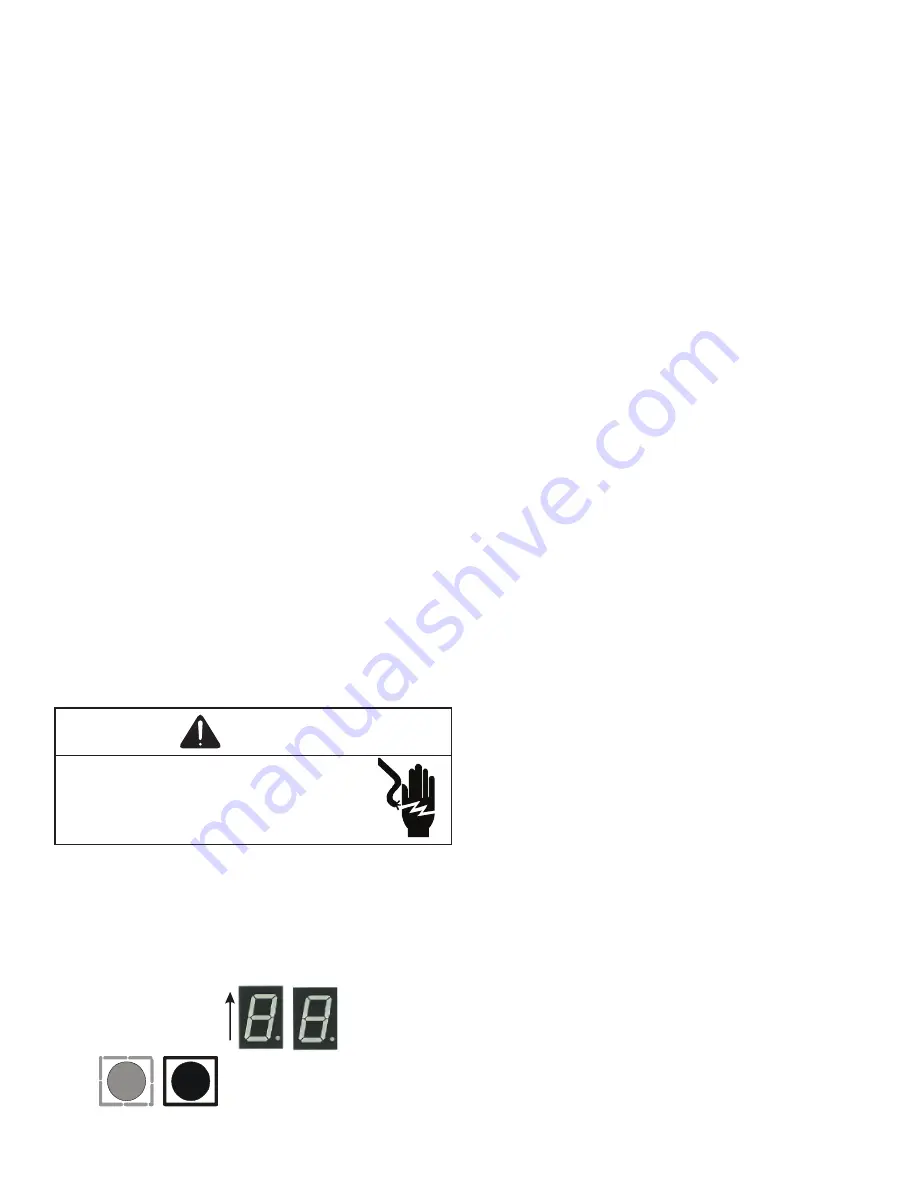
ational problems. The 7 segment LED display will provide
any active fault codes. An arrow printed next to the display
indicates proper orientation (arrow points to top of display).
See following image.
7 Segment
Diagnostic
Displays
Fault
Recall
FAULT CODE HISTORY
The heat pump’s diagnostics menu provides access to the
most recent faults. The six most recent faults can be ac-
cessed through the control board seven segment displays
or the CoolCloud mobile app. Any consecutively repeated
fault is stored a maximum of three times.
Example: A leak in the system, low refrigerant charge or an
incompletely open stop valve can cause the unit to flash error
code E15. This error code suggests that the unit is experi-
encing operation at low pressure. The control will only store
this fault the first three consecutive times the fault occurs.
NOTE:
THE FAULT LIST CAN BE CLEARED AFTER
PERFORMING MAINTENANCE OR SERVICING THE
SYSTEM TO ASSIST IN THE TROUBLESHOOTING
PROCESS.
DEVICE STATUS
This menu displays information about the systems current
status. This menu can be utilized to confirm correct func
-
tionality of the equipment and for troubleshooting purposes.
The following items will be displayed:
• Heat Capacity Request Percentage
• Cool Capacity Request Percentage
• Heat Capacity Request During Defrost Percentage
•
Dehumidification Request Percentage
• Reversing Valve Status
•
Reported Airflow by Indoor Unit
• Boost Mode
• Previous Defrost Run Time
SENSOR DATA
The following sensor values will be displayed:
• Outdoor Temperature
• Coil Temperature
• Liquid Line Temperature
• Discharge Temperature
• Defrost Sensor
• Suction Pressure
PUMP DOWN / CHARGE MODE
This function can be enabled in this menu.
SYSTEM VERIFICATION TEST
The mandatory system verification test is enabled from this
menu, which enables a functional check of the equipment,
in addition to ensuring proper stop valve position.


