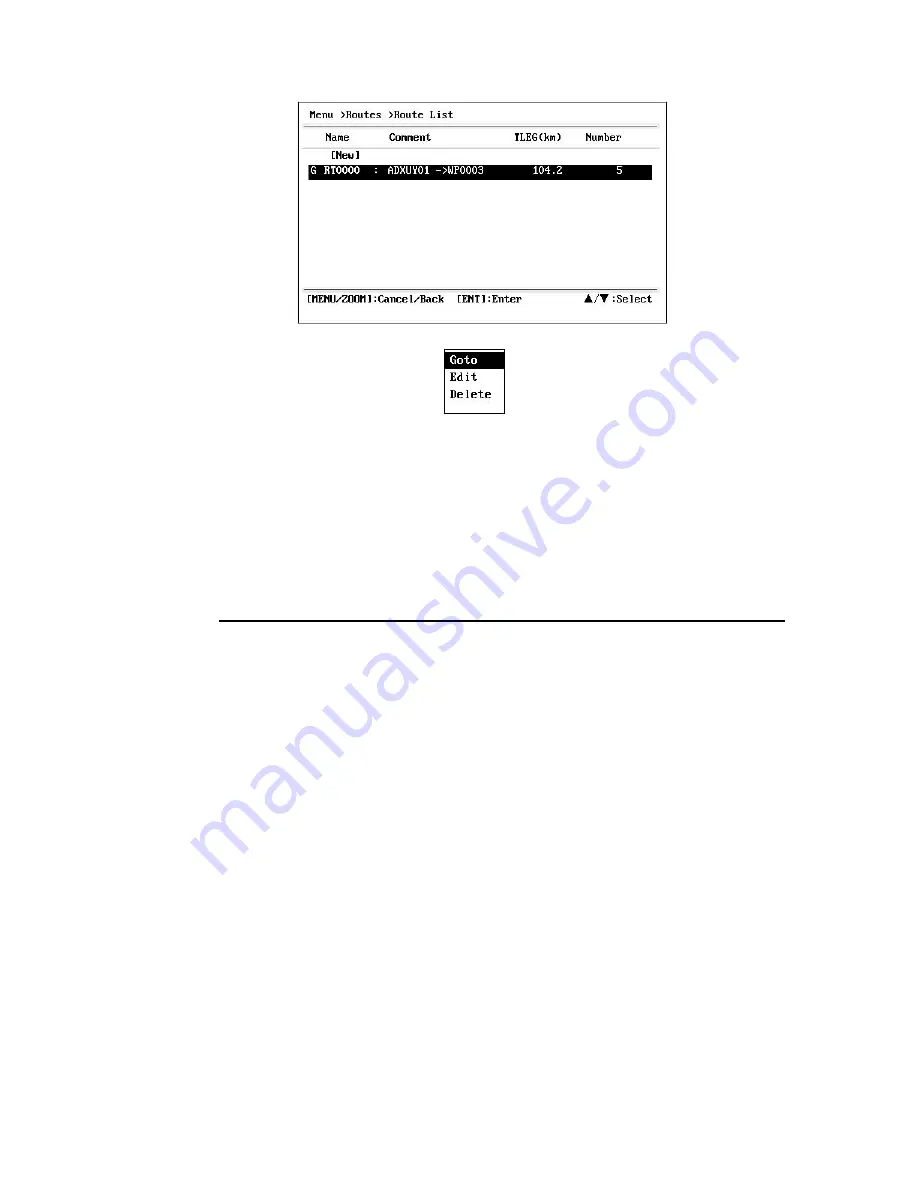
3. Select [Alpha] or [Local], and press the
ENT
key.
4. Select the route to set as a destination, and press the
ENT
key.
5. Select [Goto], and press the
ENT
key.
6. Select [Forward] or [Reverse].
Forward: Follows waypoints in order registered (1
→
2
→
3…)
Reverse: Follows waypoints in reverse order registered (30 (when maximum en-
tered)
→
29
→
28…
→
1)
7. Press the
ENT
key to show the plotter display. The destination route is shown with
waypoints connected with legs.
8. Cancel the destination referring to section 5.4 when arriving at the waypoint.
How to change the following direction after you set a route as destination
After you start doing the route destination, you can change the following direction,
[Forward]
→
[Reverse] or vice versa. Place the cursor on a leg of the route, and press
the
ENT
key to show the following pop-up window. Select [Reverse] (or [Forward]).
Then, select [Yes] and press the
ENT
key.
Note:
If your boat has not yet arrived at the first waypoint in the route, the current route
destination is cancelled if you select [Reverse] (or [Forward]). Set the route destination
again.
6
.4
How to Cancel Destination
You can cancel destination by using the cursor, or through the list.
6
.4.1
How to cancel destination with the cursor
1. On the plotter display, operate the cursorpad to place the cursor on the waypoint
(route) set as the current destination.
6-3
Summary of Contents for HP-33A
Page 1: ...CLASS B AIS TRANSPONDER WITH GPS NAVIGATOR...
Page 8: ...vi...
Page 10: ...viii...
Page 11: ...1 1...
Page 12: ...1 2...
Page 15: ...The Plotter display shows waypoints routes own boat track and AIS targets 1 5...
Page 16: ...1 6...
Page 17: ...1 7...
Page 18: ...1 8...
Page 19: ...1 9...
Page 20: ...1 10...
Page 21: ...1 11...
Page 25: ...2 1 Class A Vessel 3 2 4...
Page 26: ...2 2 Class B Vessel 2 3 Base Station 3 3 2 5...
Page 27: ...2 4 AtoN 3 2 6...
Page 28: ...2 5 SAR 2 6 Others This is for the targets not identified or MOB SART EPIRB etc 3 3 2 7...
Page 91: ...APPENDIX 1 MENU TREE AP 1 AIS...


