background image

To Power on: Hold the Power button for 3 seconds.
To Power off: Hold the Power button for 4 seconds.

Note:

1. To prevent loss of data, always turn off the camera before removing 
the battery or memory card.
2. The camera will automatically turn off after removing the memory 
card or battery.

Powering Camera

 On and Off

06

07

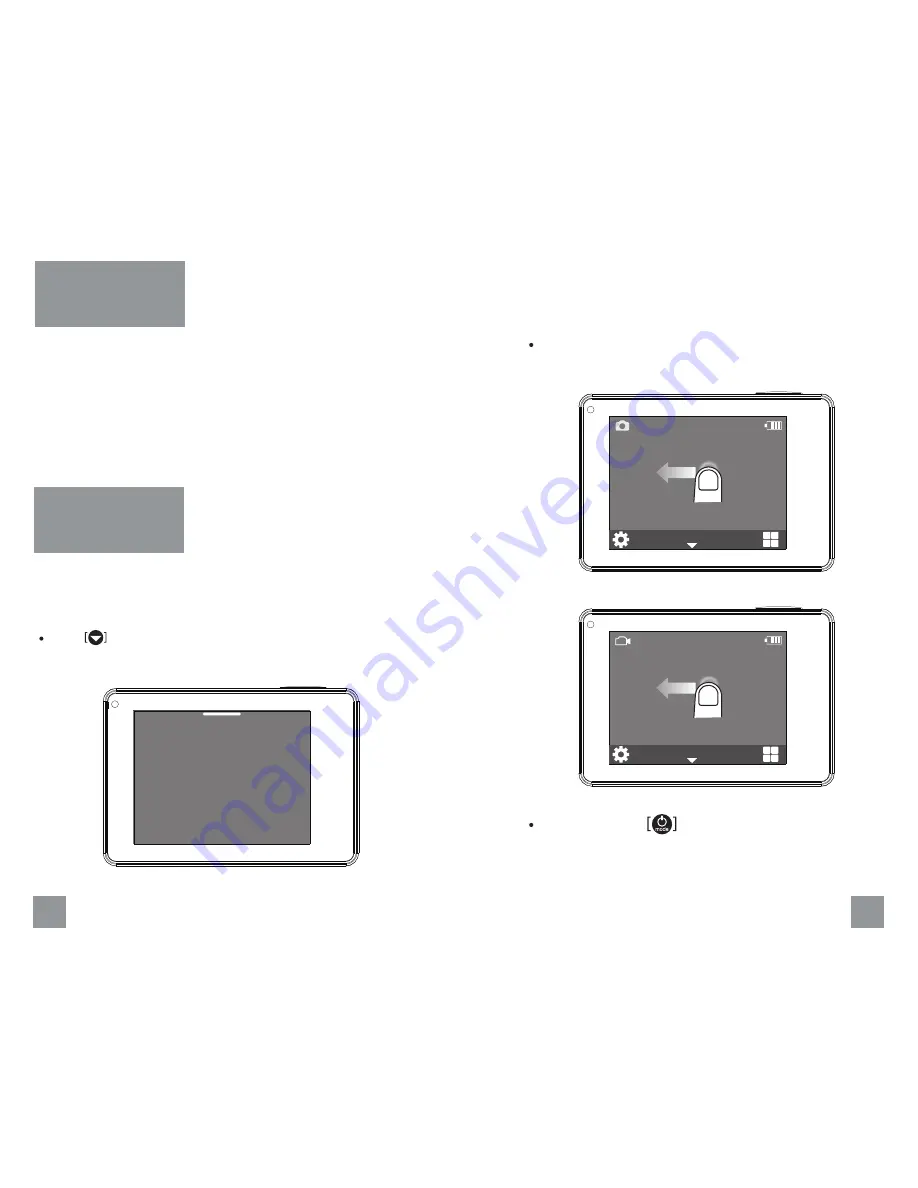
There are three camera modes, Video, Photo and Playback. You can 
choose the camera mode in the main menu, press mode button or 
swipe left to change the capture mode.
    Touch


to enter main menu and choose the camera mode.

Change Camera

Mode

Main Menu

Video

Playback

Photo

08296

    Press mode button             to change the capture mode.

    Swipe left on the main screen to change the capture mode.

4:3

12M

03

:

10:28

 60W

1080P

No GPS

Summary of Contents for Survey3

Page 1: ...y Inserting Removing Memory Cards Charging the Battery Status LEDs 11 Photos Taking a Photo Photo Settings 18 19 Playback System Settings Viewing Videos and Photos on Your Camera Viewing Videos and Photos on HDTV 6 Powering Camera On and Off 8 Touch Display Overview Touch Display Gestures 14 Video Video Settings 01 Survey3 ...

Page 2: ...oling Hole 3 HDMI Port supports PWM trigger cable not included 4 Mini USB Port supports included external GPS module 5 Mini USB Port supports composite A V cable 3 5mm mic adapter not included 6 Front LED 1 7 Front LED 2 8 Power Mode Button 9 MicroSD Card Slot 10 Tripod Mount 11 Back LED 12 Touch Display 11 12 1 2 3 5 4 6 7 8 10 9 25 USB Media Management 24 PWM Triggering 23 Connecting External Mi...

Page 3: ... camera When fully inserted the card clicks into place Place your fingernail against the edge of the memory card and lightly press it further into the camera The card springs out far enough to be removed SD SD 04 05 There are 4 LEDs on the camera the default status is showed as below and also user can turn on or off LED in the menu Status LEDs Status The camera is powered on and in standby mode Th...

Page 4: ...memory card or battery Powering Camera On and Off 06 07 There are three camera modes Video Photo and Playback You can choose the camera mode in the main menu press mode button or swipe left to change the capture mode Touch to enter main menu and choose the camera mode Change Camera Mode Main Menu Video Playback Photo 08296 Press mode button to change the capture mode Swipe left on the main screen ...

Page 5: ...e swipe down to return to the main screen Swipe Up From setting menu select an item swipe up to choose an option Otherwise swipe up to return to the main screen Swipe Left Change capture mode Touch Display Gestures 08 09 The touch display provides information for current modes and settings 1 Display the camera mode 2 Left recording time Elapsed time 3 Battery indicator 4 GPS status 5 Go to video p...

Page 6: ... The options for this setting are On and Off Default Auto Off Powers off your camera instantly Quick Settings 10 11 Image Size Mode Shutter Self Timer Zoom Interval Photos Photo captures either Single Sequence or Continuous photo In quick capture mode while the camera is powered off hold down the shutter button to power on the camera and release until the camera start to take photos in Time Lapse ...

Page 7: ...w option for a softer look WB White Balance White balance adjusts the overall color tone of photos The camera can automatically adjust the white balance or you can manually adjust the white balance WB Custom Custom White Balance is for even more accuracy in color balancing It is a quick easy and accurate way to help correcting for scene s color temperature and neutralize the whites grays and black...

Page 8: ... creating a Time Lapse movie without the need to stitch all of the photos together This enables you to capture long term action that is ready for playback or sharing immediately Interval Take video snapshot at set time intervals while recording 14 15 Video Resolution Loop Time Lapse WDR Zoom Interval HD Touch to enter the main menu and select the or swipe left to change to video mode then select t...

Page 9: ...to allow the user to select the most appropriate one for use in a variety of lighting conditions Color Color allows you to adjust the color profile of your video footage or photos 16 17 Conrast Contrast is the scale of difference between black and white in your video The settings from Low to High High contrast video will have bright highlights and dark shadows bold colours Low contrast video will ...

Page 10: ...ontent on the camera s touch display your computer TV or smartphone tablet You can also play back content by inserting the microSD card directly into a device such as a computer or compatible TV With this method playback resolution depends on the resolution of the device and its ability to play back that resolution From the main screen touch to enter the main menu and select the then you will get ...

Page 11: ...rding icons and file information on video and on the viewing screen appear during playback The options for this setting are On default Record Dot only show the recording indicator icon and Off Beep Set the camera to beep or not while pressing a button Lock Turns off the touch display after a period of inactivity to save battery life The options are 15 Seconds 1 Minute default 3 Minutes 5 Minutes a...

Page 12: ...ireless With the GPS module connected it will enable you to capture the location where your videos and photos were taken The ultra fast 10X GPS processor allows you to update GPS data quickly recording your latitude and longitude data precisely Note You can download the Dashcam Viewer https dashcamview er com to playback the GPS data Connecting External Microphone An external microphone can provid...

Page 13: ...With Survey3 though you have the option to also send the camera a 1500us PWM signal to put the camera into media transfer mode making media browsing easier Media transfer mode allows the computer that is connected to the camera to then mount the camera s microSD card and the captured media will show up as a removable disk on the computer This allows you to browse the contents as well as perform so...

Page 14: ...ns accident including without limitation collision crash or fire alteration or improper repair 2 damage from exposure to moisture or extreme environmental conditions 3 damage from use with any accessory software or other product not expressly authorized by Peau Productions 4 damage from external causes such as dirt sand battery leakage blown fuse or improper usage of any electrical source or 5 use...

Reviews: